16 © Copyright 2019 HYPERVSN. All rights reserved
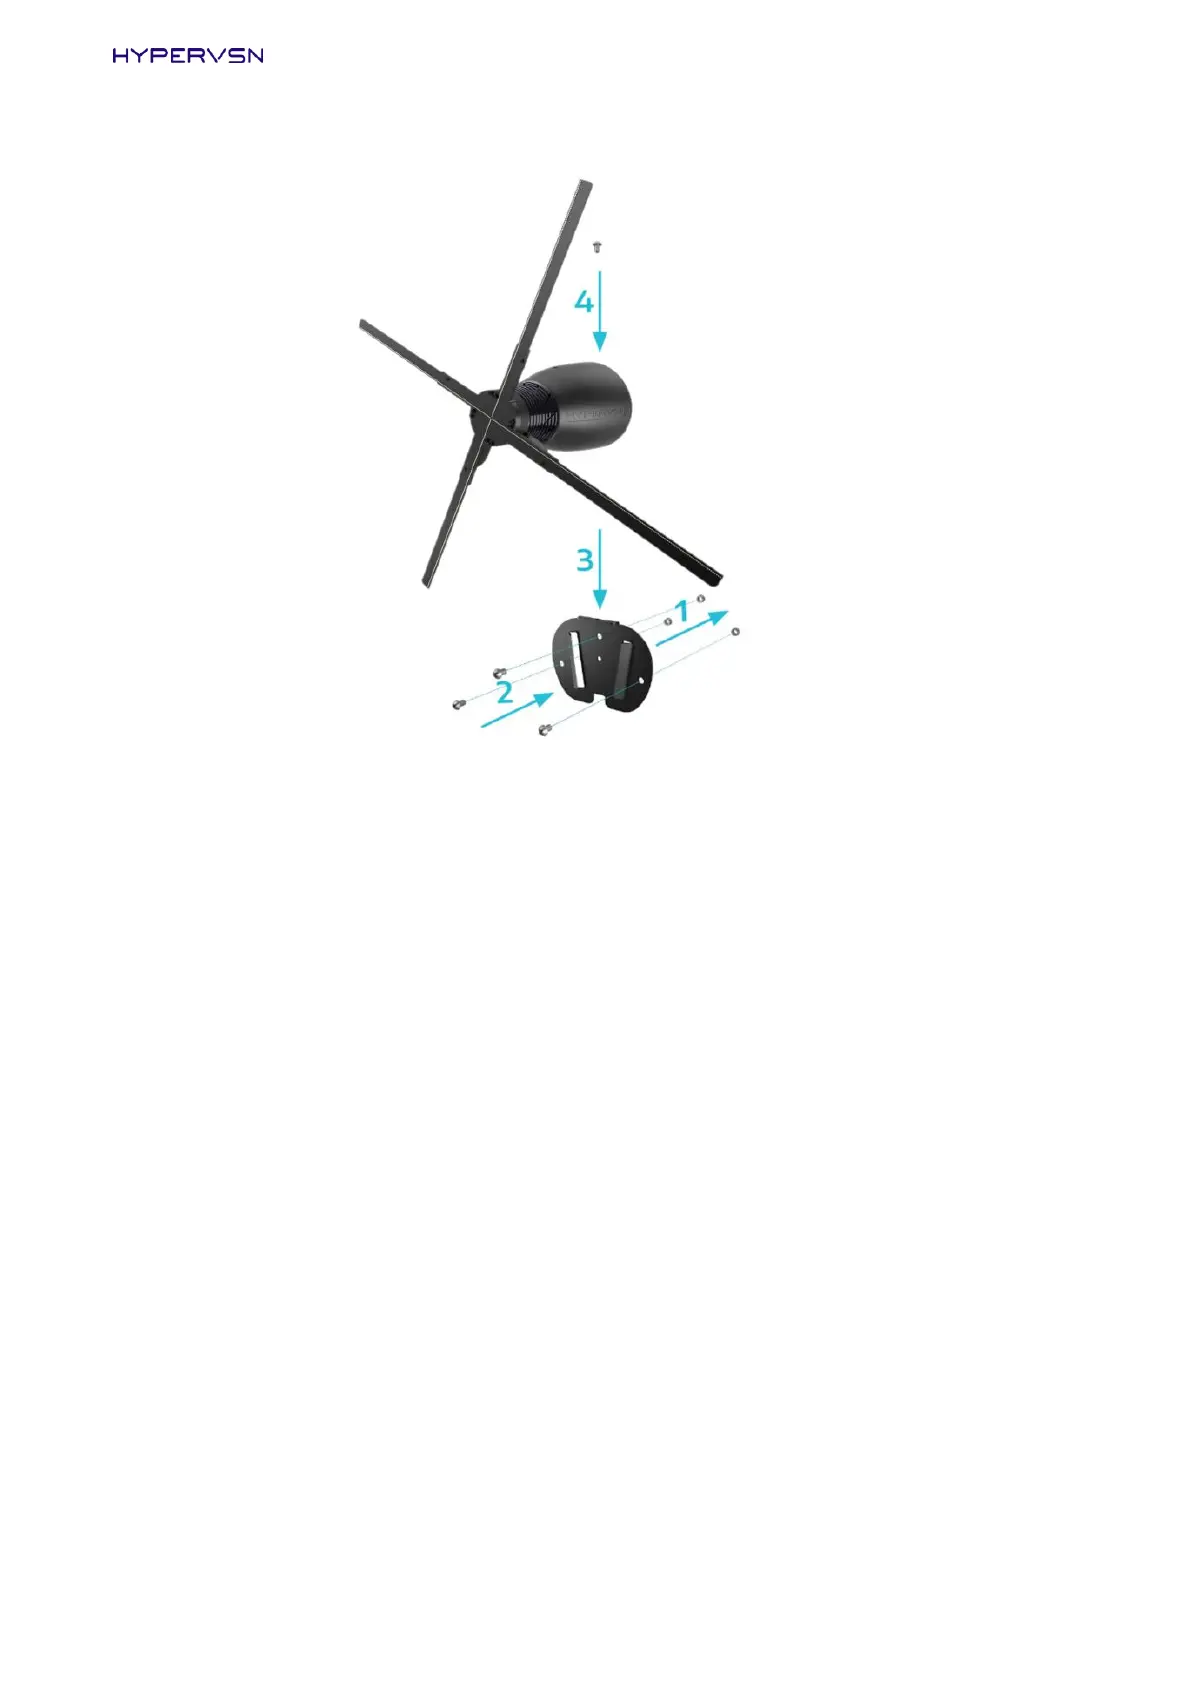
Picture 12. Device installation on a wall
6. Place the Device on the wall bracket and slide it downwards firmly (Picture 12, step 3).
7. Attach the safety screw (supplied complete with the wall bracket) to the safety hole and screw it
down (Picture 12, step 4).
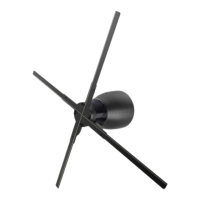
Attention. The proper Device installation angle is 90° to the mounting surface. When the Device is mounted,
the shaft axis should be parallel to the ground.