4
3. Before Use
3.1 Instructions
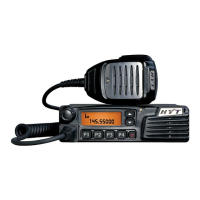
Before you install the radio in a vehicle, be sure to read the following instructions carefully:
The radio must work with a 13.6V ± 15% negative ground electrical system only. And ensure to check
the ground polarity and voltage of the vehicle power supply prior to installation.
Check how long the screws will extend from the bottom surface of the radio before installation. Drill
the mounting hole cautiously to avoid damage to the vehicle wiring and other parts.
Connect the antenna and power cord to the radio, before you install it in the bracket. And make sure
the antenna and power cord are dedicated for Hytera digital radios.
Install the radio with Hytera supplied mounting bracket, to avoid radio looseness in case of accidents.
The loose radio may cause bodily injury.
Install the radio in a location where it’s easy to reach the front panel controls.
Keep sufficient clearance at the back of the radio for wiring.
Be sure to use the fuse with the same specification for DC power cord upon replacement.
If there are any other device in the vicinity of this radio, the distance between the antenna of this radio
and the antenna of such RF device shall be no less than 10 meters.
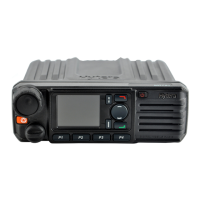
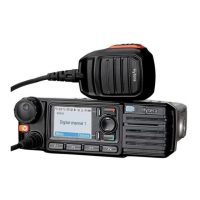
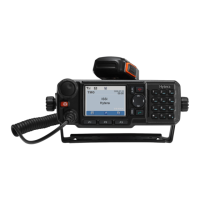
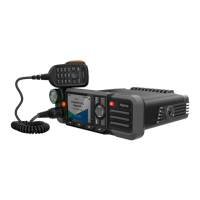
3.2 Installation
Installation Tools
Electric drill
Cross head screwdriver
Hex socket sleeve (for 4.8×20mm self-tapping screws)
Installation Procedure
To install the radio, do as follows:
1. Install the bracket in a location where it’s easy to operate the radio.
2. Connect accessories such as the antenna and power cord to the radio.
3. Slide the radio into the properly mounted bracket and secure it using the locking knobs.
4. Install the microphone hanger in a location where it can be reached conveniently.
5. Plug the palm microphone into the radio, but at first align the triangle index on the palm microphone
with the microphone installation index. Place the palm microphone on the hanger when you do not
 Loading...