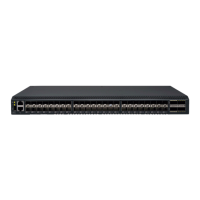
Procedure
1. Connect the power cords to both power supplies, and then to power sources on separate circuits to
protect against power failure. Ensure that the power cords have a minimum service loop of 6 inches
available and are routed to avoid stress.
2. Power on the power supplies by flipping both switches to the on position (the "I" symbol). The power
supply LEDs display amber until power-on self-test (POST) is complete, and then change to green. The
switch usually requires several minutes to boot and complete POST.
Note: Power is supplied to the device as soon as the rst power supply is connected and turned on.
3. After POST is complete, verify that the switch power and switch status LEDs are green.
For more information about how to interpret POST, BOOT, and diagnostics tests, refer to Chapter 6,
“Monitoring the device,” on page 53.
Establishing a rst-time serial connection
About this task
Perform the following steps to log in to the device through the serial connection.
Procedure
1. Connect the device with the workstation.
a) Connect the mini USB of the console cable to the device and the RJ-45 of the cable to the RJ-232
serial port on the workstation.
b) If the serial port on the workstation is RJ-45 instead of RS-232, remove the adapter on the end of
the serial cable and insert the exposed RJ-45 connector into the RJ-45 serial port on the
workstation.
2. Disable any serial communication programs running on the workstation, such as synchronization
programs.
3. Open a terminal emulator application, such as PuTTY, XShell, or SecureCRT on a Windows PC, or
TERM, TIP, or C-Kermit in a Linux environment, and congure the application as follows:
a) In a Windows environment, use the following values.
Parameter
Value
Bits per second 9600
Data bits 8
Parity None
Stop bits 1
Flow control None (must be disabled on the host side)
Note: Flow control is not supported on the serial connection when attached to a remote terminal
and must be disabled on the customer-side remote terminal server in addition to the host-side
clients.
a) In a UNIX environment using TIP, enter the following string at the prompt:
tip /dev/ttyb -9600
38
IBM Storage Networking SAN64B-6: SAN64B-6 Installation, Service, and User Guide
 Loading...