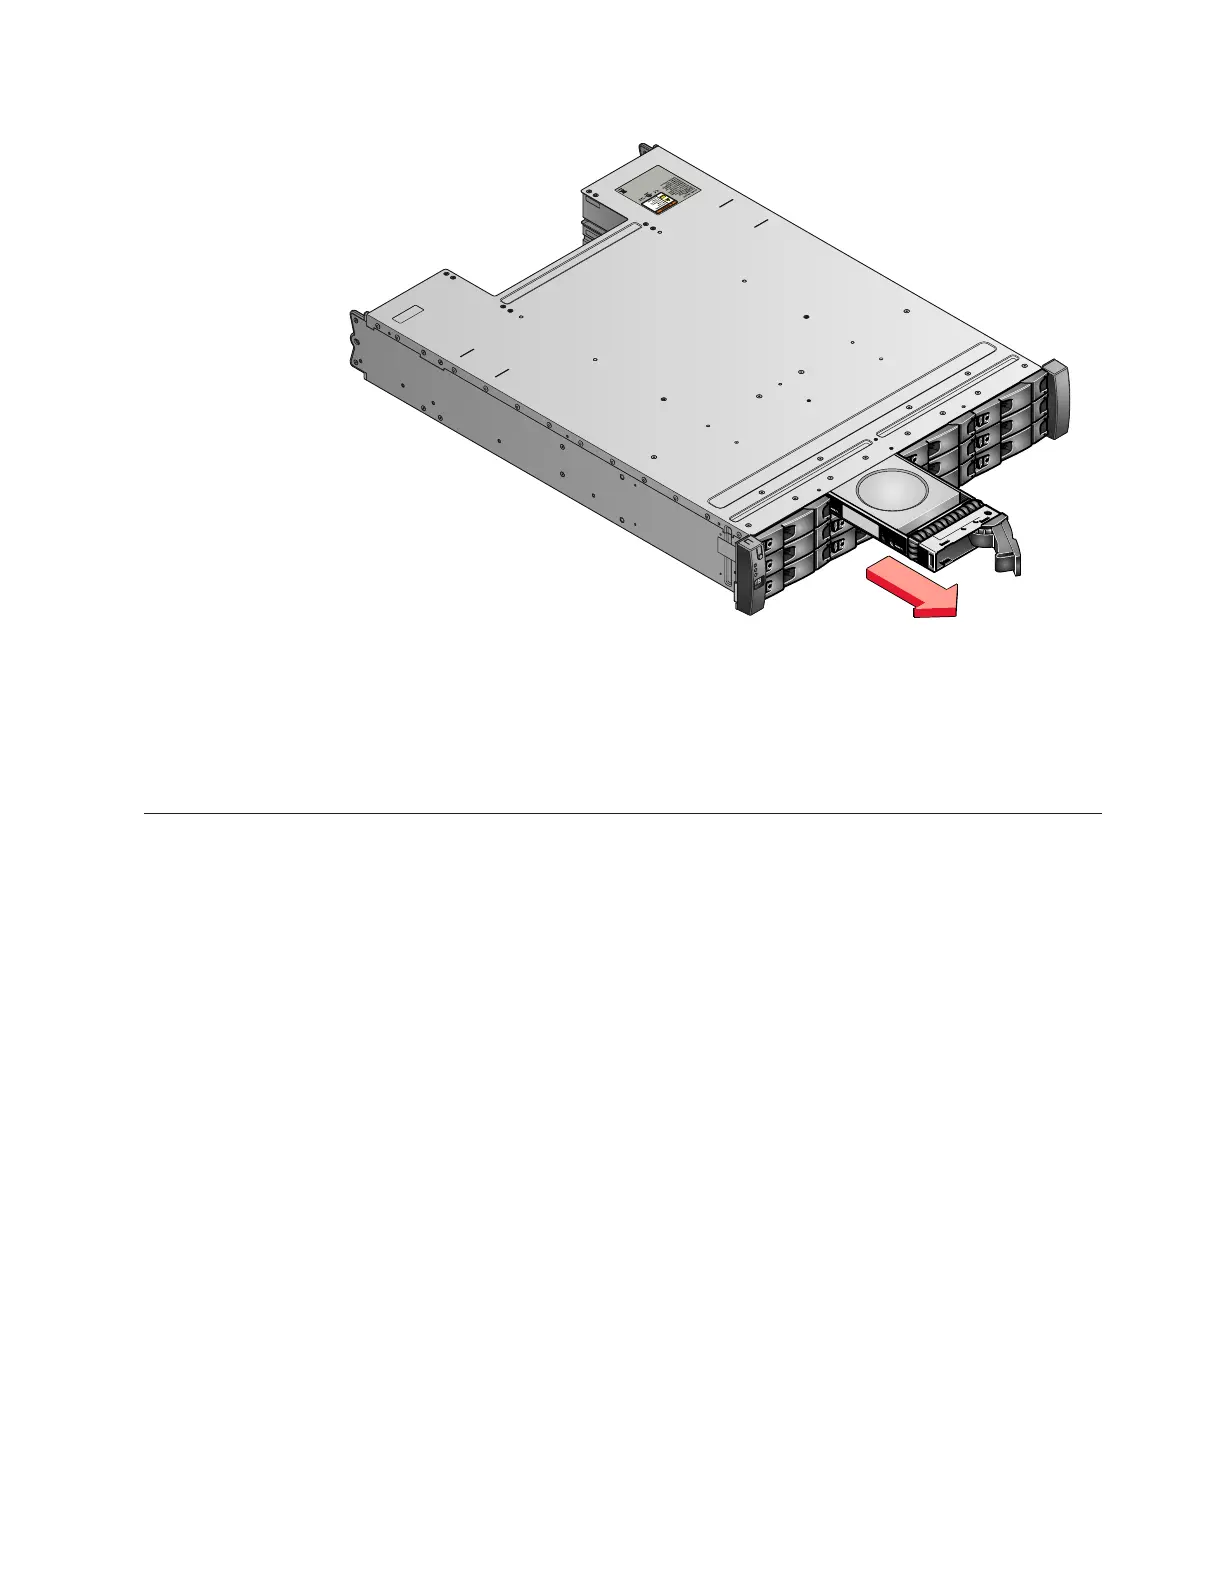
4. Pull out the drive.
5. Push the new drive back into the slot until the handle starts to move.
6. Finish inserting the drive by closing the handle until the locking catch clicks
into place.
Replacing a 2.5" drive assembly or blank carrier
This topic describes how to remove a 2.5" drive assembly or blank carrier.
About this task
Attention: If your drive is configured for use, go to the management GUI and
follow the fix procedures. Performing the replacement actions without the
assistance of the fix procedures results in loss of data or loss of access to data.
Attention: Do not leave a drive slot empty. Do not remove a drive or drive
assembly before you have a replacement available.
To replace the drive assembly or blank carrier, perform the following steps:
Procedure
1. Read the safety information to which “Preparing to remove and replace parts”
on page 85 refers.
2. Unlock the module by squeezing together the tabs at the top.
svc00613
Figure 35. Removing the 3.5" drive
Chapter 8. Replacing parts 105

 Loading...


