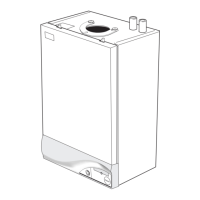
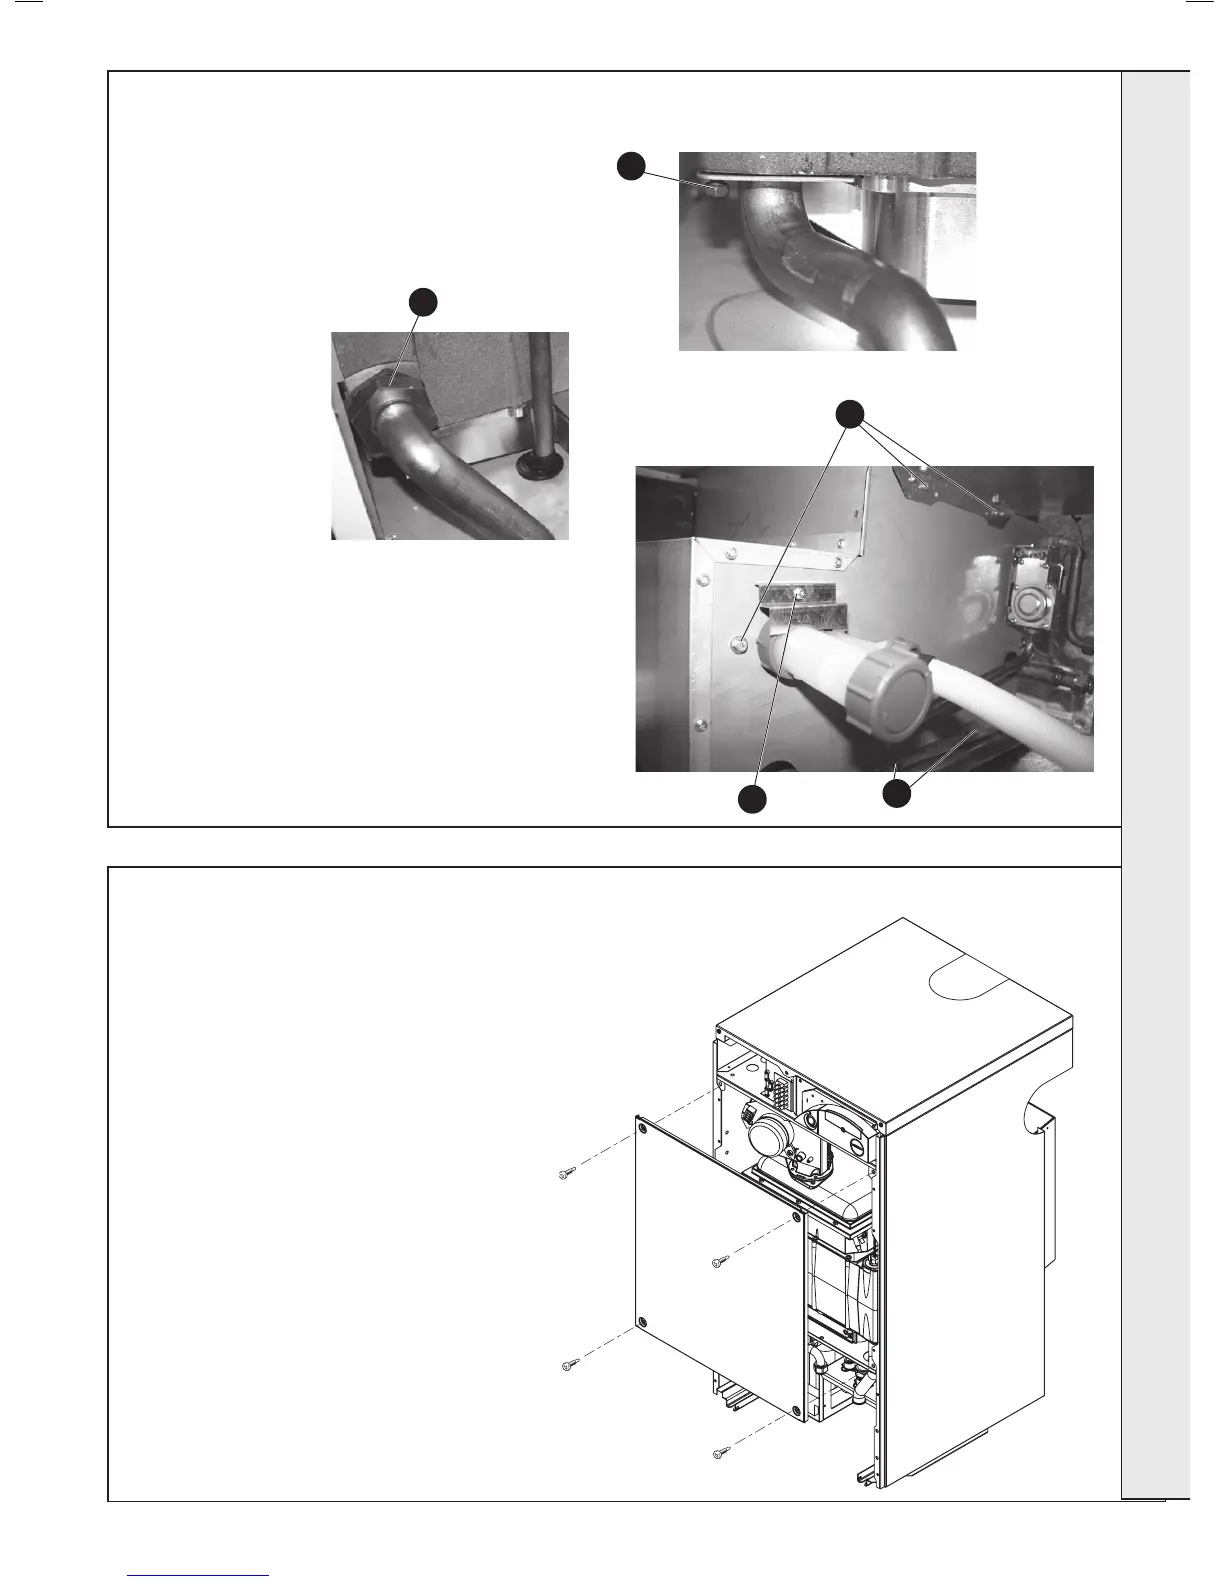
20.
hex. Hd. Screw retaining the copper pipe
retention plate and remove plate.
21.
connection union.
67
HEAT EXCHANGER REPLACEMENT . . .continued
68
INNER SEALING PANEL SEAL REPLACEMENT
1. Refer Frame 51.
2. Remove the boiler front panels and refer to
Frame 44.
3. Remove the inner sealing panel. Refer to
Frame 45.
4. Remove the old seal from the panel and
thoroughly clean the panel surfaces.
5. Fit the new adhesive seals - note that they
are supplied to the correct length for the
relevant sides.
6. Reassemble in reverse order.
Note.
Ensure that the boiler sealing panel is correctly
seated, compressing the seal to make an airtight
joint.
7. Check operation of boiler. Refer to
Frame 51.
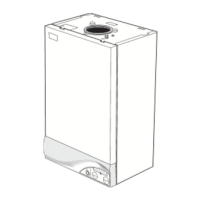
22. Remove the 5 screws retaining the sump.
23.
‘S’ trap.
24. Lift the heat exchanger to clear the bottom panel, pull
forward and remove.
25. Fit the new heat exchanger, reassembling in reverse
order, replacing gaskets or seals if any sign of damage
or adjacent cupboard to view the joint.
26. Check the operation of the boiler. Refer to frame 51.
SERVICING
20
21
23
22
22
 Loading...