51
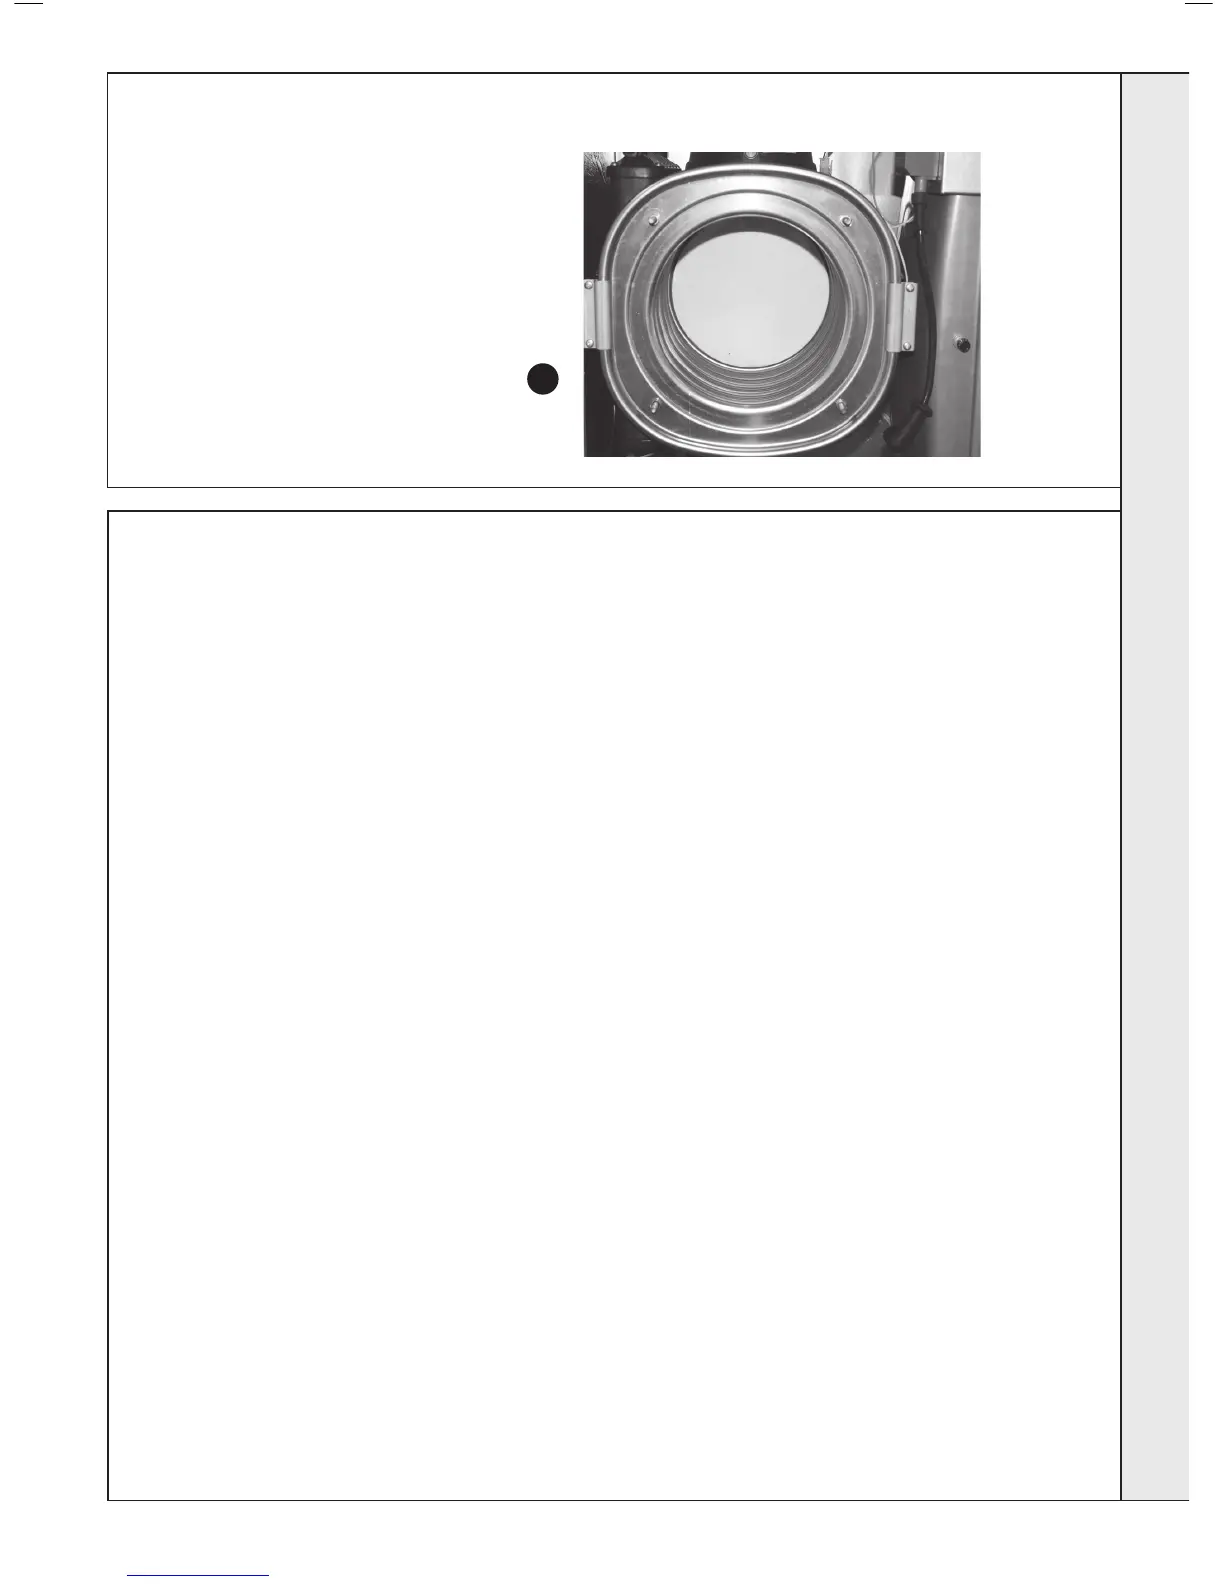
CLEANINg ThE hEAT ExChANgER
52
RE-AssEMBLy
1. 1. Remove Fan and Venturi Assembly, Refer to
Frame 47.
2. Once the front of the heat exchanger is open,
the heat exchanger may be cleaned with a
hand brush and vacuum cleaner to remove any
debris.
2
1. Reassemble the boiler in the following order:
2. Ensure the condensate trap is engaged in the base of the
boiler and connected to the outlet with the pipe from the heat
exchanger connected.
3. Ret the fan to the burner assembly. Refer to Frame 47.
4. Ret the venturi to the fan and burner assembly. Refer to Frame
57.
5. Ret the burner/fan/venturi assembly into the heat exchanger
and secure. Refer to Frame 51.
6. Ret the gas pipe and secure with the 2 clips. Refer to Frame
47.
7. Reconnect the ignition/detection/earth/fan leads
8. Swing the control panel back into its working position. Refer to
Frame 46.
9. Ret the front panel ensuring that a good seal is made. Refer to
Frame 45.
10. Turn on the gas supply at the gas service cock. Refer to Frame
33.
11. Reconnect the electrical supply.
12. Check the operation of the boiler.
sERVICINg
 Loading...