20
Accessing Results
3. To select which images should be permanently retained and displayed next to the results on
the Records: Test Results screen:
– In full-screen view, tap Add to Record in the upper-left corner of the image.
– In the thumbnail view, tap the circle in the upper-left corner of the image.
4. If you want to view another image, select it from the screen. Otherwise, tap the X in the upper-
right corner of the screen to return to the Records: Test Results screen.
Tip: You can also tap one of the three images on the Records: Test Results screen to view a larger
version of that image.
Adding comments to results
1. On the SediVue Dx tab of the Records: Test Results screen, tap Add Comments.
2. In the Comments area, enter the comments that you want to display in the Notes section
on the Records: Test Results screen and on the patient report (e.g., presence of bacteria
confirmed by image review).
3. Tap Save.
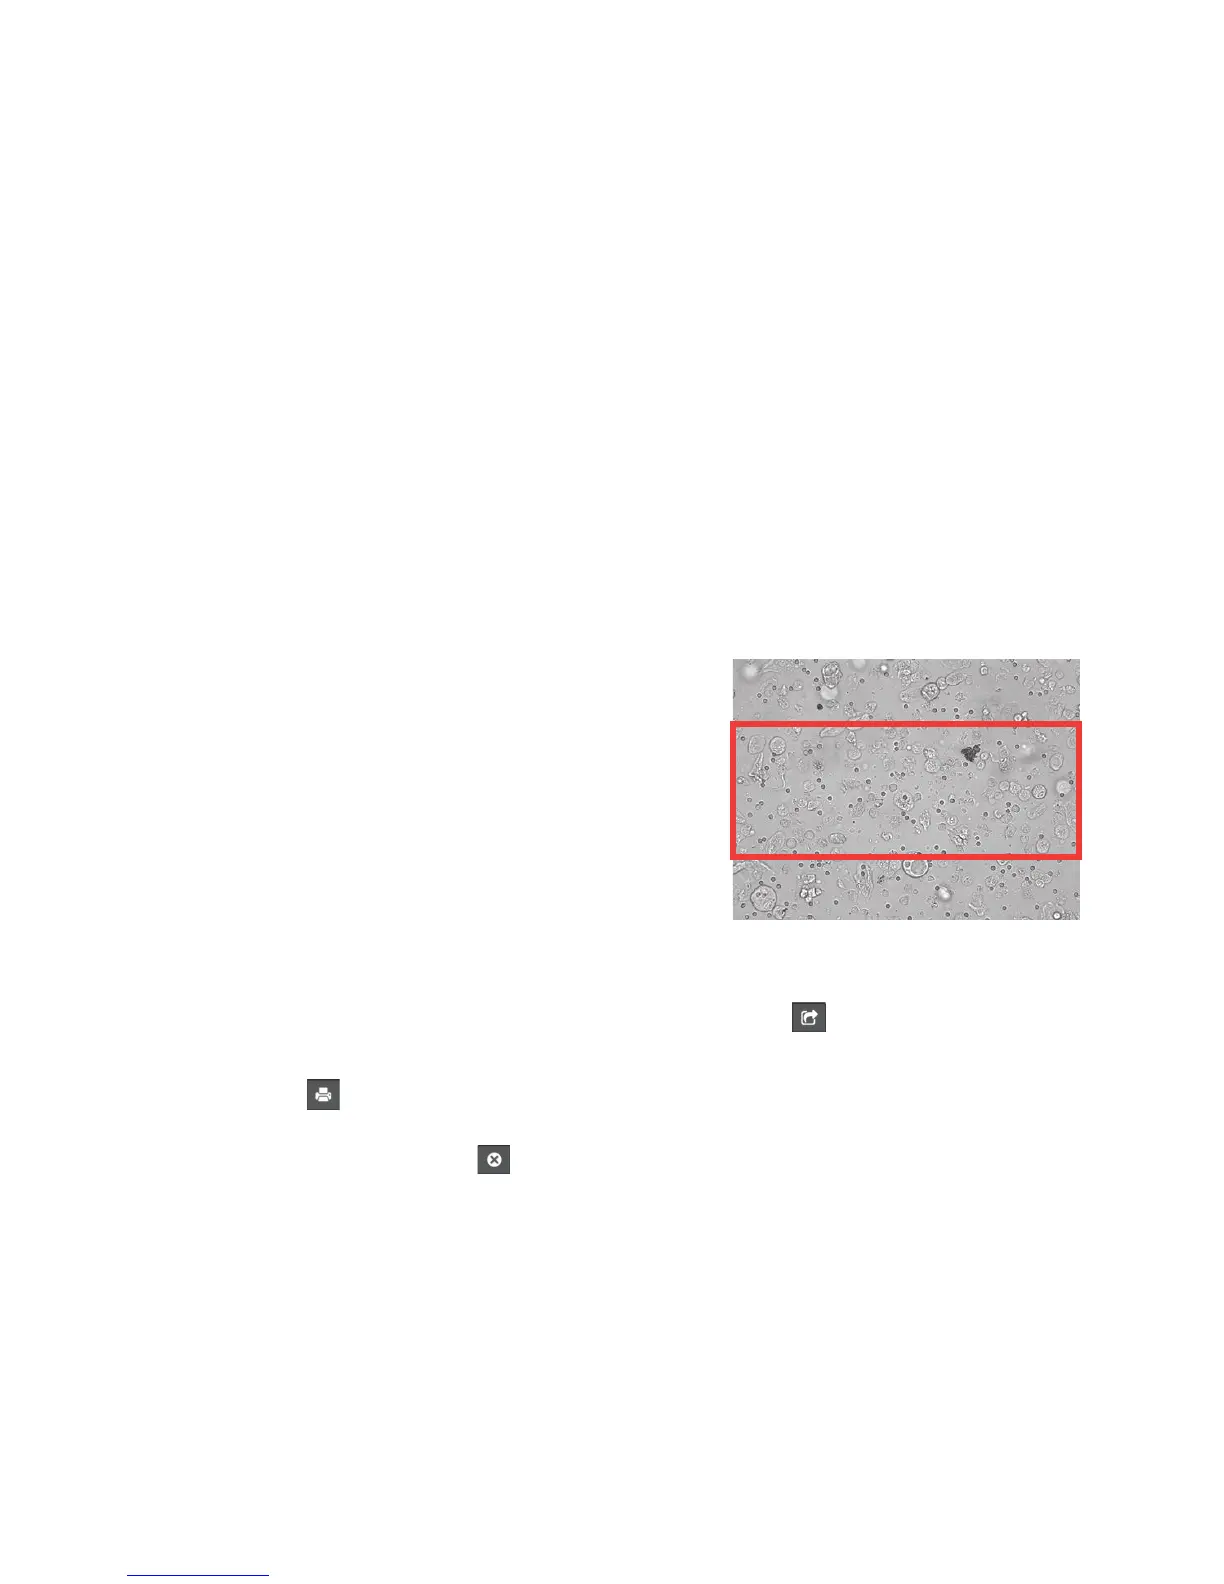
Printing images on the patient report
By default, the center portion of the highest priority image
prints automatically if there is any sediment identified in
the sample. You can override this setting or manually add
an image to the patient’s printed report as well as to the
PDF that’s sent to your compatible practice management
system.
To add an image to the patient report:
1. On the SediVue Dx tab of the Records: Test Results
screen, tap View Images.
2. Tap the image that you want to view and then use
the image toolbar at the bottom of the screen to control the magnification, adjust the contrast,
display or hide image tags, and more.
3. Once the image appears as you want it to on the report, tap
.
4. Drag the crop box to the area of interest.
5. Tap
to generate the patient report with the image included and send a PDF version of the
report to your compatible practice management software.
6. To close the viewer, tap
in the toolbar on the bottom of the screen or tap the X button in
the upper-right corner to exit the View Images feature.
 Loading...