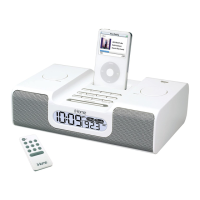
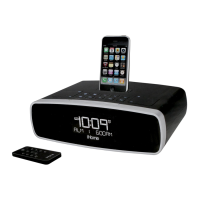
quick start
1
Press the Radio button to select FM
radio mode. Turn the Set Wheel to
tune in a station. Press and hold a
desired preset button (1-3) to set
the current station as a preset.
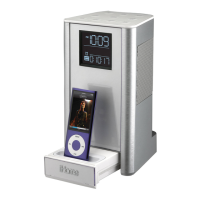
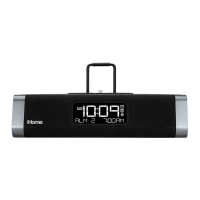
Attach security tether to bottom of
the HiP99 and secure the other end
to a wall or other permanent
surface. Attach the rear cover on
the unit.
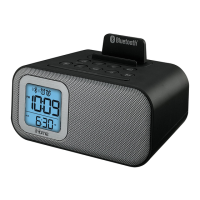
The HiP99 is preset to the Eastern
time zone. To change the time
zone:
• Press & hold the Time Zone
button on back until display
flashes
• Turn the Set Wheel to select
your time zone
• Press the Time Zone button
again
3:time zone
4:security
Staff can access Time Zone, Clock
Adjust, DST (Daylight Savings
Time), High/Low volume settings
and power supply jack on the rear
of the unit. Use the thumbscrew to
attach the rear cover after
adjusting settings.
5:radio
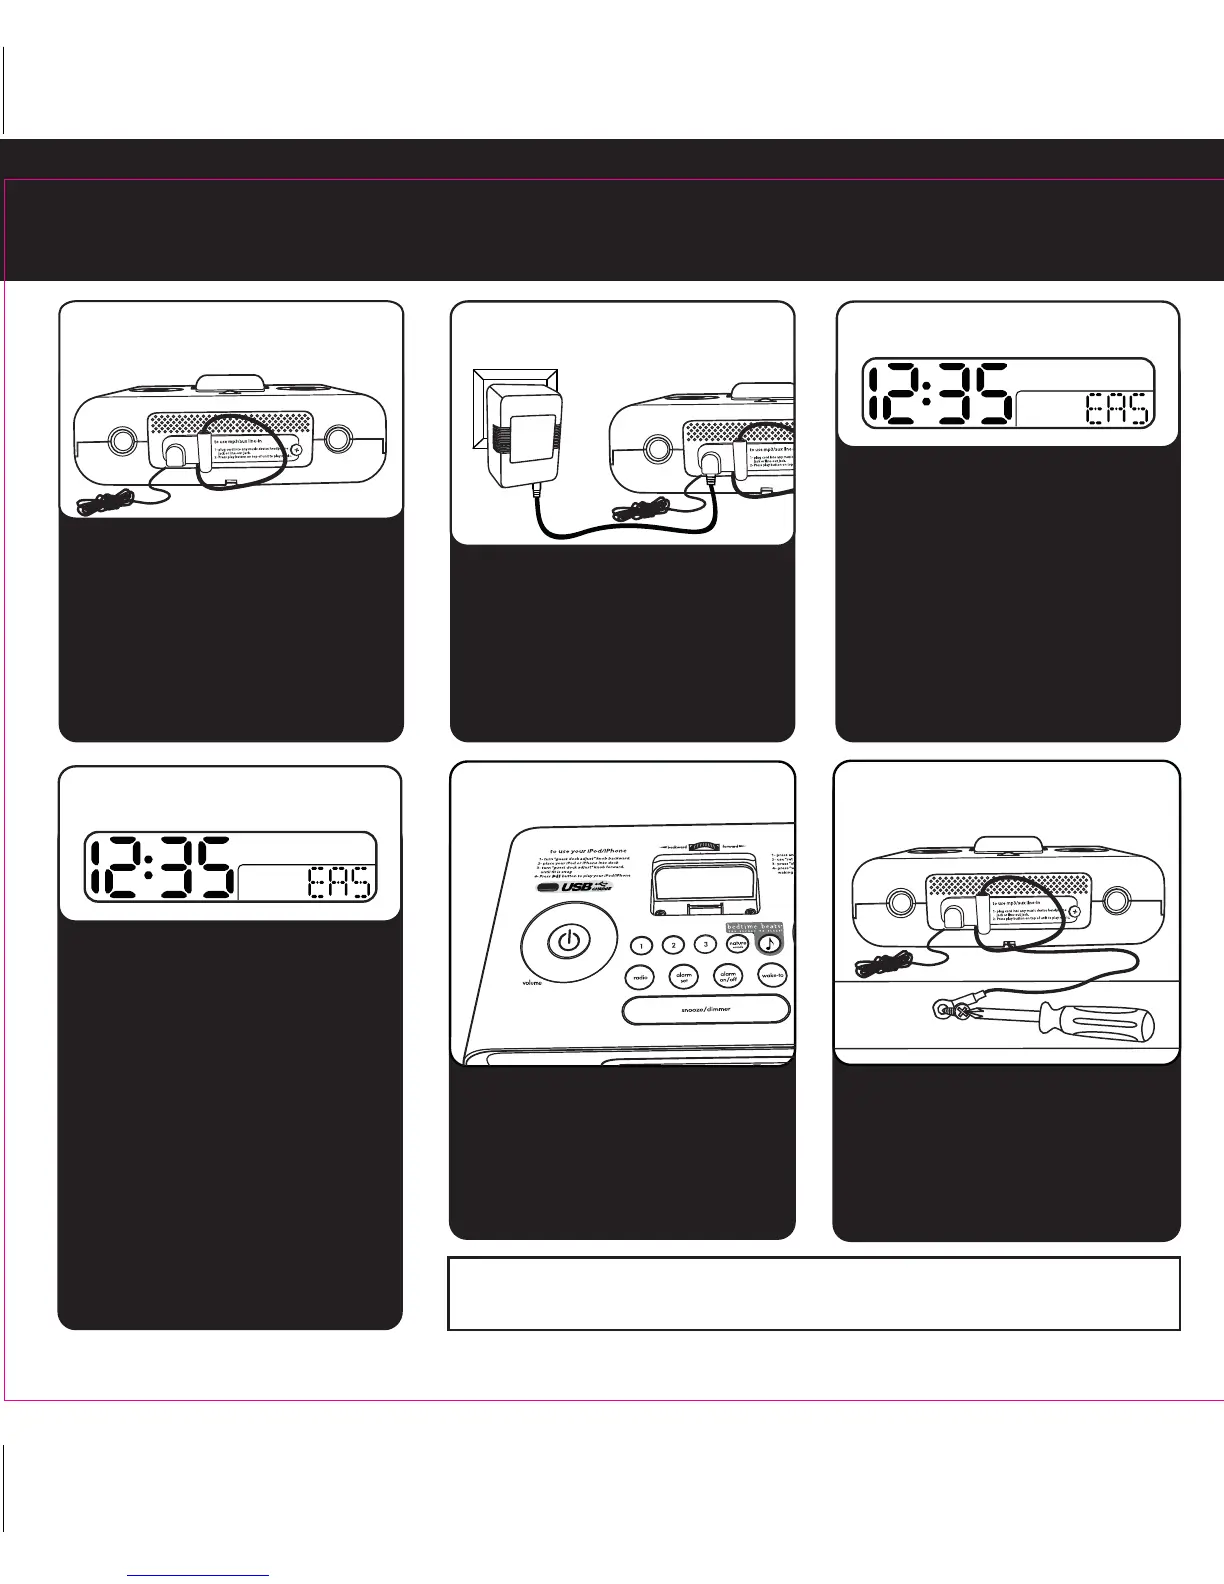
1:rear cover
2:power
Attach AC adaptor cable to jack on
back of the HiP99 and plug the
other end into a working wall
socket.
NOTE: When not in use, attached line-in cord plug must be stored
in plug holder on rear of unit to avoid improper operation
• Slide the DST switch on back of
unit to +1 to add an hour or to
-1 to subtract an hour or use the
AUTO setting.
• Press & hold the Clock Adjust
button on back until the display
flashes
• Turn the Set Wheel to set the
correct time
• Press the Clock Adjust button
and use set wheel again as
needed to set year and date
• Press the Clock Adjust button to
confirm settings when done
4:clock adjust