EasyManuals Logo

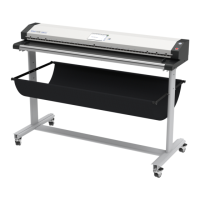
Image Access widetek 44 User Manual

Default Icon
129 pages
To Next Page IconTo Next Page
To Previous Page IconTo Previous Page
Page #60 background imageLoading...
Page #60 background image
/ /
Page 60 Manual
The image scanned at last is marked with a “pencil” symbol in the list on the external
monitor.
The menu button bar (Picture 13, item 2) remain the same.
C.2.6.1 Job mode, move image
Use the upwards / downwards buttons to move the blue frame at first to
the desired image.
Then touch the button. The image is marked with a red frame; the button
itself and the up-/downwards buttons are marked with a red dotted frame.
Use the upwards / downwards buttons to move the selected image to its
new position.
Press this button again to lock the image at the new position.
C.2.6.2 Job Mode, rescanning an image
Use the upwards / downwards buttons to move the blue frame to the
image which should be rescanned.
The Scan Now button changes to rescanimage.
Touch the button to start the scan sequence.
The image will be inserted at the marked position.
C.2.6.3 Job Mode, adding an image to the list at any position
Use the upwards / downwards buttons to move the blue frame to the
image where an image should be added.
Mark the image prior to the position where the image is to be inserted.
Touch this button. An empty frame will be inserted prior to the marked
image.
Touch the button. The scanned image will be inserted at the desired
position.

Table of Contents

Other manuals for Image Access widetek 44

Questions and Answers:

Question and Answer IconNeed help?

Do you have a question about the Image Access widetek 44 and is the answer not in the manual?

Image Access widetek 44 Specifications

General IconGeneral
BrandImage Access
Modelwidetek 44
CategoryScanner
LanguageEnglish

Related product manuals