7 Installaon instrucons
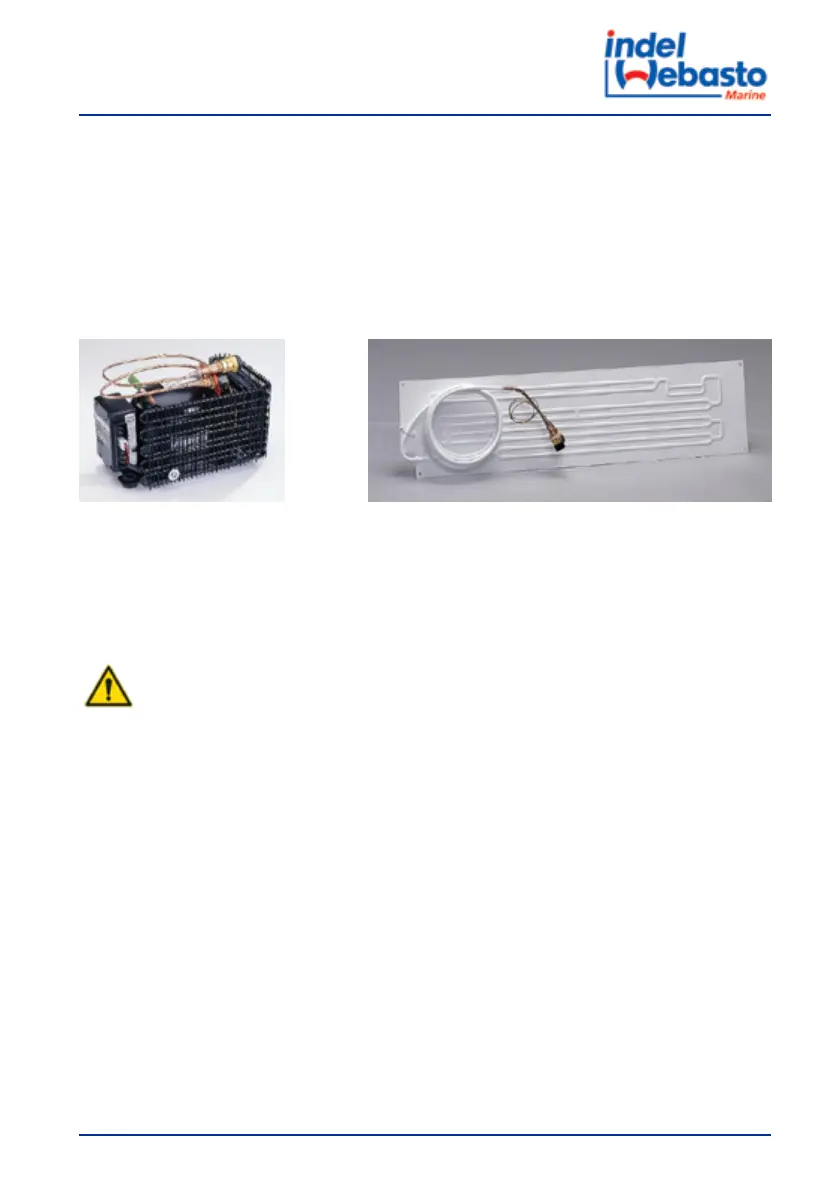
The COMPACT CLASS system is divided into two secons to simplify installaon: the
condensaon unit (compressor unit) and the evaporator (Figure 2). The connecon
between said secons is made through a hose equipped with quick couplings, easy to
connect and disconnect without incurring loss of refrigerant. Pay parcular aenon
to hose bending during assembly: it is malleable and very delicate; for its proper
bending, fold it with a radius no less than 15 cm.
Condensaon unit Evaporator
Figure 2: Compact Classic System - Main units
7.1 Condensaon unit / Compressor unit
WARNING! - The condensaon unit must be installed horizontally with feet
always downward and can run for short periods up to an angle of 30 °, while greater
angles can cause permanent damage to the compressor.
Although the system can operate up to a temperature of 55°C, we recommend
placing it in the coolest place available, both for energy consumpon and for
qualitave yield of the unit. Venlaon is required through exhaust vents of 1 dm2
in the lower and upper parts of the installaon space. A kit with the hose to further
improve venlaon by forcing the entry of fresh air is available as an oponal
accessory (Ref. SBE00004AA). Below is an image showing correct condensaon unit/
compressor unit venlaon (Figure 3).
User Manual
65