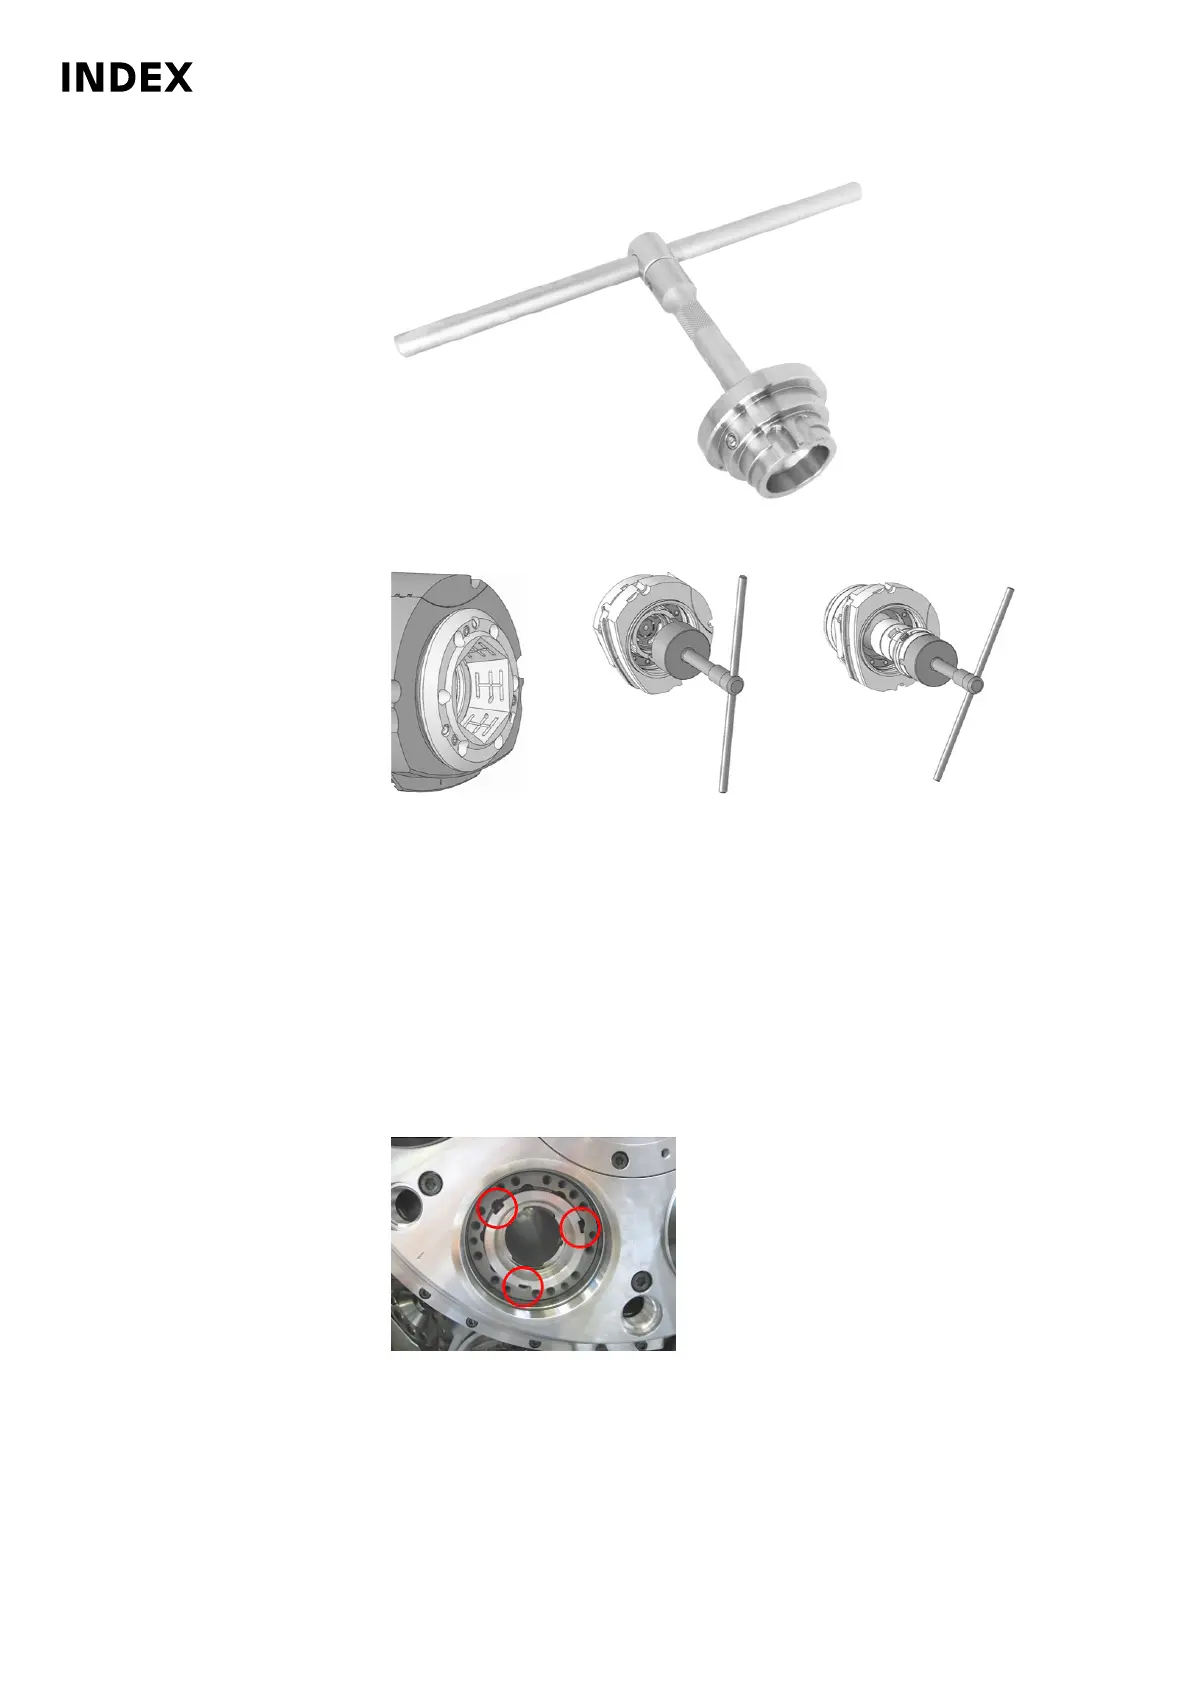
Example: Installation tool (Hainbuch)
Example: Remove clamping element holder and base body
Remove the base body (1) and clamping tube (6) using the installation tool, and
clean.
3. Check clamping tube (6), base body (1), and Glyd ring for damage and wear,
replace if necessary.
4. Clean clamping element holder (2) and collet (4). Grease collet (oil-resistant
grease).
5. Reinstall base body (1) and clamping tube (6). Grease the base body (1) and
clamping tube/thread (6) according to the manufacturer's instructions and
screw them back into the spindle using the installation tool.
6.
Check the installation dimension between the spindle nose end face (5) and
the base body (1) against the size 15
+0.5
mm (in “Clamp open” position).
Observe the installation position.
Alternatively, the following procedure can be used!
Maintenance Summary - Care activities
42
Maintenance Instructions
MS40-8
DIM078EN - 02.06.2020