28
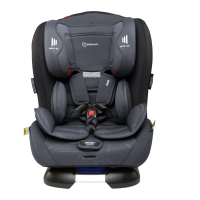
Determine whether your child requires the additional padding provided with this restraint, to
combinations.
Refer to the shoulder height labels (As shown
on pages 29 and 30).
IMPORTANT
!
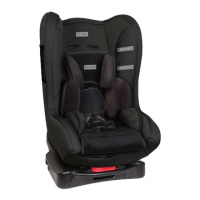
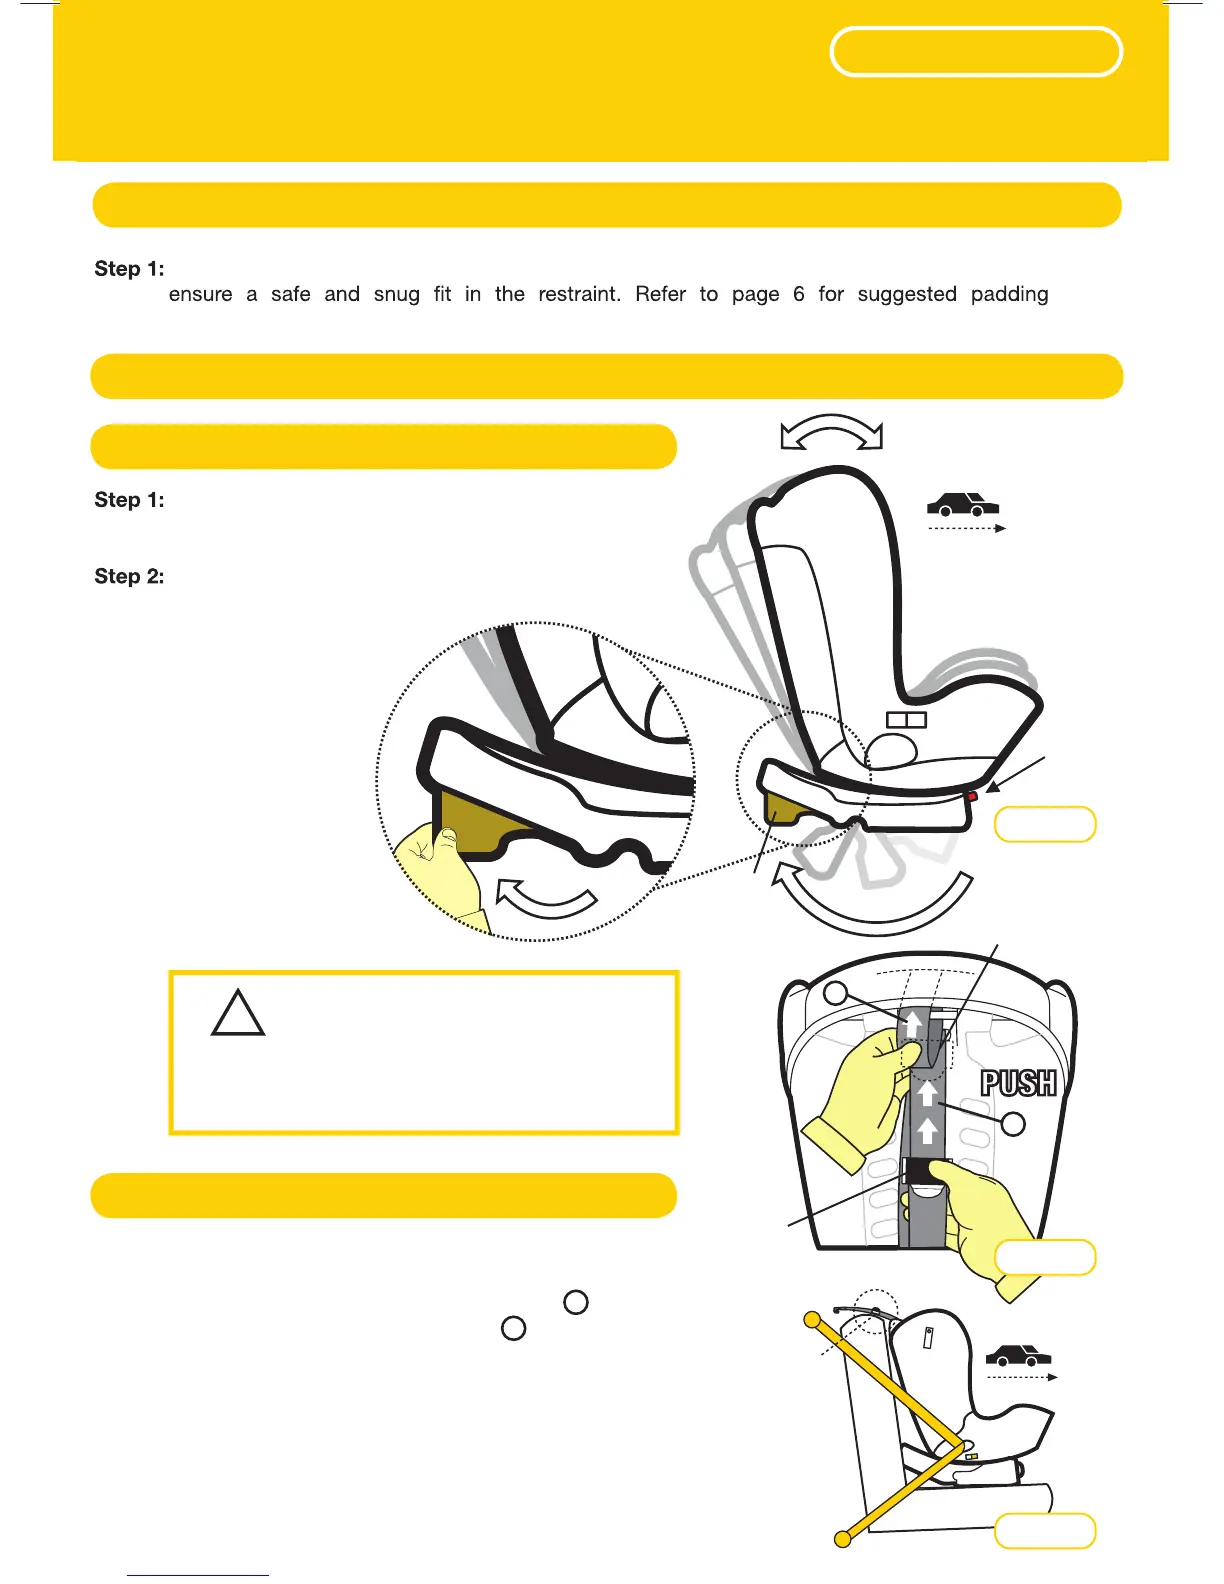
Converting To Child Seat
Ensure the recline section is swung rearward (see
Figure 1).
At the front of the restraint is a red lever. Pull red lever
forward and slide the seat to obtain the desired
upright or reclined angle.
Recline
Upright
RED
LEVER
RECLINE
SECTION
Front
of Car
Reclined Position
Adjuster Assembly Location
PUSH
Pull excess strap through the top section
whilst feeding the adjuster section towards
the seat (see Figure 2).
Continue to shorten until you have reached the
desired position at the rear of the restraint (see Figure 3).
Step 1:
Step 2:
Forward Facing (Type B)
Adjuster
1
1
2
2
Top Tether
Strap
Figure 2
Figure 1
Adjuster
position
Front
of Car
Figure 3
Selection of appropriate padding combinations
Set Up
Child Car Seat
Recline Section
(Swung Rearward)