18 19
15. PHOTOGRAPHY AND VIDEO
RECORDING
The FINDERV2 is equipped with video recording and image capture.
All videos and photos are automatically saved to the FINDERV2’s
built-in 32GB memory storage.
NOTE: Photo and video files are named with the time and date;
therefore, it is recommended to set the date and time before using
the photo and video functions. See Main Menu > Date and Time on
page30. Alternatively, the date and time may be synchronized
in the InfiRay Outdoor App.
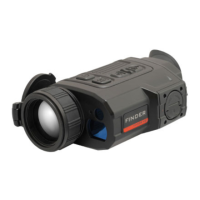
Photography
To take a photo:
1. From the home
screen, short press
the Down
Button.
2. The image freezes
for 0.5 seconds and
the camera
icon
appears briefly in the
upper-right corner of
the screen.
NOTE: A red warning icon
appears next to the camera icon
in the upper-right corner of the screen when insucient memory
storage is available. Transfer video and image files to other storage
media to free up space on the memory card.
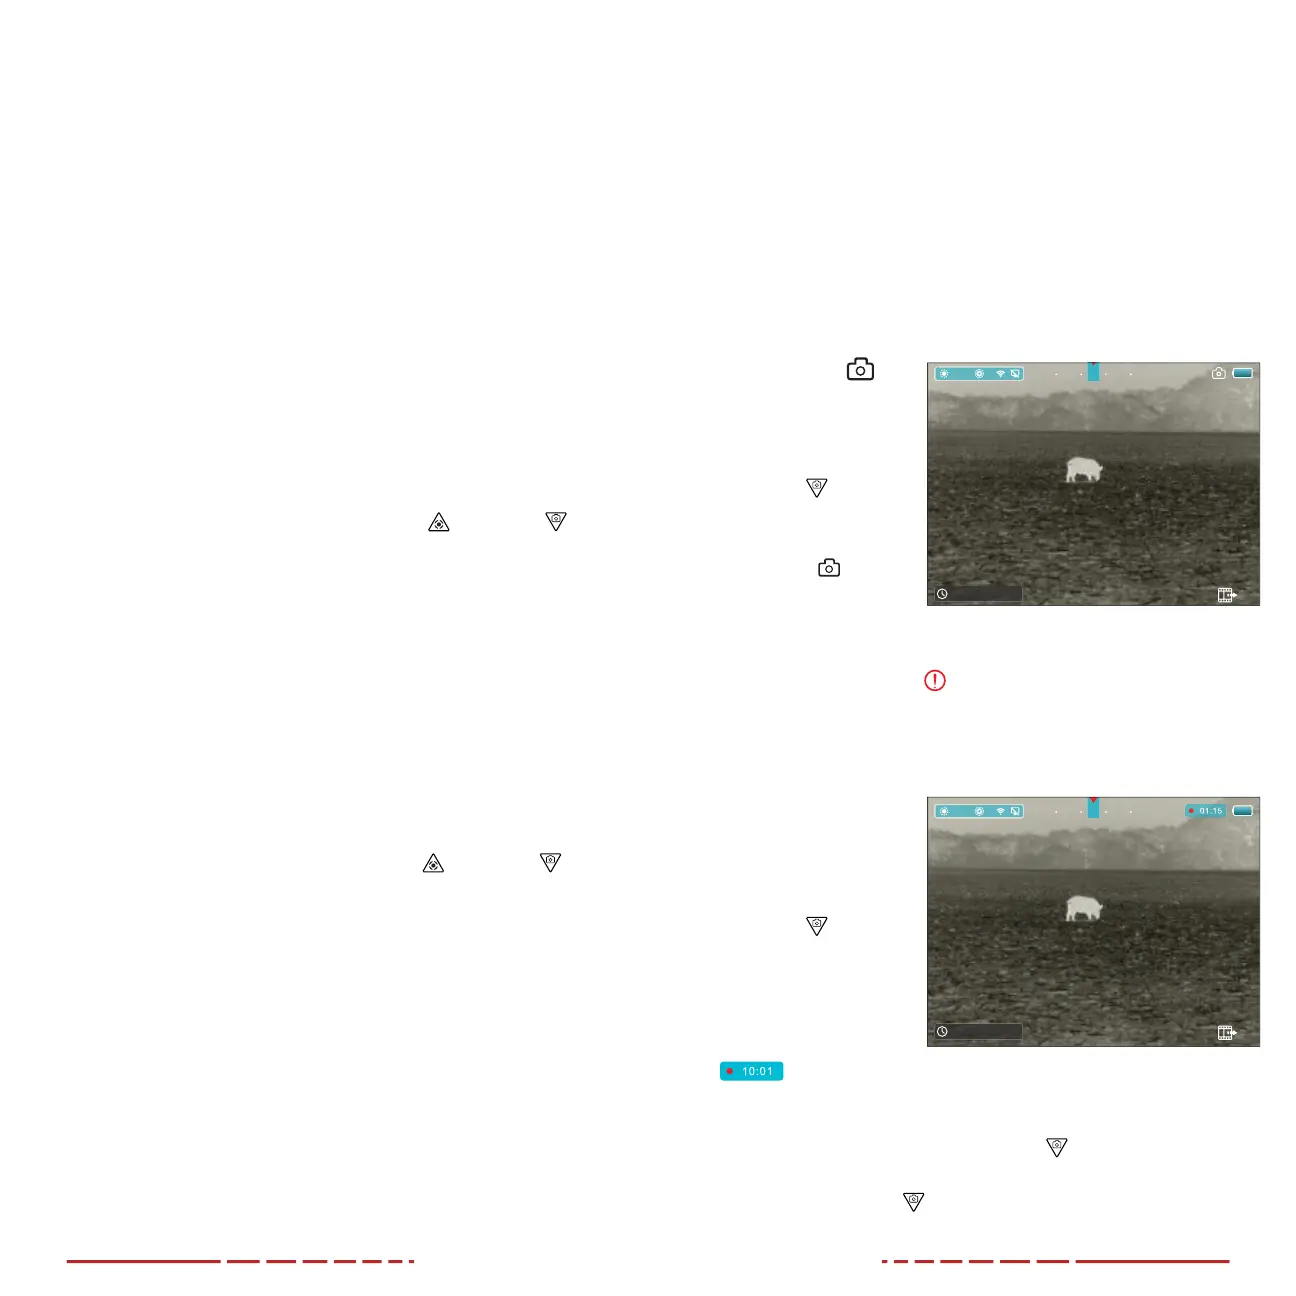
Video Recording
To record video:
1. From the home
screen, long press
the Down
Button
to start a video
recording.
2. When the video
recording starts,
the video recording
timer appears,
in MM:SS (minute: second) format, in the upper-right corner of
the screen.
3. When recording, short press the Down
Button to take a
photo.
4. Long press the Down
Button to stop and save the video
recording.
×1.0
M
14 :4 6/2019 /05/08
N W N EN
×1.0
M
14 :4 6/2019 /05/08
O u t
N W N EN
Automatic Mode
In automatic mode (A), the FINDERV2 will perform a shuttered NUC
automatically according to the internal software algorithm. There
is no need to close the objective lens cap(1) as the FINDERV2’s
internal shutter covers the sensor.
NOTE: A manual shuttered or shutterless NUC may be performed
at any time while in Automatic(A) mode.
Manual Mode
In manual mode (M), the user independently determines the need to
perform a shuttered or shutterless NUC based on the quality of the
observed image.
Performing a Shuttered NUC
A shuttered NUC may be performed while in manual or automatic
mode:
1. From the home screen, short press the Up
and Down
Button at the same time.
2. The internal shutter will cover the sensor and a shuttered
non-uniformity correction (NUC) will be performed instantly.
Performing a Shutterless NUC
A shutterless NUC uses less power than an automatic or manual
NUC because it does not use the FINDERV2’s shutter to cover the
sensor; instead, the user must close the lens cap(1).
A shutterless NUC may be performed while in manual or automatic
mode:
1. Close the objective lens cap(1).
2. From the home screen, long press the Up
and Down
Button at the same time.
3. A prompt to close the lens cap (1) appears on the screen. The
shutterless NUC starts after about 2seconds.
NOTE: If the lens is not properly covered, a temporary “image burn”
will remain in the image until the next non-uniformity correction. This
“image burn” is temporary and is not a defect or sign of permanent
damage.
 Loading...