8 9
7. QUICK START GUIDE
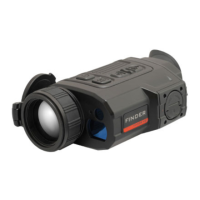
Step 1: Prepare to Use the FINDERV2
1. Compare the box contents to the accessories list and examine
each for any shipping damage. See Accessories on page4.
2. Check the lens to ensure there are no smudges or dirt present.
Clean with the included lens cloth, if necessary.
3. Charge the battery packs (12) using the included battery
charger(16) before using the FINDERV2 for the first time. See
Charging the Battery Pack on the next page.
4. Insert a battery pack into the battery compartment. See Installing
a Battery Pack on page10.
Step 2: Turn On the FINDERV2
1. Open the objective lens cap (1).
2. Long press the Power
Button for 3 seconds to power on the
FINDERV2. The InfiRay Outdoor logo will appear.
3. Rotate the diopter adjustment ring (12) of the eyepiece until the
interface icons are clear.
WARNING: Do not point the objective lens toward intense
energy sources, such as the sun. This may render the electronic
components inoperative. The warranty does not cover damage
caused by improper operation.
Step 3: Adjust Image Settings in the Quick Menu
Short press the Menu Button to enter the quick menu to adjust
the following settings (see Using the Quick Menu on page16):
1. Set the digital zoom level, from 1–4×, in increments of 0.5×.
2. Set the color palette to white hot, black hot, red hot, highlight,
ironbow, or rainbow.
3. Set the image brightness level from 1–5.
4. Set the image contrast level from 1–5.
Step 4: Adjust Device Settings in the Main Menu
Long press the Menu Button to enter the main menu to adjust
the following settings (see Main Menu Options and Descriptions on
page24 for detailed instructions):
1. Turn on Ultra-clear mode.
2. Turn on the digital compass and gravity sensor.
3. Turn on the microphone.
4. Set the units of measurement to meters or yards.
5. Set the non-uniformity correction (NUC) mode to automatic or
manual. See Non-Uniformity Correction on page17.
6. Set the image hue to warm or cool.
7. Set the date and time.
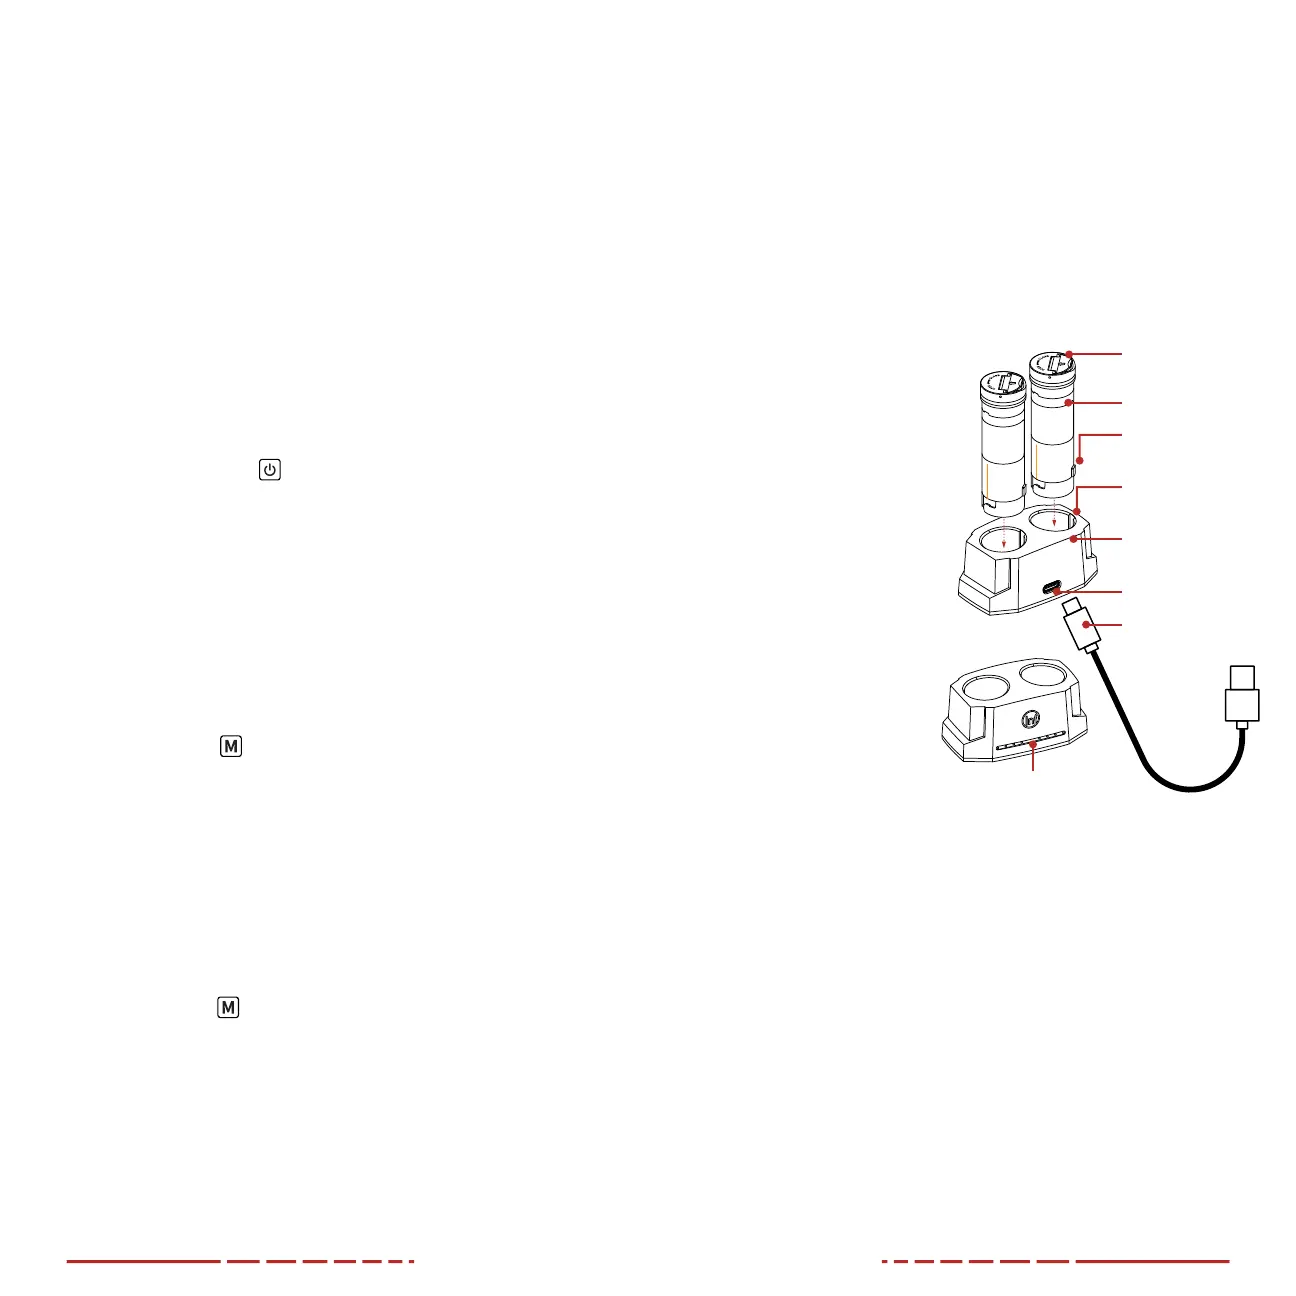
8. CHARGING THE BATTERY PACKS
The FINDERV2 rangefinder comes with two IBP-2 long-lasting
rechargeable lithium-ion 3300mAh batteries, which allow for
3+hours of operation each. Fully charge the battery packs before
using the FINDERV2 for the first time.
Charging with the Battery Charger
1. Insert one or both of the
IBP-2 batteries (8) into
the battery charger(16).
a. Align the small
alignment tab (A)
near the bottom of
the battery with the
long shallow slot (B)
on the inside of the
charger.
2. Connect the USB-C end
of the data cable(17) to
the USB-C port (C) on
the battery charger.
3. Connect the standard
USB end of the data
cable to:
a. The included
5V–2A USB power
adapter; OR
b. Any standard USB 3.0 port on a laptop or computer.
4. During charging, the LED indicators (D) on the battery charger
will indicate the current charge level. See Battery Charger Status
LEDs on the next page.
5. When fully charged, remove the batteries from the charger. Do
not overcharge.
WARNING: Never use the battery charger with a USB power
adapter greater than 5V–2A.
WARNING: Only use the battery charger supplied with the battery.
The use of any other charger may irreparably damage the battery,
or the charger, and may cause a fire. Any damage from using an
improper battery charger will not be covered by warranty.
USB-C Port (C)
Battery
Charger (16)
Data Cable (17)
LED Indicators (D)
Alignment
Tab (A)
IBP-2 Battery (8)
Alignment Tab
Slot (B)
Pull Tab (9)
 Loading...