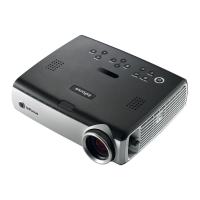
Do you have a question about the InFocus IN32 and is the answer not in the manual?
Connect a computer to the projector using the provided computer cable.
Connect DVD/VCR using optional cables for video and audio input.
Connect the power cord, turn on the projector, and activate the source.
Correct image shape, size, and sharpness using keypad and rings.
Steps to resolve issues with no image displayed on the screen.
Solutions for out-of-range signals or poor image quality.
Understand projector status lights (Lamp, Temp, Service) for diagnostics.
Use correct power cord, power strip, and handle mercury lamp safely.
Resolve issues if no computer image appears.
Understand projector status lights for diagnostics.
Resolve issues with no startup screen appearing.
Troubleshoot when only startup screen is visible.
Adjust refresh rate or resolution for signal errors.
Set resolution for clarity and manage laptop dual display.
Adjust keystone on keypad or in Picture menu to square the image.
Adjust focus lens or Sharpness in the Picture>Advanced menu.
Correct aspect ratio and image orientation (upside down/reversed).
Adjust color settings and projector position for accurate display.
Address lamp power issues and high temperature warnings.
Replace the lamp when indicated by the message.
Turn off, cool, remove door, loosen screw, and detach connector.
Install new lamp, reattach door, power on, and reset lamp timer.
| Number of colors | 16.78 million colors |
|---|---|
| Vertical scan range | 48 - 85 Hz |
| Horizontal scan range | 15.625 - 85 kHz |
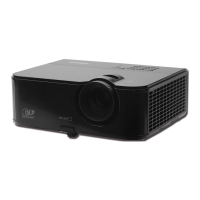
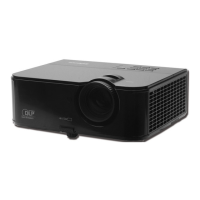
| Projection technology | DLP |
| Contrast ratio (typical) | 1000:1 |
| Screen size compatibility | 32\ |
| Projector native resolution | XGA (1024x768) |
| Display diagonal | 0.7 \ |
| Lamp type | SHP |
| Lamp power | 200 W |
| Light source type | Lamp |
| Service life of light source | 2000 h |
| I/O ports | 2 Computer (DVI-M1 & VESA); 2 Video (S-Video 4-pin mini DIN & Composite RCA; 1 Audio (stereo RCA); 1 Serial Interface (RJ45) |
| Aspect ratio | 4:3 |
| Power supply type | 90~265V @ 50-60Hz |
| Dimensions (WxDxH) | 265 x 220 x 75 mm |
| Noise level | 35 dB |
| Power consumption (typical) | 260 W |
| Weight | 2350 g |
|---|