[ 17 ]
EasyGluco
TM
Testing Your Blood
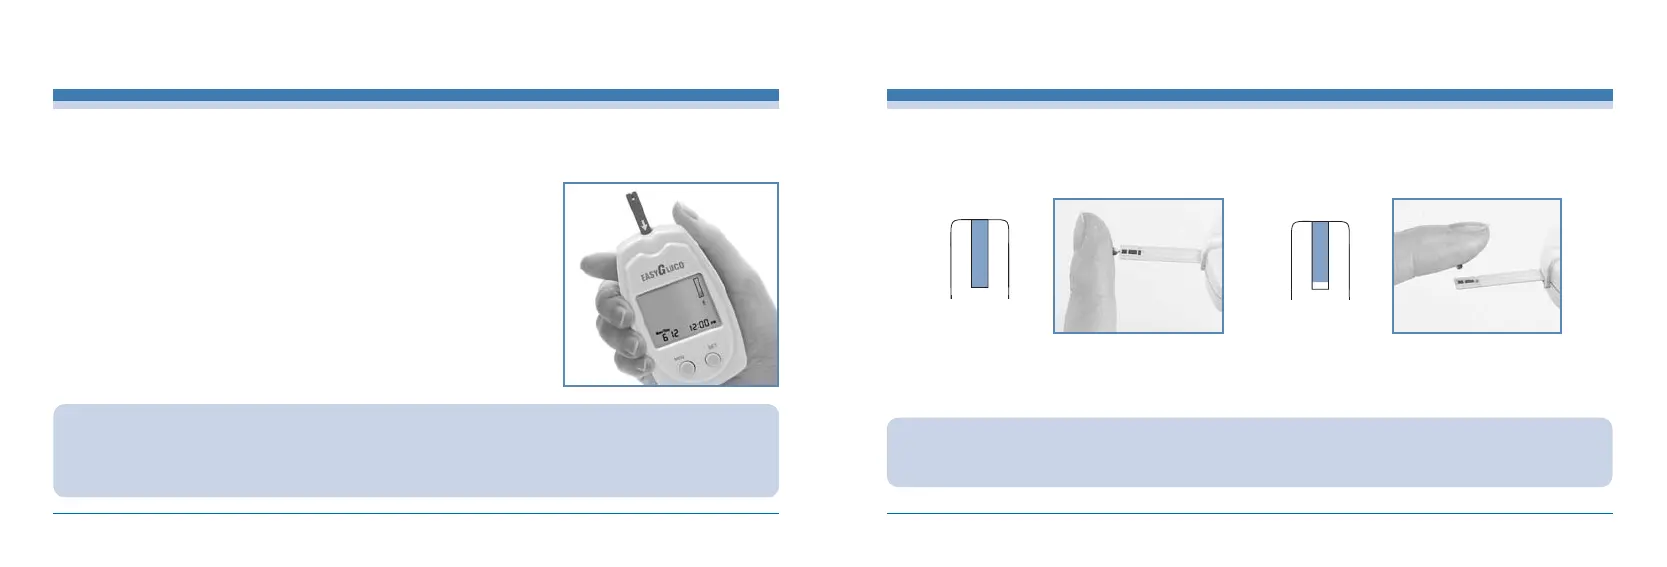
STEP 1.
Firmly insert the EasyGluco
TM
Test Strip into the EasyGluco
TM
Meter test port. With the
Arrow side “”facing up and in the direction of the arrow, insert it into the test port of the
Meter firmly. The meter will automatically turn on and display the code number. Make sure
the code number on display matches the code number on the test strip vial. If the code
number does not match, code the meter correctly. See “Coding The Meter”page.
Note: Inserting the test strip in the wrong direction will turn the meter on or
but the test will not be done.
CAUTION :
·If you did not confirm the code in 3 seconds, pull the electrode out of the port, and re-start the procedure from the beginning.
·If the codes on the LCD display window and on the test strip vial do not match, do the “Coding The Meter”procedure for
accurate result.
Practice using the Lancing Device and become accustomed with its use. Wash your hands with warm, clean water and soap. Dry your
hands completely before testing.
INFOPIA [ 18 ]
Testing Your Blood
STEP 2.
Place your fingertip to the top edge of EasyGluco
TM
Test Strip.
The blood on your finger will automatically draw into the applying channel of the test strip (on the electrode). Allow your finger
toremain untill you hear a “beep”sound from the EasyGluco
TM
Meter. A sample volume of 3
㎕
is required
completely
filled
correct
poorly filled
incorrect
CAUTION :
·
If you do not conduct the test after 3 minutes, the meter will automatically power off to save battery life. In this case,
the test procedure should start again from the beginning.