3
Installation
Installation requires:
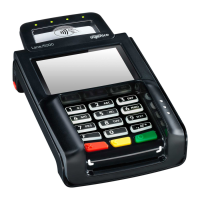
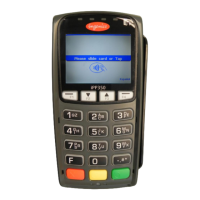
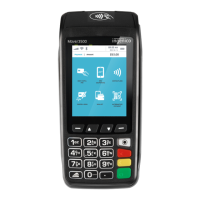
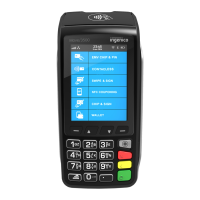
• Ingenico Payment Device (Lane 3000, Lane 3600, Lane 7000, Lane 8000)
• Power Cable
• Y-Adapter Cable
1. The Ingenico payment device ships with the Y-Adapter cable attached and
can be routed through the counter (if applicable).
2. The RJ-45 connector on the other end of the cable is plugged into the LAN
Port under the counter, or an open port on the switch depending on the store
network.
3. Plug one end of the power adapter cable into the power port of the Y-Adapter
cable.
4. Plug the other end of the power adapter cable into the outlet.
5. Repeat steps 1-5 for any other Ingenico Payment Devices using a Y-Adapter
cable.
6. Once all the Ingenico Payment Devices are set up and powered on, the PAR
Pay EMV Setup needs to be completed and a changeset published.
Note: The Ingenico payment device is programmed and mapped to the specific IP
address of its register (via ECR IP and ECR URL). The device obtains a DHCP address
from the local LAN for connectivity. Each Ingenico payment device is labeled (e.g.,
Store XXXXXX REG1) to indicate its physical installation location.
Y-Adapter Cable
Power Cable
 Loading...