18
NS-DSC10SL Insignia 10 Megapixel Camera
www.insigniaproducts.com
4 Press or to highlight Quick View, then press
or SET.
5 Press or to highlight On or Off, then press
SET.
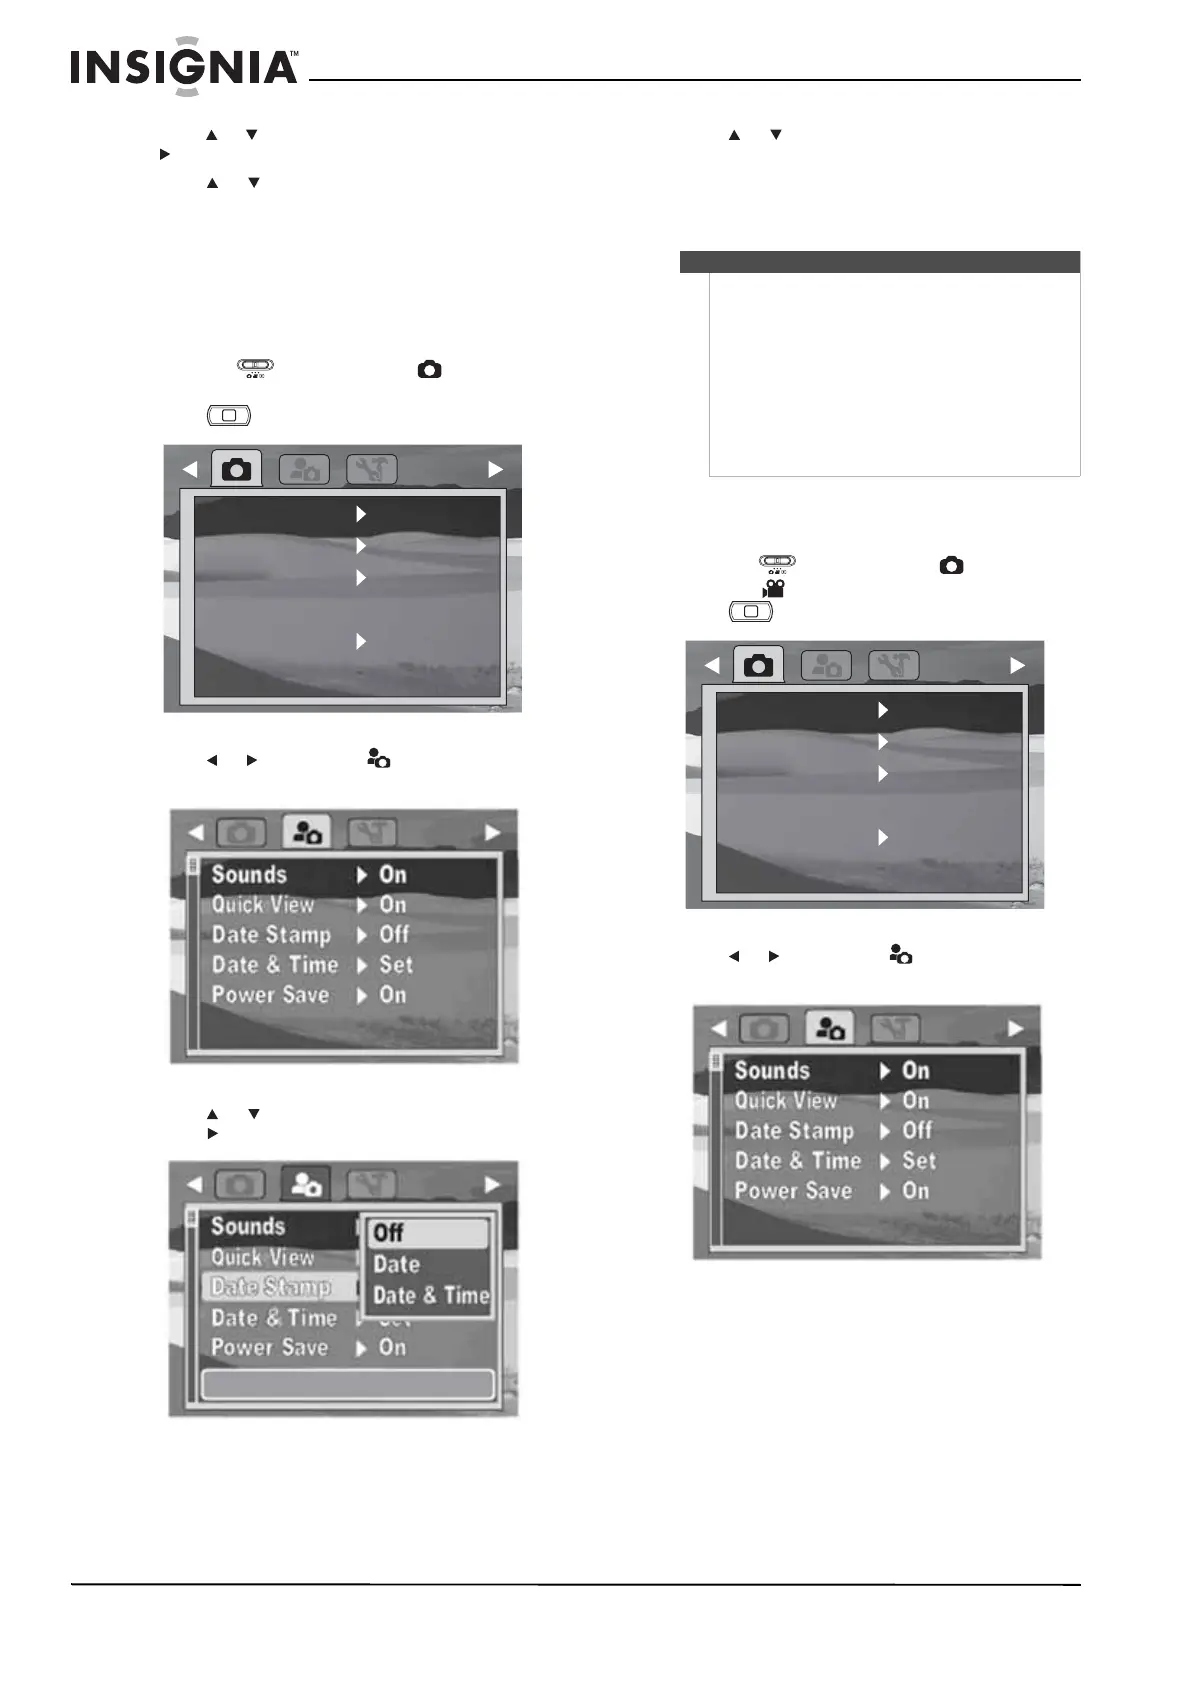
Using the Date Stamp feature
The Date Stamp function lets you add the recorded
date and time on your images. When this function is
turned on, the icon is displayed on the LCD monitor.
To use the Date Stamp feature:
1 Slide the (mode slider) to (Photo
mode).
2 Press . The record menu opens.
3 Press or to highlight . The setup menu
opens.
4 Press or to highlight Date Stamp, then
press or SET.
5 Press or to highlight a setting, then press
SET. You can select:
• Off—Does not print the date and time.
• Date—Prints the date only.
• Date & Time—Prints both the date and time.
Setting the power saving feature
To set the power saving feature:
1 Slide the (mode slider) to (Photo
mode) or (Video mode).
2 Press . The record menu opens.
3 Press or to highlight . The setup menu
opens.
4 Make sure that Simple mode is turned off. See
“Turning Simple mode on or off” on page 9.
M
Fine
10M
Auto
Off
Quality
Resolution
ISO
Color Balance
Self Timer
Notes
• The Date Stamp feature is available for still
images only.
• If the Date Stamp is turned on, digital zoom is
automatically turned off.
• In vertical or rotated images, the date and time
on your photos will still appear horizontally.
• The date and time should be set before using
the Date Stamp. See “Setting the date and time”
on page 19.
• Once an image is stamped, the date or date and
time cannot be removed.
M
Fine
10M
Auto
Off
Quality
Resolution
ISO
Color Balance
Self Timer

 Loading...