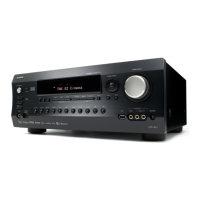
Advanced Operations
En-58
Operating
procedure
(➔ page 55)
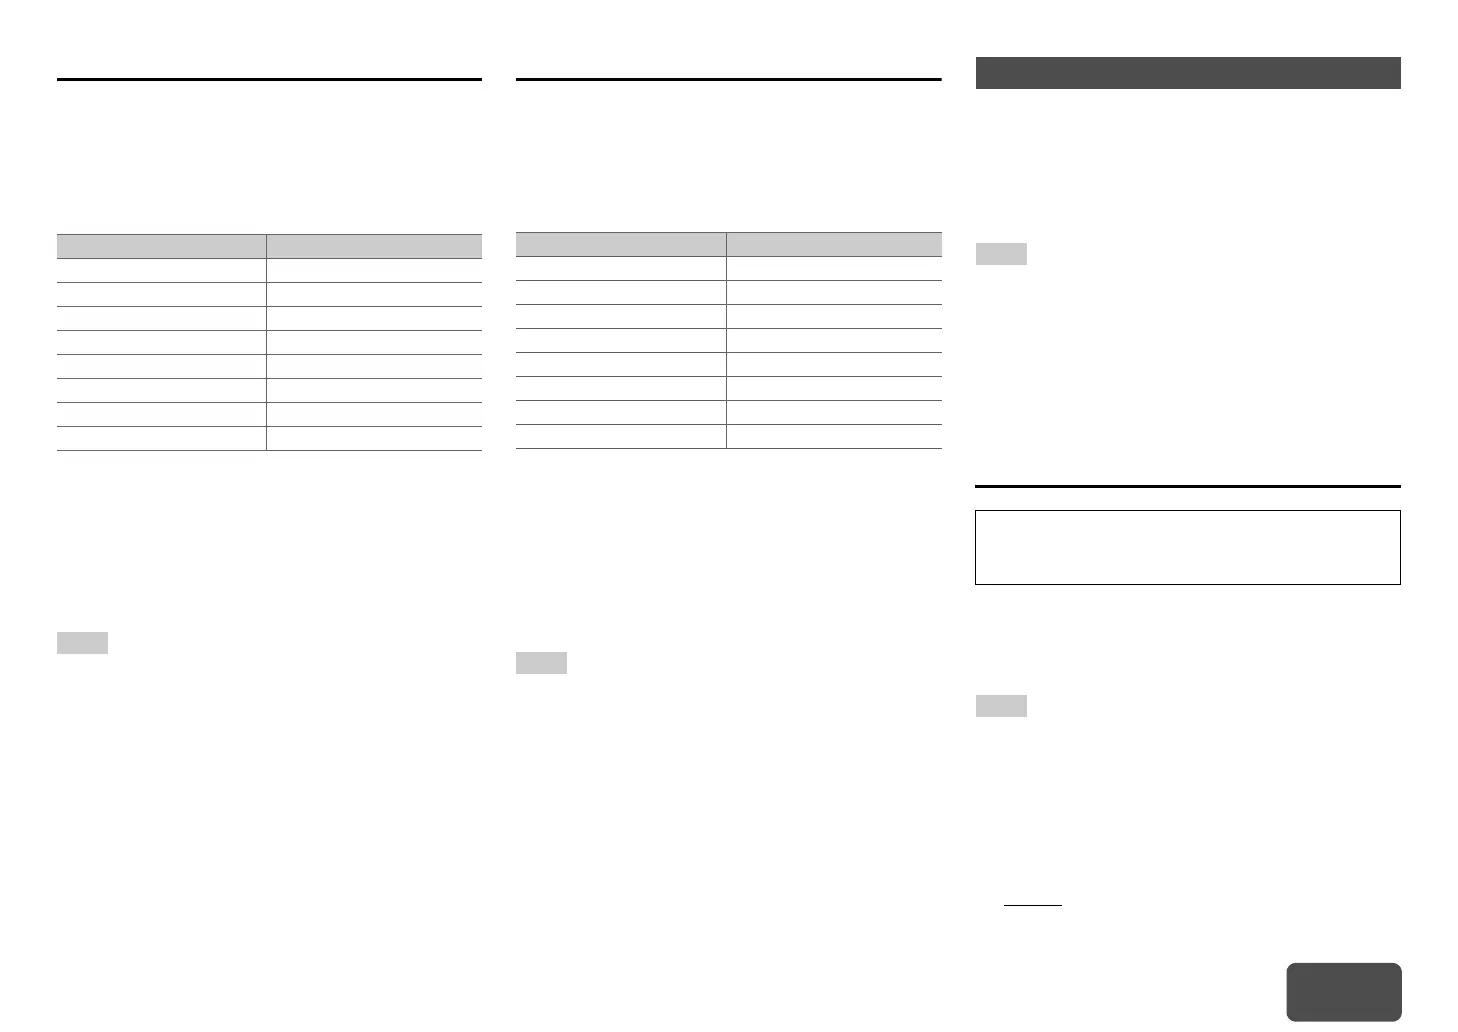
Composite Video Input
If you connect a component to a composite video
input, you must assign that input to an input selector.
If you switch the input to “TV/CD” with its default
assignment, the audio of “TV/CD” is output while the
video of the previously-selected source is displayed.
Here are the default assignments.
■ BD/DVD, CBL/SAT, STB/DVR, GAME, PC, TV/CD,
PHONO
` IN1, IN2, IN3, IN4:
Select the input to which the component has
been connected.
` -----:
The composite video is not input.
Note
•“AUX” is used only for input from the front panel.
• Using these inputs as audio-exclusive allows you to enjoy
audio and video from separate inputs. Refer to “Playing
Audio and Video from Separate Sources” for details
(➔ page 39).
Digital Audio Input
If you connect a component to a digital audio input,
you must assign that input to an input selector. For
example, if you connect your CD player to the
COAXIAL IN 1, you must assign “COAXIAL1” to the
“TV/CD” input selector.
Here are the default assignments.
■ BD/DVD, CBL/SAT, STB/DVR, GAME, PC, AUX,
TV/CD, PHONO
` COAXIAL1, COAXIAL2, OPTICAL:
Select the input to which the component has
been connected.
` -----:
Select if the component is connected to an
analog audio input.
Note
• When an HDMI IN is assigned to an input selector in
“HDMI Input” (➔ page 57), the same HDMI IN will be set
as a priority in this assignment. In this case, if you want to
use the coaxial or optical audio input, make the appropriate
selection in the “Audio Selector” (➔ page 67).
• Supported sampling rates for PCM signals (stereo/mono)
from a digital input (optical and coaxial) are
32/44.1/48/88.2/96 kHz/16, 20, 24 bit.
Here you can check the settings made by
Audyssey MultEQ
®
Room Correction and Speaker
Setup function, or set them manually, which is useful
if you change one of the connected speakers after
using Audyssey MultEQ Room Correction and
Speaker Setup function (➔ page 23).
Note
• These settings are not available in either of the following
cases:
– a pair of headphones is connected.
–The “Audio TV Out (Main)” setting is set to “On”
(➔ page 71) or “Audio TV Out (Sub)” setting is set to
“On” (➔ page 71) and you’re listening through your TV
speakers.
–“HDMI CEC (RIHD)” is set to “On” (➔ page 70) and
you’re listening through your TV speakers.
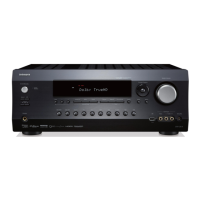
Speaker Settings
If you bi-amp the front speakers, you must change the
“Speakers Type (Front)” setting. For details on
speaker wire connection, see “Bi-amping the Front
Speakers” (➔ page 13).
Note
• When bi-amping is used, the AV receiver is able to drive up
to 5.1 speakers in the main room.
• Before you change these settings, turn down the volume.
■ Speaker Impedance
` 4ohms:
Select if the impedance of any speaker is
4 ohms or more but less than 6.
` 6ohms
:
Select if the impedances of all speakers are
between 6 and 16 ohms.
Input selector Default assignment
BD/DVD IN1
CBL/SAT IN2
STB/DVR IN3
GAME IN4
PC -----
AUX FRONT (Fixed)
TV/CD -----
PHONO -----
Input selector Default assignment
BD/DVD COAXIAL1
CBL/SAT COAXIAL2
STB/DVR -----
GAME -----
PC -----
AUX -----
TV/CD OPTICAL
PHONO -----
2. Speaker Setup
If you change these settings, you must run
Audyssey MultEQ Room Correction and Speaker
Setup again (➔ page 23).