D-0114042-D – 2020/03
Sera™ - Additional Information Page 14
6.4.5 Preamplifier cable connections
After preparing the skin and placing the three electrodes on the baby, connect the electrode cables to the
electrodes.
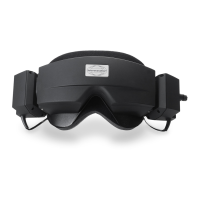
Figure 5
Ensure that the electrode cables are securely connected into the correct
electrode jack on the top of the preamplifier, matching the color of the
cable with the jack. The graphic near the electrode jacks on the
preamplifier illustrates proper placement of electrodes for the nape
montage (
Figure 5).
Connect the cables to the electrodes as follows:
Electrode lead color Electrode location (nape montage)
White High forehead (centered) near the hairline
Black Cheek (either side) or shoulder
Yellow Nape (just below the hairline)
6.4.6 Place transducers
Different transducers can be used with the Sera
TM
for Automated ABR testing. At the time of purchase you
chose your preferred style of acoustic transducer – probe, insert earphones with ear tips or insert phones
with EarCups. All use single-use disposable supplies.
Re-use of single-use disposables enhances the risk of cross contamination!
6.4.7 Insert earphones with
EarCups
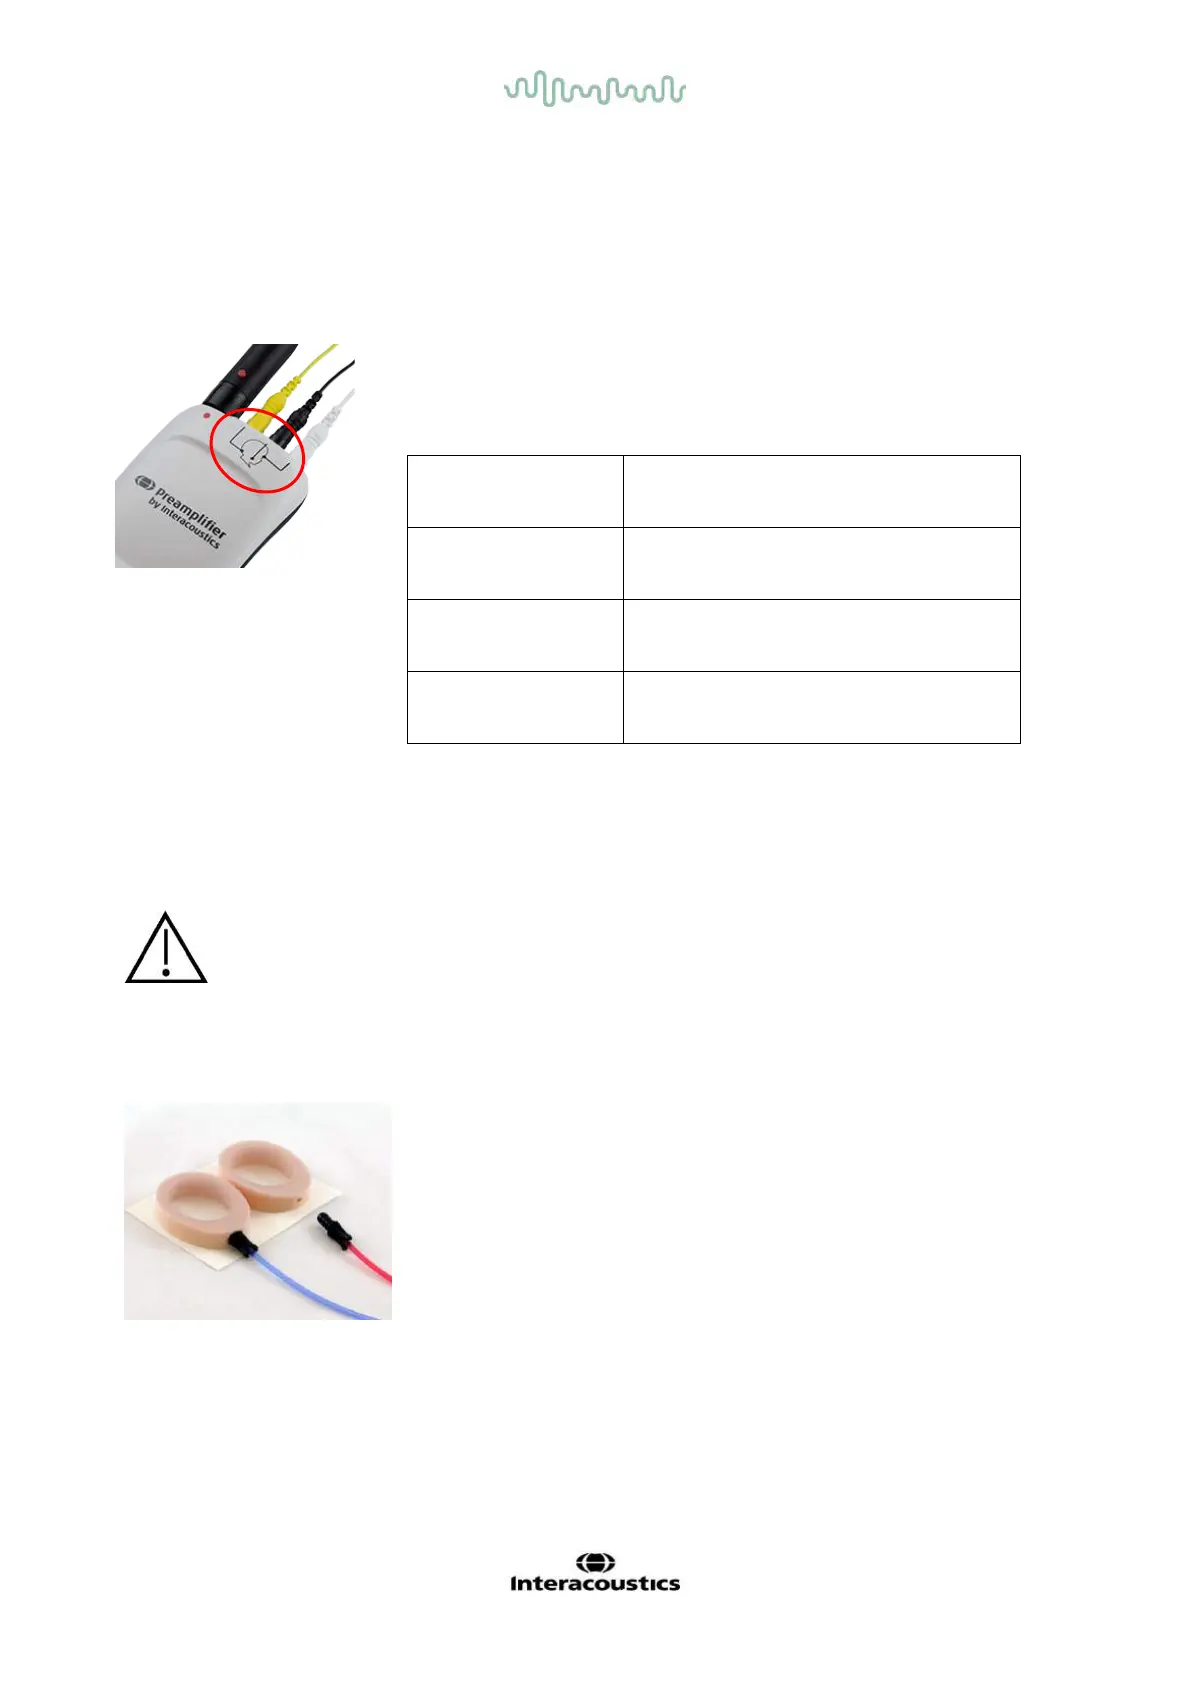
Figure 6: EarCup setup
The EarCup is an around-the-ear coupler that connects to the tubing of the
insert earphones using the EarCup adapters. The EarCups adhere to the
skin around the baby’s ear.
Insert the EarCup adapter at the end of each of the insert earphone tubes
into the hole in the foam at the top of the EarCup so that it is fully inserted
(Figure 6).