Note: All scheduled times are based on the 24-hour clock. Ensure that the correct
time zone and daylight saving time settings have been configured in Configuration
> System > System Settings.
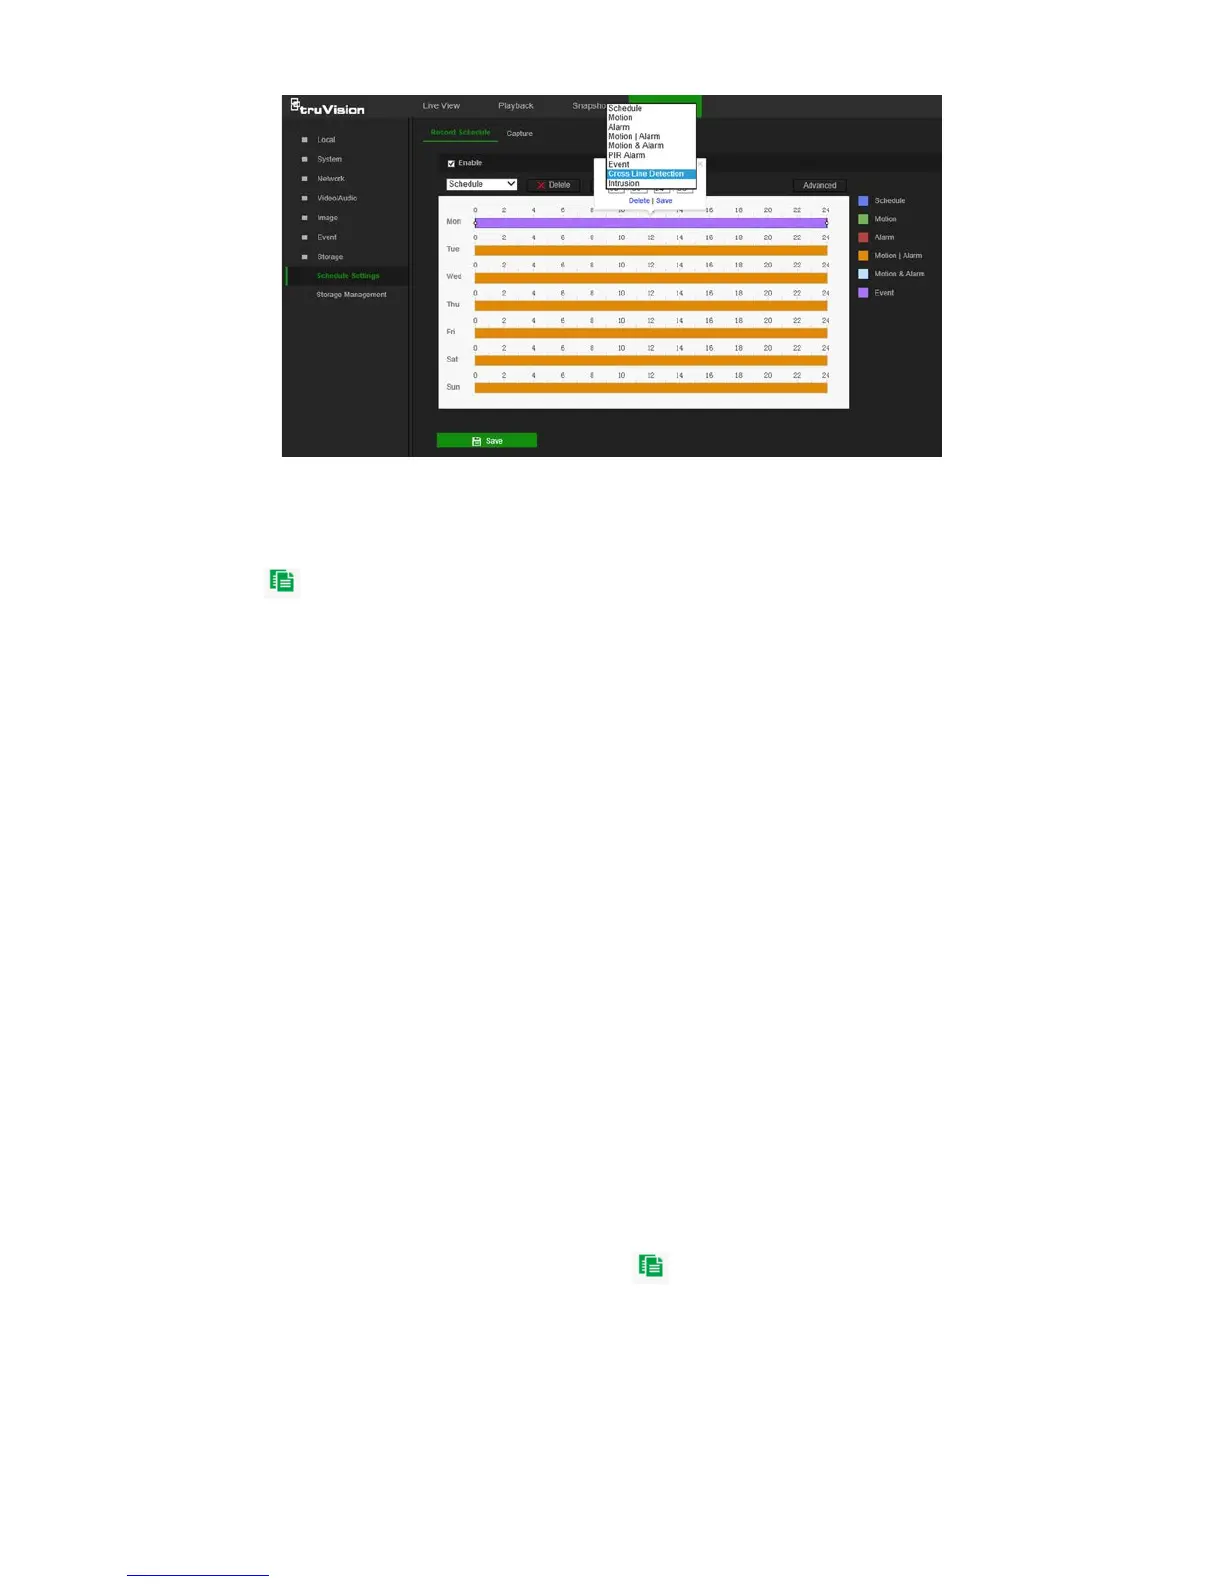
6. Click
to copy the schedule to other days by selecting the corresponding check
box next to the day.
7. Click Save to save changes.
Note: If the recording type is set to a motion and/or alarm setting, an arming schedule
must also be defined in order to trigger motion detection or alarm input recording.
Snapshot parameters
Scheduled and event-triggered snapshots can be captured and stored in the camera’s
SD card or in a NAS (if configured). The snapshots can also be uploaded to an FTP
server.
Select the Enable Timing Snapshot check box to have snapshots uploaded to the
FTP. Also, ensure that the Upload Snapshot check box in the Network > Advanced
Settings > FTP tab is selected to upload snapshots to the FTP.
Select the Enable Event-Triggered Snapshot check box to have snapshots uploaded
to the FTP and/or NAS when motion detection or an alarm input is triggered. Also,
ensure that the Upload Snapshot check box in the Network > Advanced Settings >
FTP tab is selected to upload snapshots to the FTP.
To set up a snapshot schedule:
1. From the menu toolbar, click Configuration > Storage > Schedule Settings >
Capture.
2. Click the Snapshot Schedule tab to configure the capture schedule by clicking and
dragging the mouse on the time bar. Click
to copy the schedule to other days by
selecting the corresponding check box next to the day.
3. Click Advanced to select stream type (Sub Stream or Main Stream).
TruVision 81 Series IP Camera Configuration Manual 43