Chapter 3 — Replacing Parts
EasyCoder PD41/PD42 Printer Service Manual 47
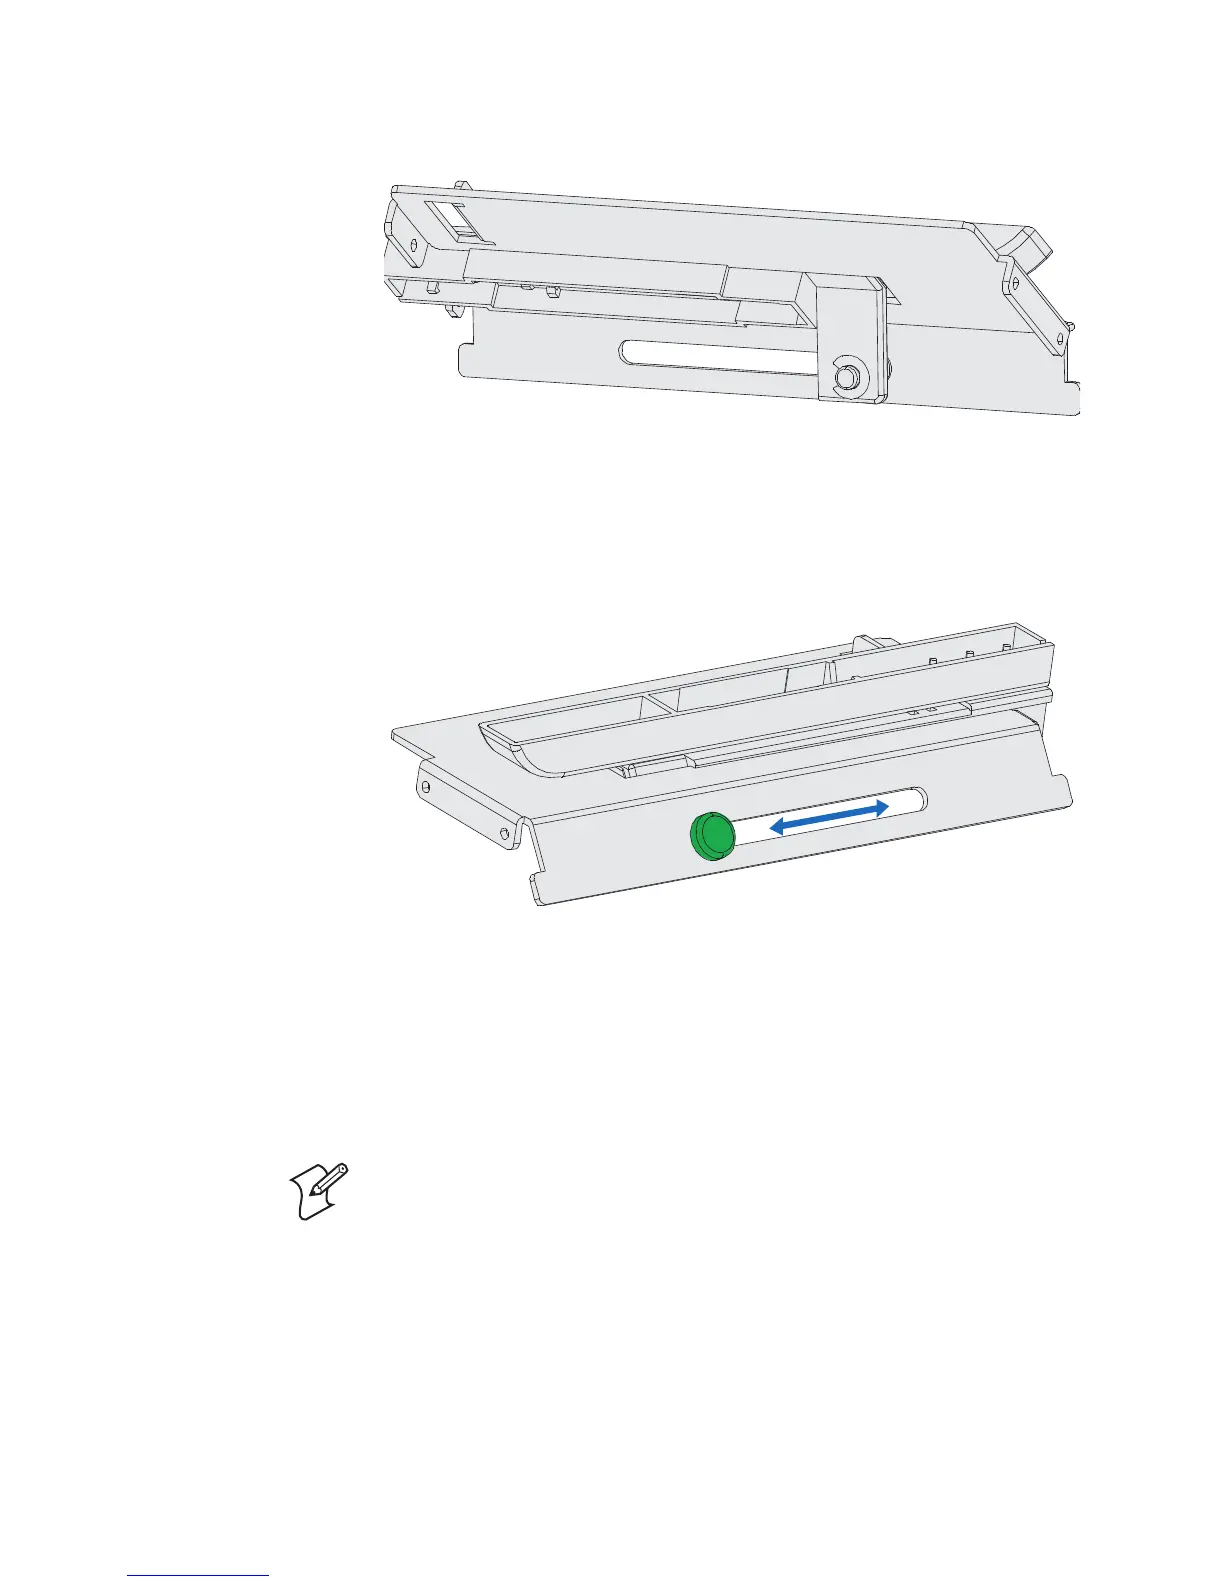
Label Gap Sensor Module: Front View
The label gap sensor’s point of detection can be moved manually across the
media path from 0 to 57 mm (0 to 2.24 in) from the inner edge of the
media. The point of detection is indicated by a narrow white triangle visible
from the front of the print mechanism when the printhead is open.
Label Gap Sensor Module: Rear View
The sensitivity of the sensor is automatically adjusted when you run a
testfeed. For more information, see the printer user’s guide.
You can also adjust the sensor with Fingerprint commands. For help, see
the Intermec Fingerprint Command Reference Manual (937-005-xxx).
To replace the label gap sensor module
1 Disconnect the power cord and remove the left-hand panel (For help,
see “To remove the left-hand panel” on page 27).
2 Open the right-hand door and remove the bottom right-hand panel
(For help, see “Bottom Right Panel” on page 22).
Note: Before replacing the module, check that there is no dirt, dust,
adhesive residue, or stuck labels that blocks the light between the two
sensors. To clean the sensors, it may be necessary to take out the module as
described below.