SECTION 9—FRONT RIGGINGS
Part No 1141450 51 Pronto® M91™ with SureStep®
Adjusting Adjustable Angle Flip-Up Footplates
Depth Adjustment
NOTE:Forthisprocedure,refertoFIGURE 9.9onpage50.
1. Removethetwoflatscrews,washersandlocknutsthatsecurefootplatetothehalf
clamp.
NOTE:Observetheangleofthefootplateforreinstallation.
2. Movefootplatetooneoffourmountingpositions.
NOTE:Ifdesire d depthisstillnotobtained,rotatethehalfclamponthefootplatehinge180°.
3. Retightenthetwoflatscrews,washersandlocknuts.
NOTE:Thesettingsforpositioningthefootplatesonthehalf‐clampsmayvaryforeachfootplate.
Angle Adjustment
NOTE:Forthisprocedure,refertoFIGURE 9.9onpage50andFIGURE 9.10.
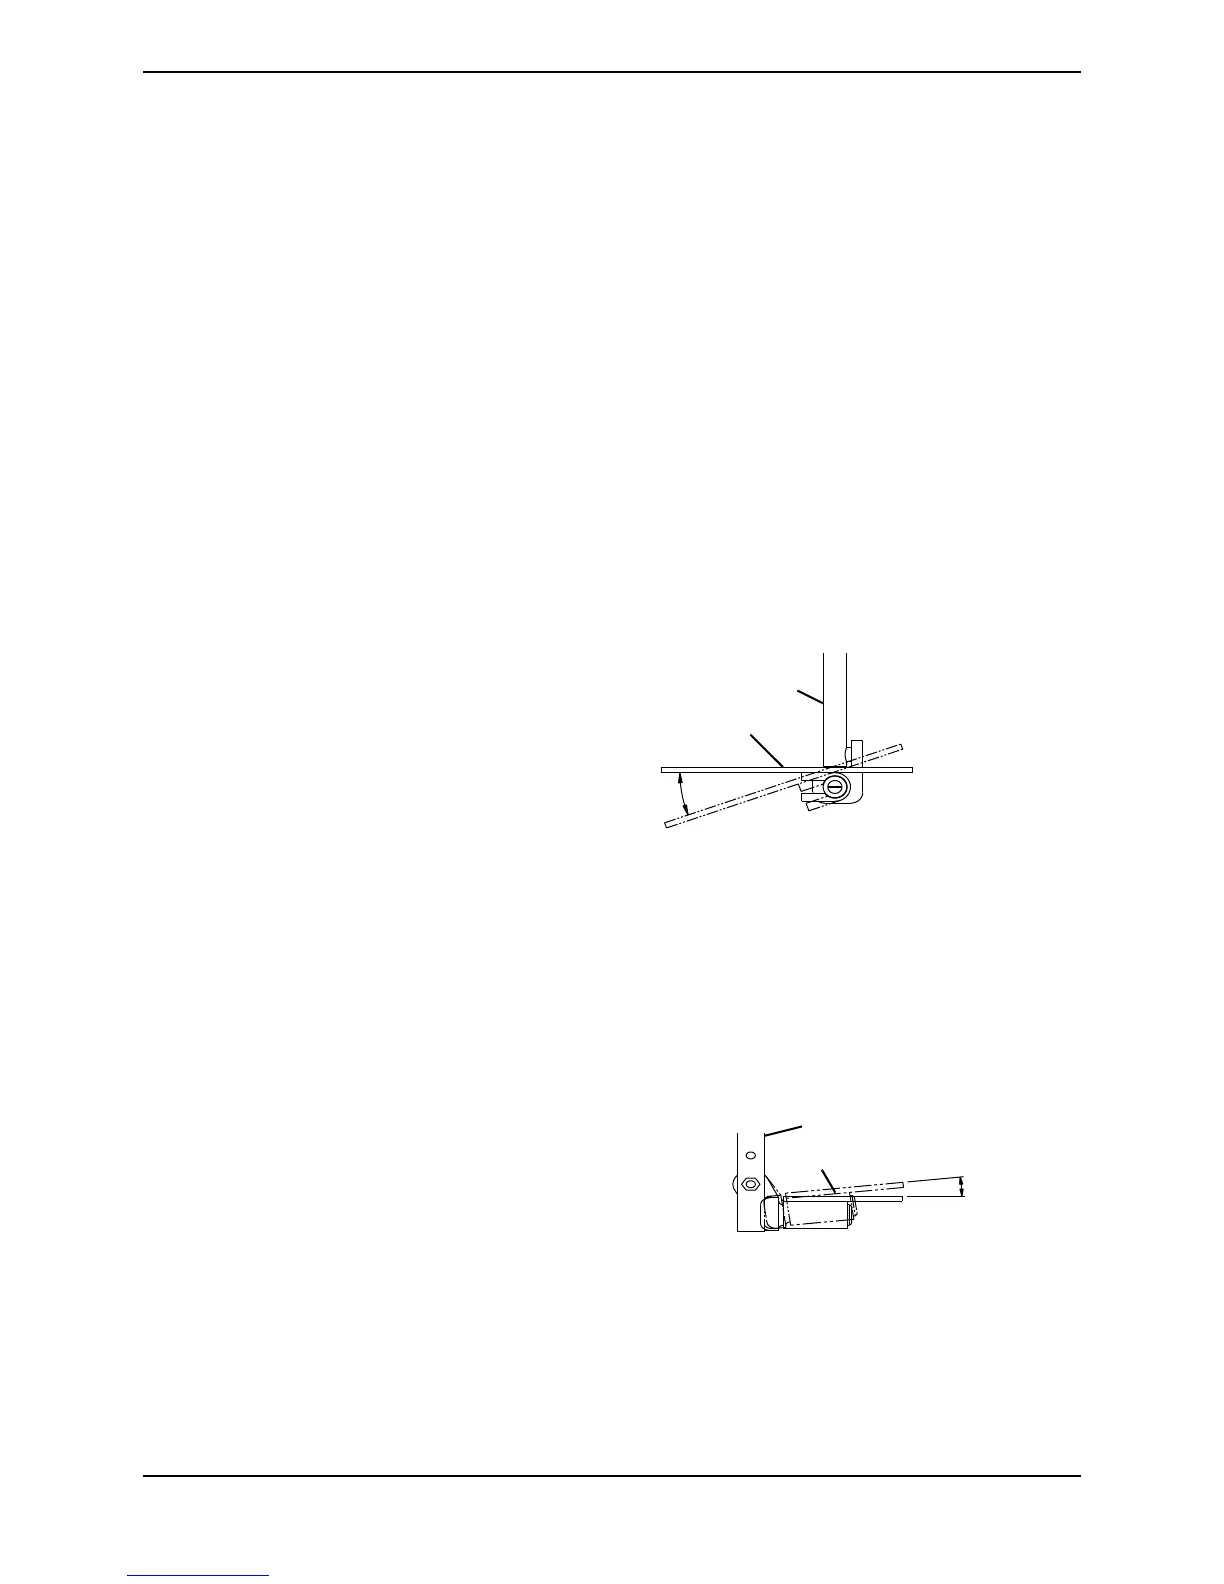
1. Loosen,butDONOTremove,thetwo
flatscrews,washerandlocknutsthat
securethefootplatetothefootplate
hinge(FIGURE 9.9).
2. Positionthefootplatetothenecessary
angletoaccommodatetheuser
(FIGURE 9.10).
3. Retightenthetwoflatscrews,washers
andlocknuts.
FIGURE 9.10 Angle Adjustment
Perpendicular and/or Inversion/Eversion Adjustment
NOTE:Forthisprocedure,refertoFIGURE 9.9onpage50andFIGURE 9.11.
NOTE:Itisnotnecessarytoremovethe
footplatetoperformthisadjustment.
1. Insertaflatheadscrewdriverthrough
thehalfclamponthefootplate
(FIGURE 9.9).
2. Slowlyturnnylonadjustmentscrewin
oroutuntilfootplateisperpendicular
tothefootrest
assemblyorthedesired
inversionoreversionisobtained
(FIGURE 9.11).
FIGURE 9.11 Perpendicular and/or
Inversion/Eversion Adjustment
Side View of
Footplate and
Footrest
Support
Footrest Support
Footplate
Front View of Footplate and
Footrest Support
Footrest Support
Footplate

 Loading...