5
Follow these steps to use NimoDoc Lite:
1. Go to Start Menu f All Programs f NimoDoc
Lite f NimoDoc Lite.
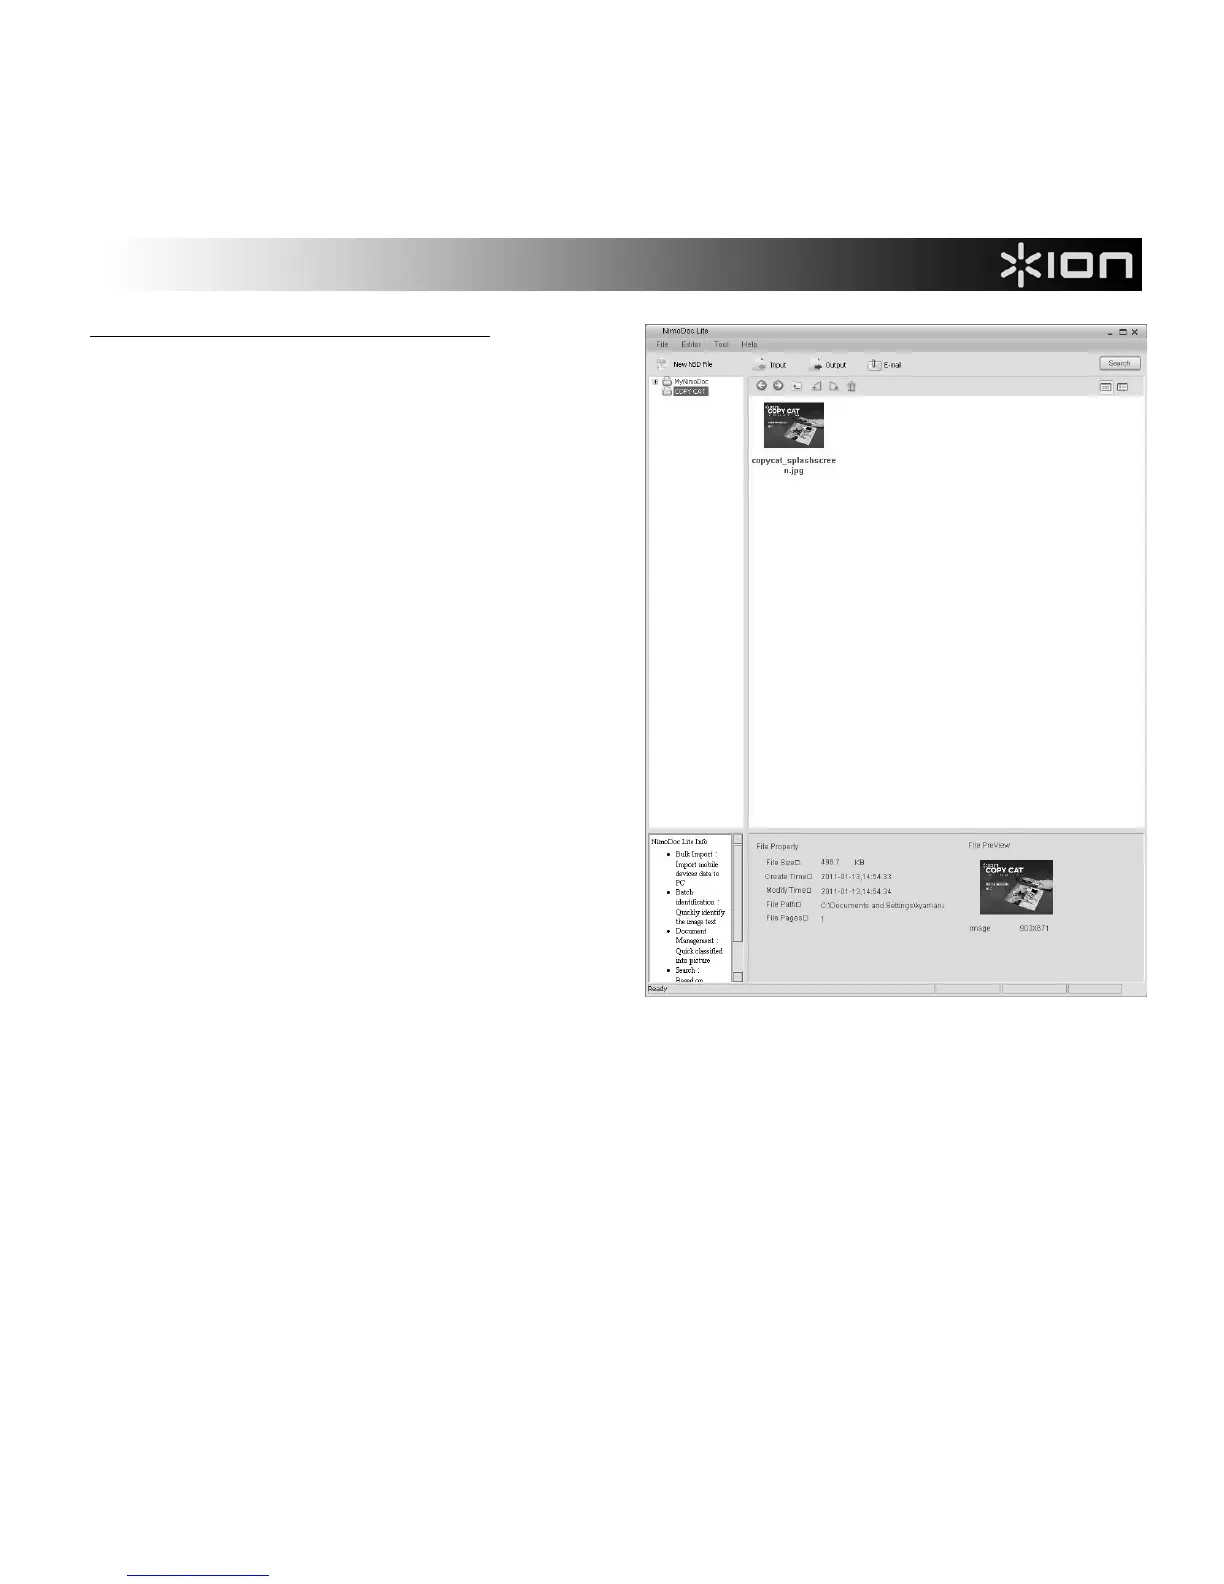
2. Optional: The panel on the left-hand side is the
Workspace, where you can add folders (from your
computer) so you can preview their contents. To
add folders, right-click a folder in the list and
select "Folder Manager." In the new window,
click "Add," select the desired folder, then click
"OK." Repeat this process to add more folders,
When finished, click "Exit" to exit the Folder
Manager. You will see the folders added to the
Workspace. By clicking on any of the folders, you
will see its contents displayed in the Preview
Pane on the right.
3. Click the Input button in the Toolbar. Select
either "From Folder" (to import an entire folder of
images into the software) or "From Image" (to
import a single image into the software). The
software will import only the file types whose
names are checked in the "Input Format" section
(JPG, BMP, TIF, and/or PNG). You may select
these as desired. Click "OK" to move to the next
step or "Cancel" to cancel.
4. If you clicked "OK," select the desired folder/file
from the list in the new window. Click "OK" to
import that folder/file or "Cancel" to cancel.
5. The folder/file will appear in the Preview Pane as
"New NSD Document(#).nsd." (You can rename the file by right-clicking it and selecting "Rename.")
Double-click the .nsd file to edit it.
6. The image will open in a new window with editing controls. See the EDITING CONTROLS section for
information about the available controls. For instructions on using the software's OCR feature (optical
character recognition), see the OCR INSTRUCTIONS section. We recommend maximizing the window
and clicking the "View mode" icon in the toolbar and selecting "Image mode" to enlarge the window for
easier editing.
7. When you are finished editing, save your image by clicking the Output button in the Toolbar. Click the
"Operation" drop-down menu and select how you want to export your image or text. In the "Pages"
section, select the pages you want to export (optional). Click "OK" to continue or "Cancel" to cancel.
8. After clicking "OK," select the desired location for your new file, enter the desired name for your new file in
the "File name" field, then click "Save."
Workspace Preview Pane
Toolbar