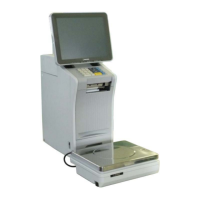
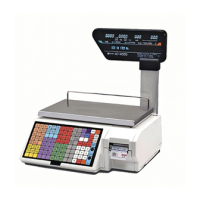
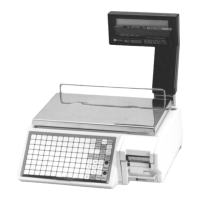
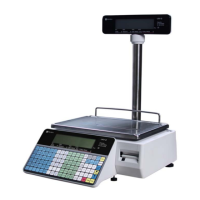
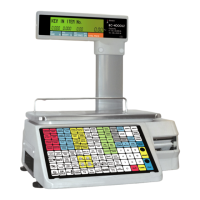
Ishida Astra Price Computing Scale with Printer
Frequently Asked Questions
Rev. 1, October 2010 4/8 Astra FAQ
4. Q:
What data are affected by the three steps of Memory Clear?
A: The first two Memory Clear steps clear or reset different data in the Astra memory. The
last step, which is optional, loads some dummy data. This data allows for checking
without first programming PLUs, etc. If an AstraLink file is to be loaded the last step may
be skipped.
SRAM Clear -- This procedure clears all data entered in the Programming Mode (9000)
as well as any custom label formats.
E2ROM Clear -- This procedure clears all configuration changes programmed in the Test
Mode and Setup Mode (6000).
Test Data -- This procedure creates the following test data:
PLUs 1 to 10 (13 in early firmware versions)
Extra Messages 1 to 10 (20 in early firmware versions)
Store Name and Address
IMPORTANT:
The Test Set procedure clears all programmed data
(Registration Mode) and resets some configuration settings
(Setup Mode and Test Mode).
Note: The memory is cleared in Test Mode, step C02.
5. Q:
Why are the decimal points incorrect after changing the CPU board?
A: When replacing a CPU board all three steps of Memory Clear must be performed. The
second step, E2ROM Clear, initializes the standard USA configuration. This will restore
the decimal points and other settings to the correct default values.
Notes:
• The Astra must be recalibrated when the CPU board is replaced.
• See Service #4 above more information about Memory Clear.
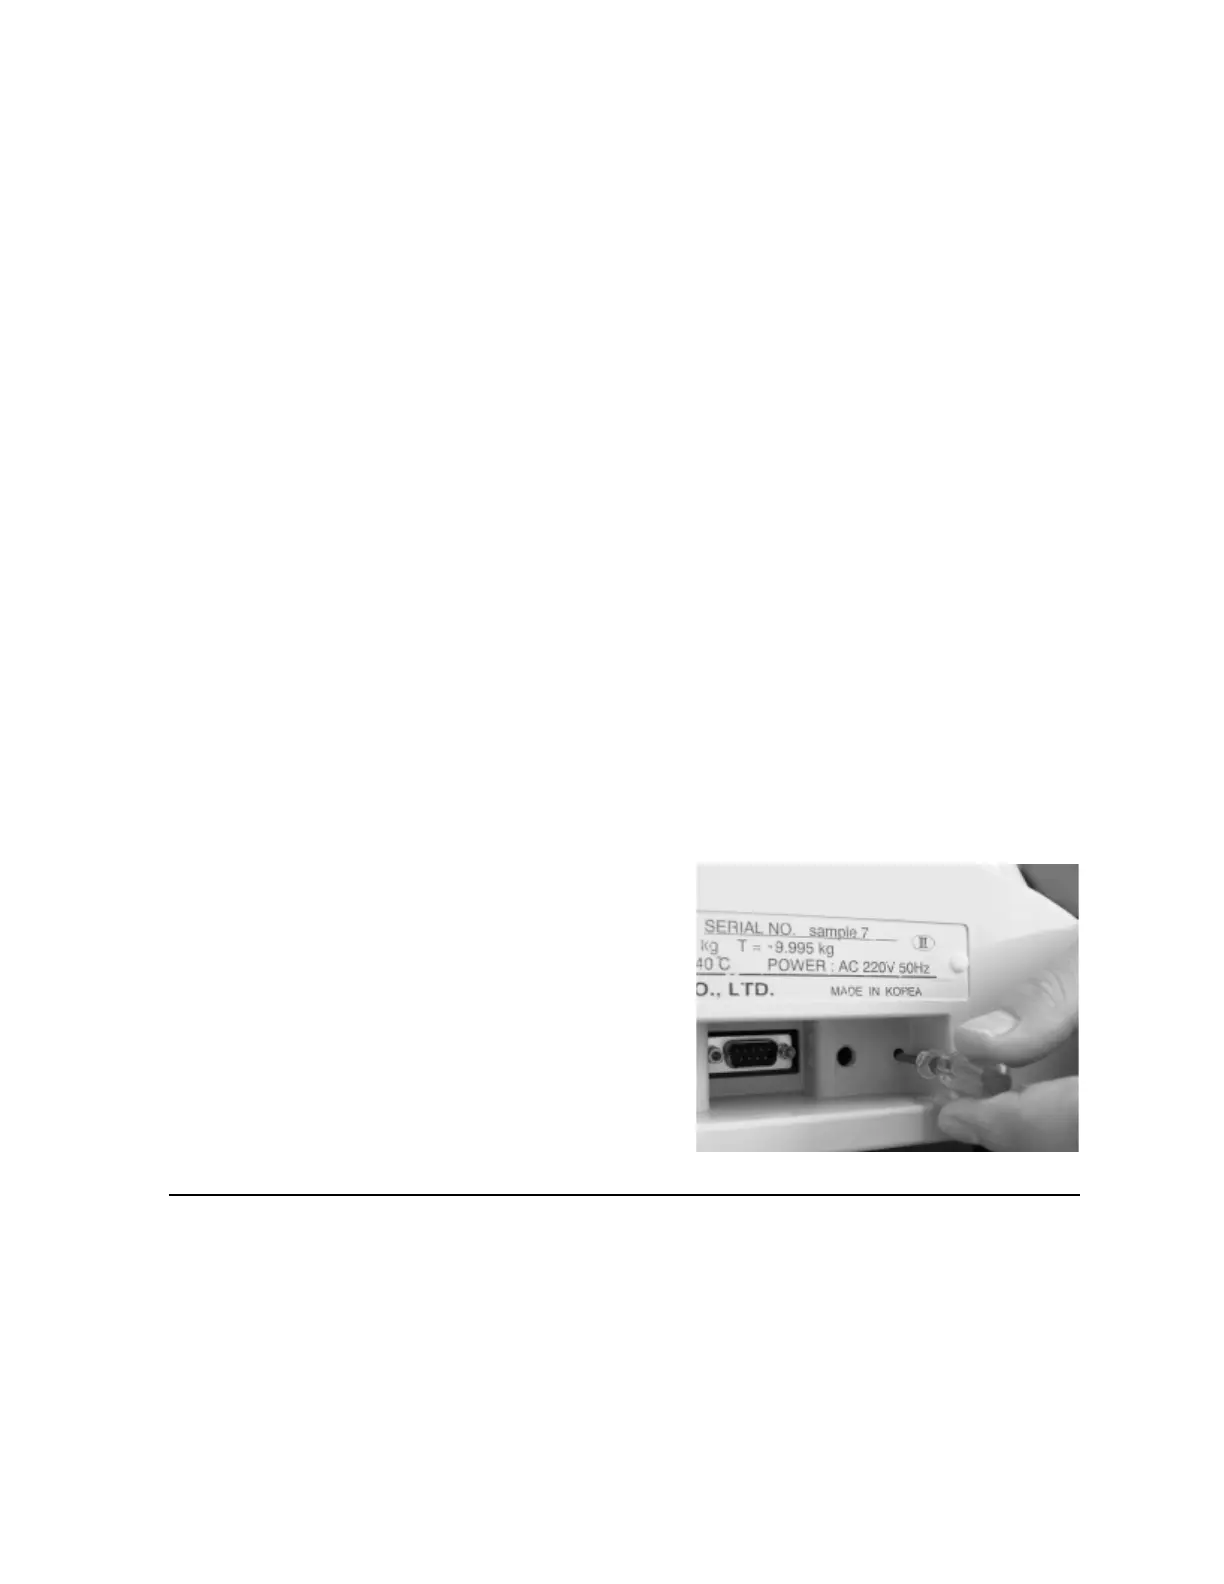
6. Q:
How is the Label Gap sensor calibrated?
A:
The Label Gap sensor is calibrated from the Test Menu, step C04, "Sensor Check".
1. Enter the Test Menu, then step C04
"Sensor Check" then step C04-00 "Label".
2. Place only the label backing paper under
the sensor.
3. Adjust the value to 150 +/- 10 counts.
4. Place the label on backing paper under the
sensor.
5. Confirm that the value is 60 or less.
Note: Use a #0 cross-head screwdriver with
at least a 2.5" shaft to adjust the label
sensor sensitivity. Refer to the photo
at the right.
Labels
1. Q:
Why are only two or three characters of the PLU name printing per line?
A: The Width value is set incorrectly in the label configuration menu. Setup menu, step B01-
01-03 is set as "6.0" or "6.4" rather than "0.0".
Note: The Width setting controls the word wrap distance when entering text via the
Astra’s keyboard. The Width value should only be changed when using a label
narrower than the Ishida standard 60mm or 64mm.
 Loading...