6A–52 ENGINE MECHANICAL
Valve Seat Insert Correction
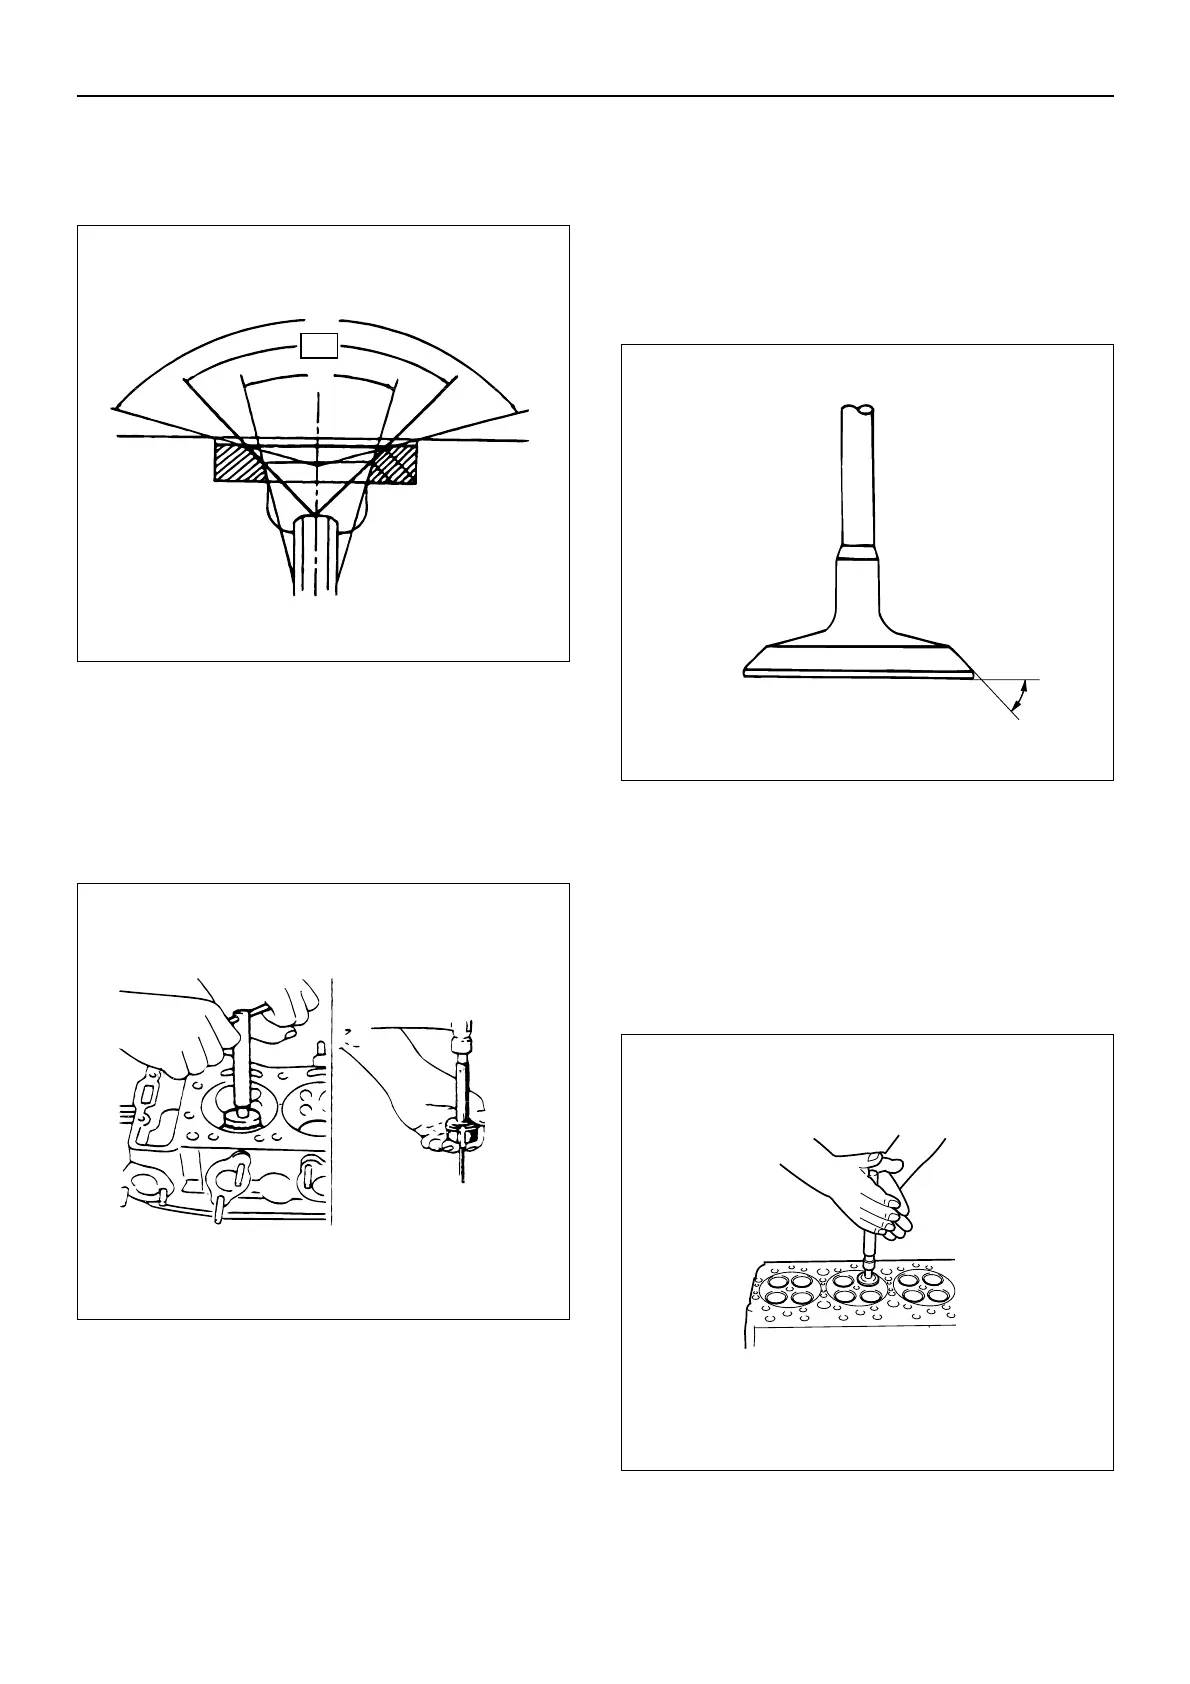
1. Remove the carbon from the valve seat insert
surface.
2. Use a valve cutter (14, 45, 60 and 75 degree blades)
to minimize scratches and other rough areas. This
will bring the contact width back to the standard
value.
Remove only the scratches and rough areas. Do not
cut away too much. Take care not to cut away
unblemished areas of the valve seat surface.
Valve Face Angle
Intake: 30 degree
Exhaust: 45 degree
NOTE: Use an adjustable valve cutter pilot.
Do not allow the valve cutter pilot to wobble inside the
valve guide.
Check that valve depression is within the specified limit
after valve seat insert correction.
3. Apply abrasive compound to the valve seat insert
surface.
4. Insert the valve into the valve guide.
5. Turn the valve while tapping it to fit the valve seat
insert.
6. Check that the valve contact width is correct.
7. Check that the valve seat insert surface is in contact
with the entire circumference of the valve.
 Loading...