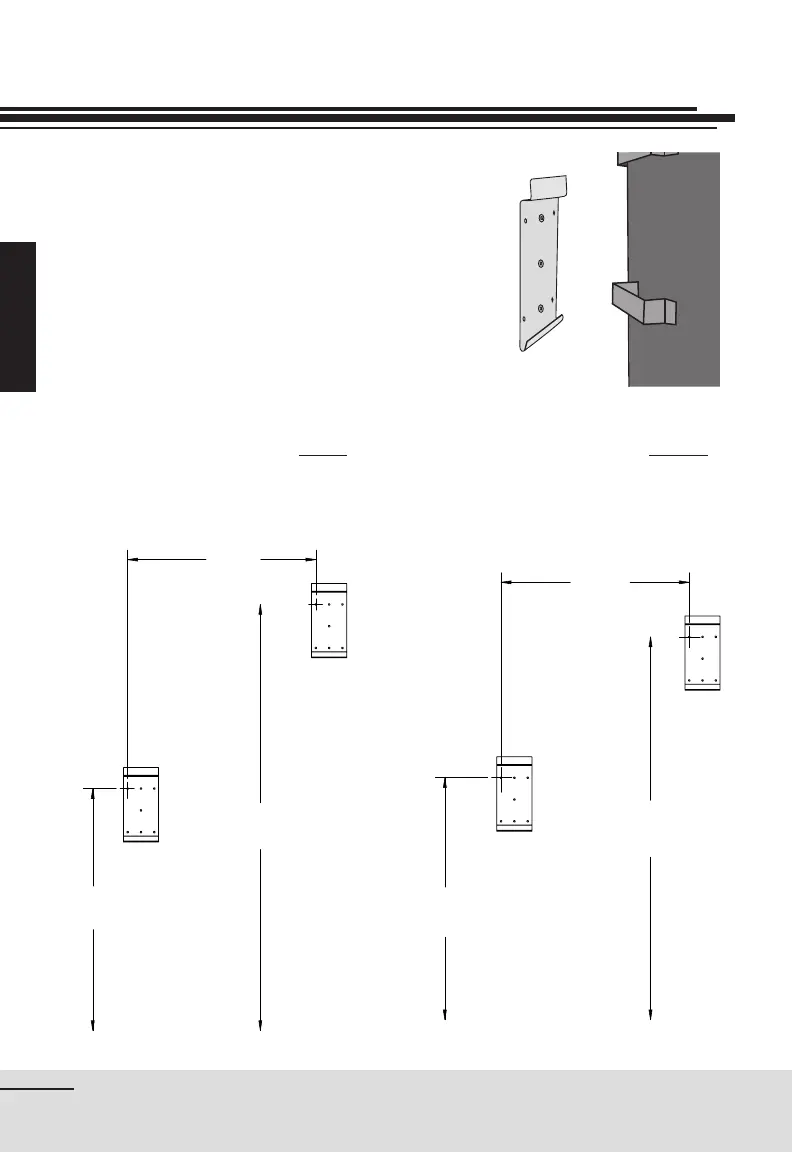
gure 1
PLAFOND / CEILING
PLANCHER / FLOOR
POSITIONNEMENT POUR UN
BRANCHEMENT EN SÉRIE
POSITIONNING FOR CONNECTING
SERIAL
PLANCHER / FLOOR
PLANFOND / CEILING
POSITIONNEMENT POUR UN
BRANCHEMENT EN PARALLÈLE
POSITIONNING FOR PARALLEL
CONNECTION
1'5
5
/
8
"
5'1
5
/
19
"
6'11
5
/
16
"
6'6
3
/
8
"
1'5
5
/
8
"
5'1
9
/
16
"
(17.625"/44.77 cm)
(61.533"/156.29 cm)
(83.319"/211.63 cm) (78.406"/199.15 cm)
(17.625"/44.77 cm)
(61.533"/156.29 cm)
8
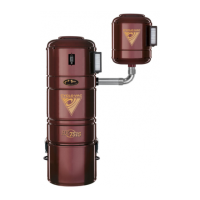
Installation
Using the mounting plates provided with
your vacuum system, secure the units to
the wall
(gure 1). The main unit should be
installed at a height allowing easy access
to change the bag or empty the canister.
Unit Installation
If you install your system in series,
please follow these instructions to
properly install the mounting plates:
If you install your system in parallel,
please follow these instructions to
properly install the mounting plates: