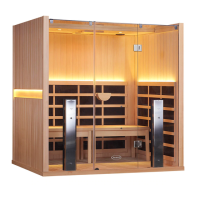
Bluetooth/Audio Board Replacement
What You will Need:
• Phillip's Head Screw Driver
Caution: *Unplug the sauna before handling any wiring or electrical components*
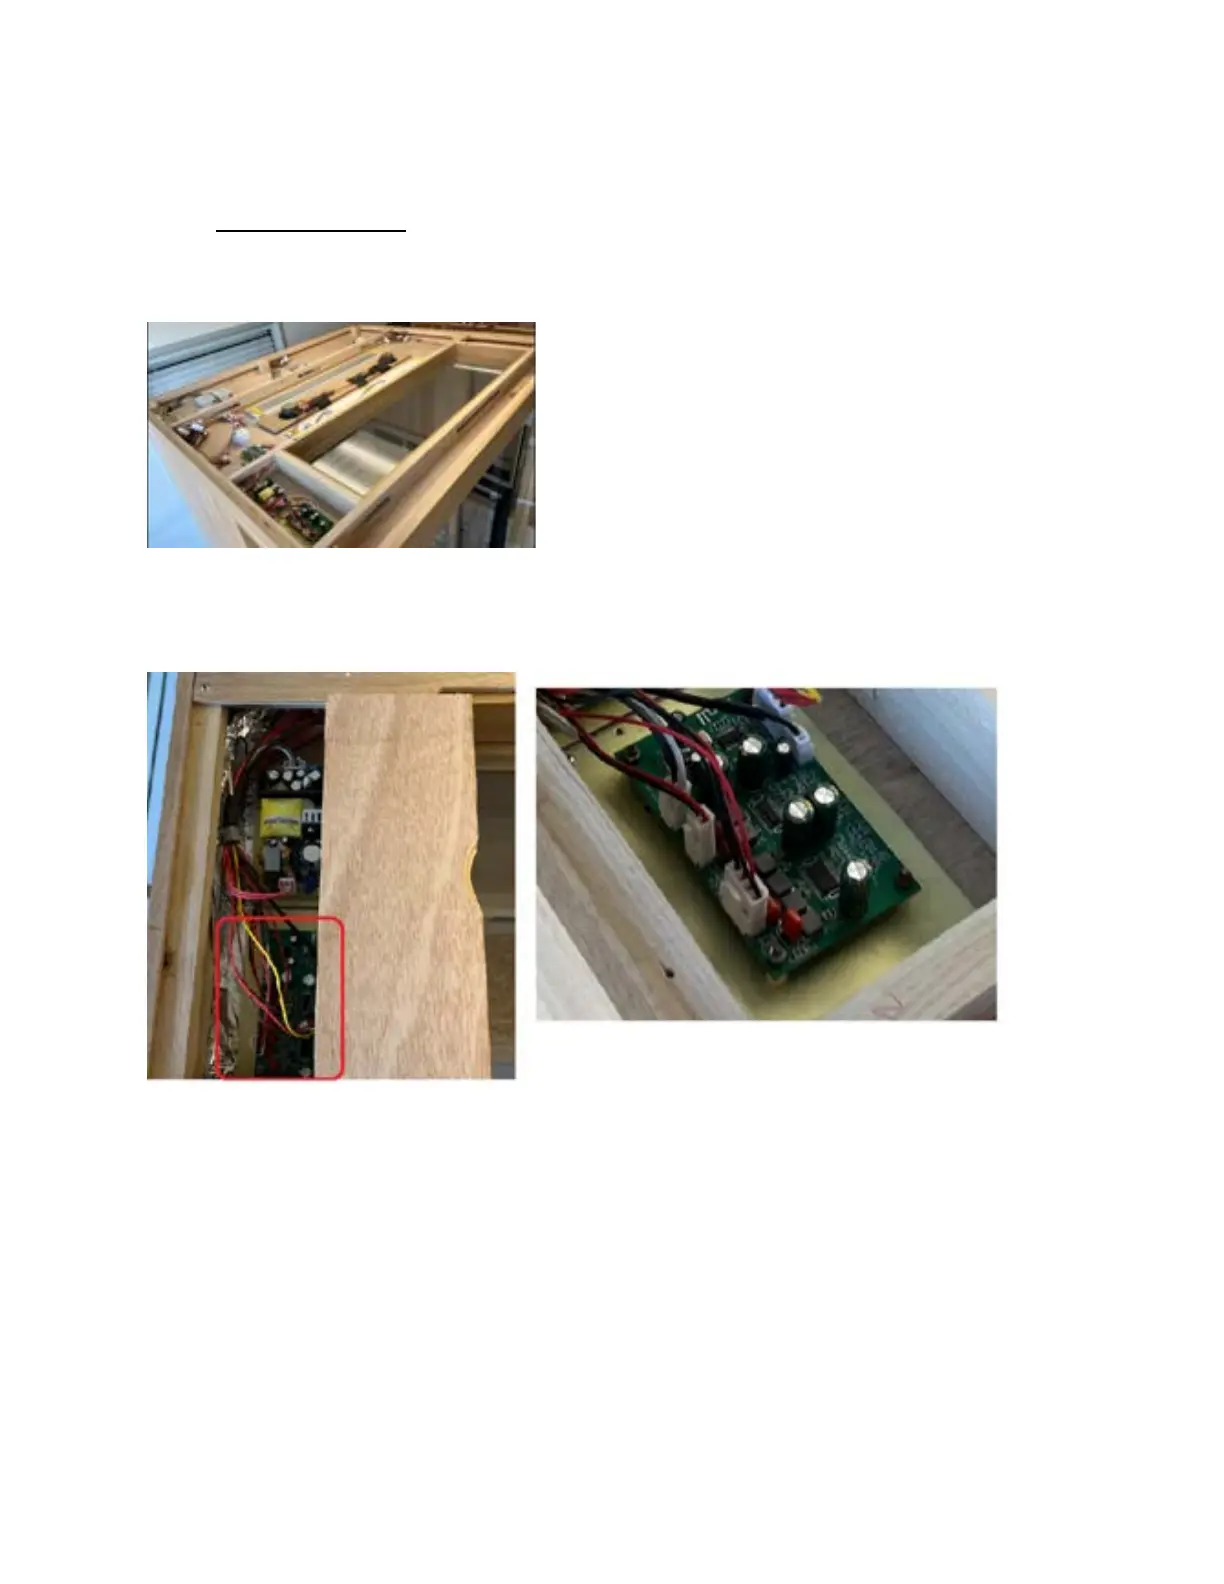
Step 1: Remove the top cover from the roof by
unscrewing each of the screws around the perimeter
of the roof.
Step 2: Locate the audioboard on the left side of the roof. Make note of where each wiring
connector plugs into before carefully disconnecting each wiring connector from the audio board
(you will need to press the release tab on each connector while gently pulling the connector).
Step 3: Remove the four nuts from the corners of the audio board to release it from the backing
plate. Once this has been done, the audio board will be released and can be removed. Make
note of the original audio board’s position/orientation.
Step 4: Place the new audio board into position, aligning the mounting bolts with the holes in
the audio board. Reinstall the mounting nuts (make sure you do not overtighten them, they will
only need to be snug).
Step 5: Reconnect each wiring connector, making sure they are plugged into the correct
locations. You may now plug the sauna in and test the audio before reinstalling the roof cover.