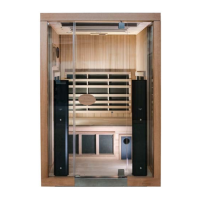
Troubleshooting Far-Infrared Heater Panels
Caution: *Unplug the sauna before handling any wiring or electrical components*
The far-infrared (FIR) heater panels are the large black panels behind the mesh screens and
wooden frames (along the walls and under the bench). These heaters will simply emit heat
when functioning - these heaters do NOT glow red or display any other visual cues to indicate
they are functioning.
To confirm if a far-infrared heater panel is working, simply allow the sauna 5-10 minutes to
preheat and then feel the panel with your hand to verify it is warm.
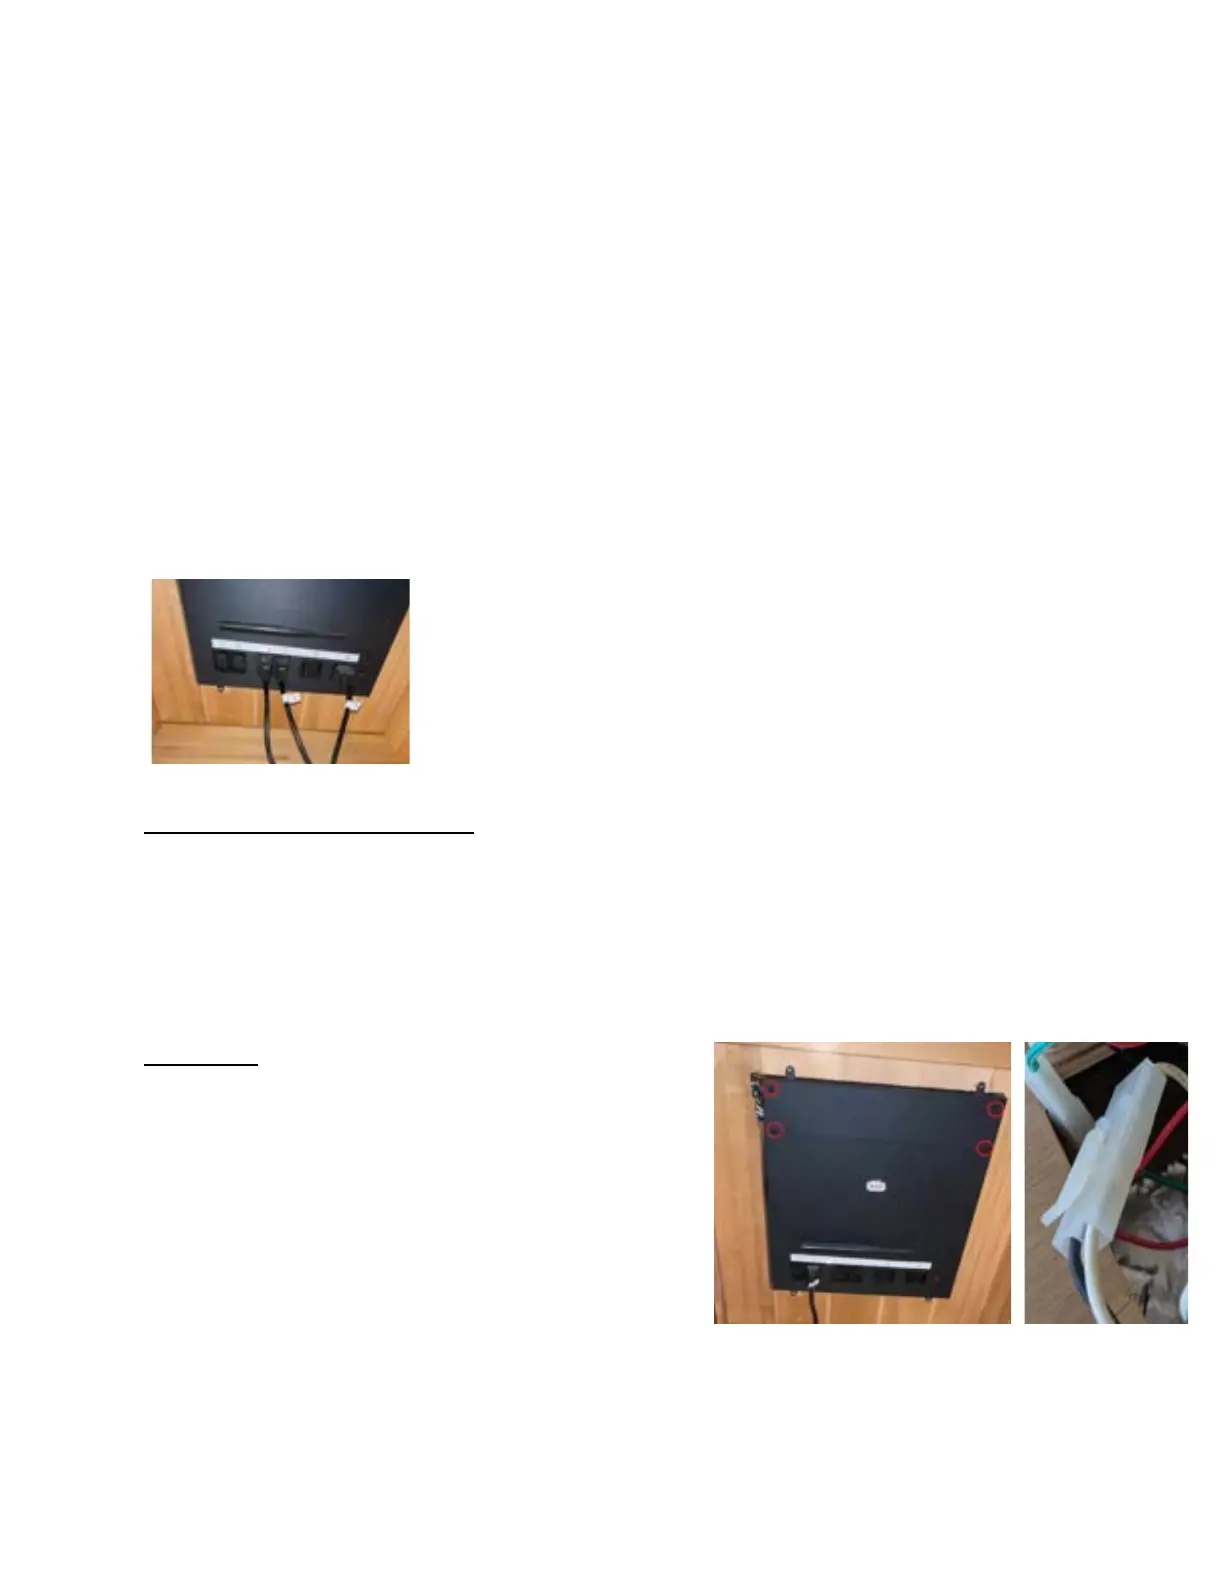
If any particular far-infrared heater does not warm, we will need to check the plugs/connections
to the power supply unit (located under the bench). Make sure each of these cords are firmly
plugged into the power supply unit.
The numbered plugs/outlets will correspond to the heaters listed
below:
● #1 Back heater
● #2 Right heater (right side if facing the sauna from the outside)
● #5 Bench support heater
Back, Right, and Bench heaters: plugs number 1, 2, & 5 can be swapped temporarily - this will
allow us to determine if the heater panel itself is faulty, or if the power supply unit is the issue.
For example, if the BACK heater panel is not working, but the RIGHT heater is working, try
swapping #1 with #2.
● If the condition remains the same, we can conclude that the heater is faulty.
● If the condition flips and the RIGHT heater stops working, but the BACK heater begins
working, we can conclude that the power supply unit is the issue.
Left Heater: This heater connects directly to the power
supply unit - to access this wiring, you will need to
remove the upper cover from the power supply unit by
unscrewing the four screws, revealing the Molex
connections. The connector in question will be a pair of
wires (one white, one black), attached to a CLEAR
Molex connector.
Make sure this is connected firmly - additionally, try
pushing each individual wire into the Molex connector, to
ensure the metal pins are fully seated into the connector.