56
Zipper Application
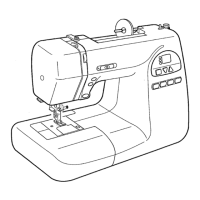
Machine setting
q Pattern
w LED display
e Foot E: Zipper foot
qw e
q
w
aa
aa
a
ss
ss
s
z
qw
t
y
u
r
e
i
o
q
!0
!1
!2
!3
!4
z
q
w
e
r
y
t
u
To sew:
z Fold up the upper seam allowance. Fold back the
bottom seam allowance to form a 0.3 cm (1/8")
fold. Place the zipper teeth next to the fold and pin
it in place.
q Bottom fabric
w End of the zipper opening
e Zipper teeth
r 0.3 cm (1/8")
t Wrong side of the upper fabric
y Opening size
u Fold
Fabric preparation:
Add 1 cm (3/8") to the zipper size. This is the overall
opening size.
q Right side of the fabric
w 1 cm (3/8")
e Opening size
r Zipper size
t Slider
y Zipper teeth
u Zipper tape
i Wrong side of the fabric
o End of the opening
Place the right sides of the fabric together and sew up
to the end of the zipper opening, with a 2 cm (13/16")
seam allowance. Reverse the stitch to fasten the
seam. Baste along the zipper opening with the stitch
length 4.5
!0 2 cm (13/16")
!1 Zipper opening (Basting)
!2 Reverse stitches
!3 End of the opening
!4 Seam
NOTE:
Loosen the thread tension to one (1) for the basting
stitch.
To attach the zipper foot:
aa
aa
a Attach the zipper foot with the pin on the right,
when sewing on the left side of the zipper.
ss
ss
s Attach the zipper foot with the pin on the left, when
sewing on the right side of the zipper.
q Groove
w Pin
 Loading...
