,
1
j
i
r
i
!
!
,
,
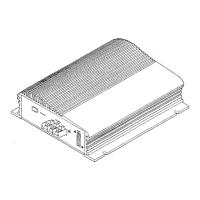
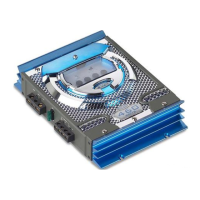
A
1000
Amplifier
Thank
You
Thank
you
for buying a Jensen product. Congratulations
on
your investment
in
quality
sound
reproduction
for
your
car.
~
read this manual
~
installation and operation.
Easy
Operation
Jensen
products arc
simple
and easy to orerate. This manual explains how to usc the
AHrn
for
maximum enjoyment.
Installation
For
proper
operation,
it's
very important that the unit
be
installed correclly.
We
tried to
make
OUT
step-by-
step instructions as
clear
as possible, but we
don't
know
about any unusual circumstances you may encoun-
ter.
Most
installations arc straightforward and can be handled
by
a do-it-yourselfer with reasonable tools,
patience, and the ability to
follow instructions. However, ir you lack. one
or
two
of
these requirements.
consider turning the
installation
job
over to
an
authorized Jensen dealer/installer.
Technical
Assistance
For technical assistance
will}
the
operation
or
installation
of
the A 1000 power amplifier, call I
~800-323~0221.
For
Your
Records
In case
your
Jensen amplifier requires service, youlmust have the original. dated bill
of
saie.
If
it is necessary
to return the unit for any reason, always enclose the bill
of
sale with the product.
Important
Here are two important points you must know;
Wirjng.
If
",:,jring
connections are made incorrectly, the unit will not operate properly and
it
could
be
damaged. Follow the installation instructions carefully
or
have the instaIlation handled by an experienced
technician.
Fuses.
If
you have to replace a fuse. make sure the new fuse
is
,the
correct type and amperage. Using the
wrong rated
fuse could damage the unit.
Table
of
Contents
General
Information
..
. ... 3
Audio Amplifiers
-Installation
and Location Requirements - Selecting Speakers
Inputs
and
Outputs
.... 4
Input Sensitivity
Control-
Speaker Terminals - Low Levellnpu! RCA
Connectors-
HighLevel
Input Harness - Power Wires
Power
...
Power Light
Parts
and
Tools
...
Installation
Instructions
...
.
Troubleshooting
................. .
Wiring
Instructions
Alternative
Wiring.
Specifications
and
Warranty
................ .
2
.... 4
..5
. .................... 5
. .......................................... 5
............................................ 6
. ................................................... 7
.
...................
8