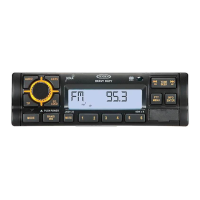
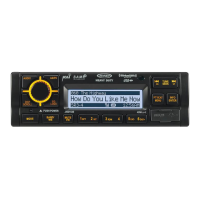
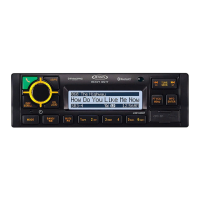
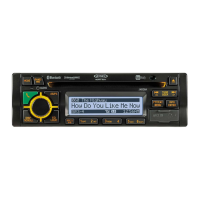
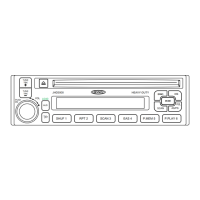
JHD1130
INSTALLATION
This unit is designed for installation
in
vehicle cabs with an existing
1-DIN
radio opening.
In
many cases, a
special installation kit
will
be
required to mount the radio to the dashboard.
See
the
dealer
where the radio was purchased for kit
availability. Always check the kit
application
before purchasing to make sure the kit works with your
vehicle.
Before
You
Begin
1 . Disconnect
Battery
Before you begin,
always disconnect the battery negative terminal.
2. Remove Transport
Screws
Important
Notes
Before
final installation,
test the wiring connections to make sure the unit is connected
properly
and the system works.
Use
only
the parts included
with the unit to ensure proper
installation.
The use
of
unauthorized parts can cause malfunctions.
Consult
with your nearest
dealer
if installation
requires the
drilling
of
holes
or other
modifications to your
vehicle.
Install
the unit where it does not
interfere with driving and cannot injure passengers during
a sudden or emergency stop.
If
the installation angle
exceeds
30°
from
horizontal,
the unit might not give optimum
performance.
Avoid
installing
the unit where it
will
be
subject to high temperatures from direct sunlight,
hot
air,
or from a heater, or where subject to excessive dust, dirt or vibration.
DIN
Front
Mount
1 .
Slide
the mounting
sleeve
off
of
the chas-
sis
if
it has not
already
been removed.
If
locked
into position, use the
removal keys
(supplied) to disengage
it.
The
removal
keys are depicted
in
"Removing the Unit"
on
page
3.
2.
Check the dashboard opening size
by
sliding
the mounting
sleeve
into
it.
If the
opening is not large
enough,
carefully
cut
or file
as necessary
until
the
sleeve easily
slides
into the opening.
Do
not force the
sleeve
into the opening or cause it to bend
or bow.
Check
that there
will
be
sufficient
space behind the dashboard for the radio chassis.
(.crew
Stud
~
3. Locate the series
of
bend tabs
along
the top, bottom and sides
of
the mounting
sleeve.
With the
sleeve fully
inserted into the dashboard opening, bend as many
of
the tabs
outward as necessary to
firmly
secure the
sleeve
to the dashboard.
4.
Place
the radio in front
of
the dashboard opening
so
the wiring can
be
brought through the
mounting
sleeve.
5.
Follow
the wiring diagram
carefully
and make certain all
connections are secure and
insulated
with crimp connectors or
electrical
tape to ensure proper operation.
6.
After
completing
the wiring connections, turn the unit on to confirm operation
(vehicle
accessory. switch must be on).
If the unit does not operate, recheck
all
wiring
until
the
3
tli8ib
HEAVY
DUTY
problem is corrected.
Once
proper operation is achieved, turn the accessory switch off
and proceed with
final
mounting
of
the chassis.
7.
Carefully slide
the radio into the mounting
sleeve
making sure it is right-side-up
until
it is
fully
seated and the spring clips lock it into
place.
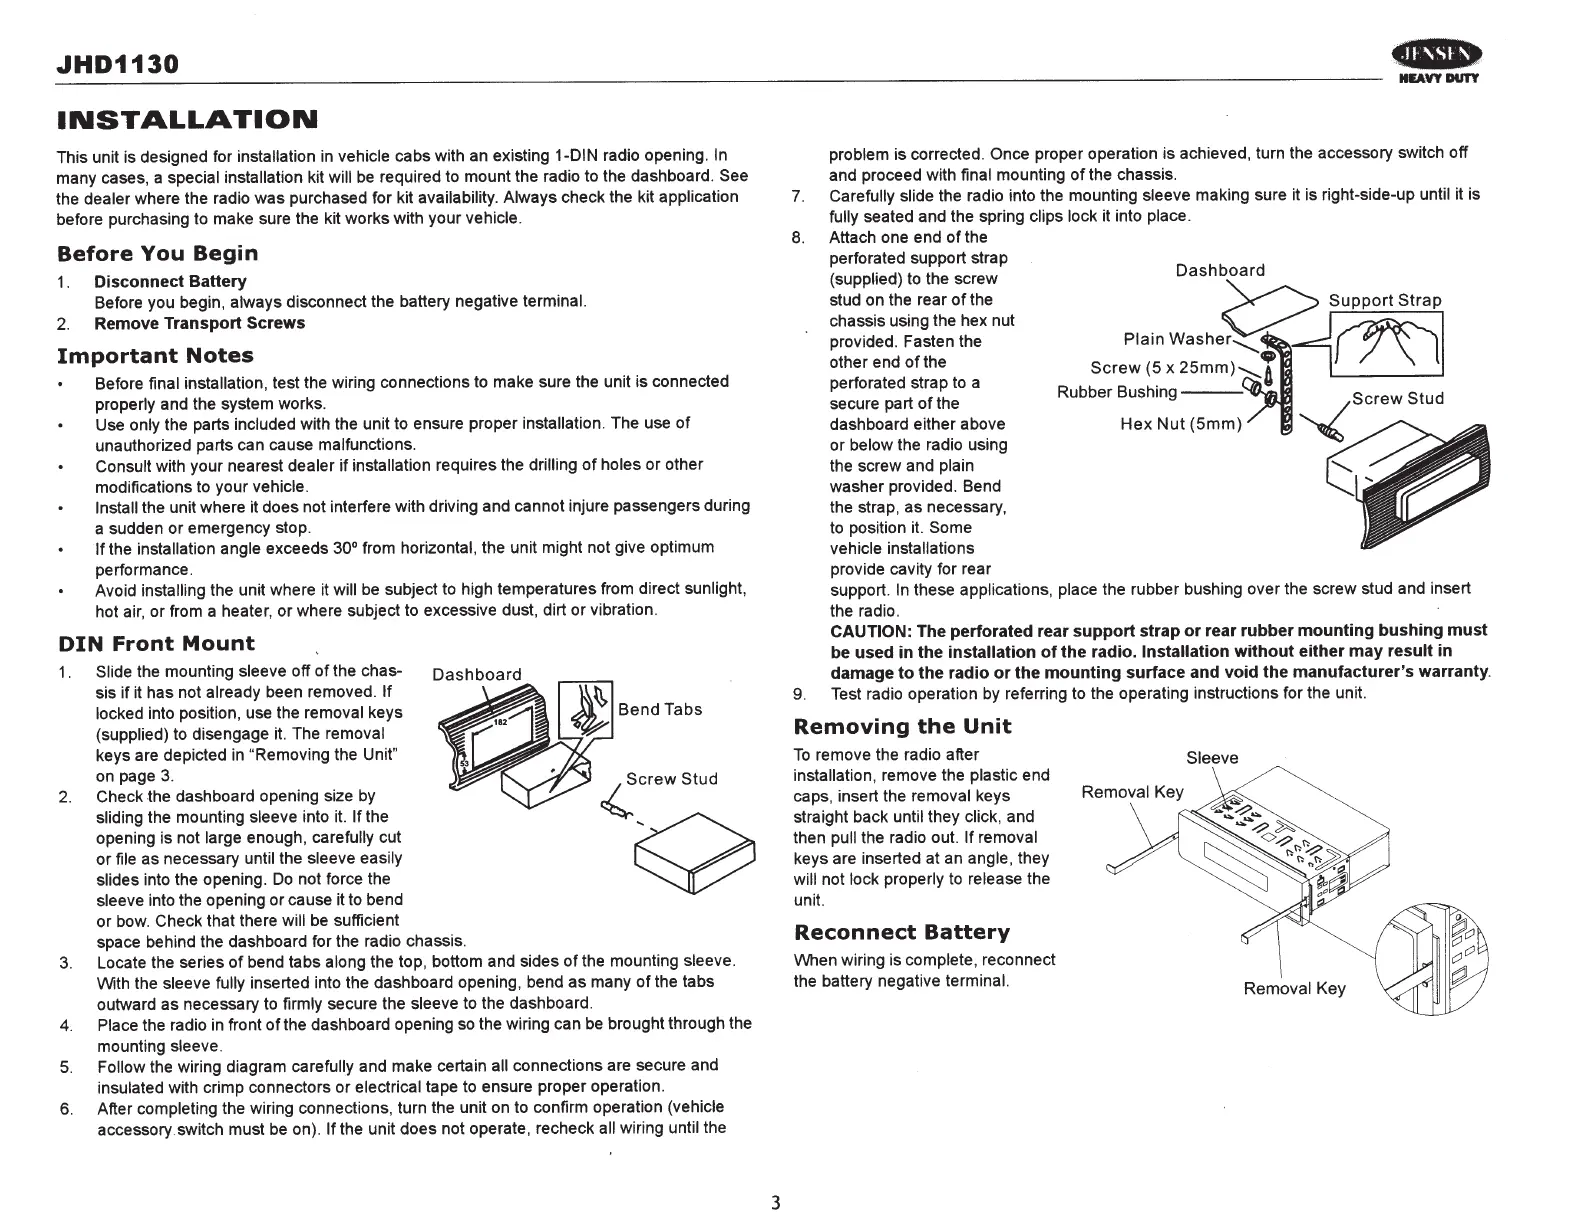
8. Attach one end
of
the
perforated support strap
(supplied)
to
the screw
stud on the rear
of
the
chassis using the hex nut
provided. Fasten the
other end
of
the
perforated strap
to
a
secure part
of
the
dashboard either above
or
below
the radio using
the screw and
plain
washer provided. Bend
the strap, as necessary,
to position
it.
Some
vehicle installations
provide cavity for rear
Dashboard
.(::>
Support
Strap
Plain
Washer~r4~1
Screw
(5 x
25mm)~!
Rubber Bushing
Screw
Stud
Hex
Nut
(5mm)
~
support.
In
these applications, place the rubber bushing over the screw stud and insert
the radio.
9.
CAUTION:
The perforated rear
support
strap
or
rear
rubber
mounting
bushing
must
be used in the
installation
of
the
radio. Installation
without
either
may
result
in
damage
to
the radio
or
the
mounting
surface and
void
the
manufacturer's
warranty.
Test radio operation
by
referring to the operating instructions for the unit.
Removing
the
Unit
To
remove the radio after
installation,
remove the plastic
end
caps, insert the
removal
keys
straight back
until
they
click,
and
then
pull
the radio out.
If removal
keys are inserted at
an
angle,
they
will
not
lock properly
to
release
the
unit.
Reconnect
Battery
When wiring is
complete,
reconnect
the battery negative
terminal.
Sleeve
 Loading...