A
Angel RichardsonJul 29, 2025
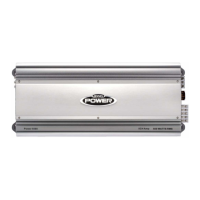
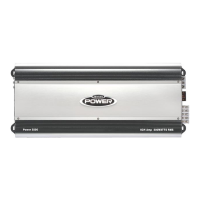
Why Jensen Car Amplifier not turning on?
- CCalvin FitzgeraldJul 30, 2025
If your Jensen Car Amplifier isn't turning on, it could be due to several reasons: * There's no power to the +12V terminal. In this case, you should repair the wire or connections. * There's no power to the remote wire when the radio is on. Check the connections to the radio with a test light. * The fuse is blown. You should check the fuse and replace it if necessary.