5
4.4 Content of delivery
Closed stand with shelf
1 abrasive strip, 80 grit
conveyor belt 100 grit
Box of 3 abrasives
Cleaning stick
TUF tool
Assembly kit
Operating manual
Spare parts list.
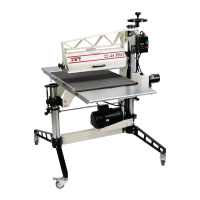
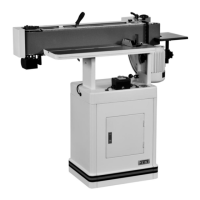
Fig 1
5. Transport and start up
5.1 Transport and installation
The machine is designed to operate in
closed rooms and must be placed
stable on firm and levelled ground.
The machine can be bolted down if
required.
5.2 Assembly
If you notice transport damage while
unpacking, notify your supplier
immediately. Do not operate the
machine!
Dispose of the packing in an
environmentally friendly manner.
Clean all rust protected surfaces with
a mild solvent.
For packing reasons the machine is
not completely assembled.
Stand Assembly
Position two sides (F, Fig 1) on the
ground.
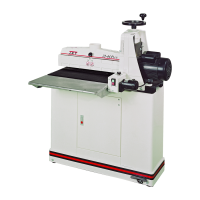
Fig 2
Mount the bottom plate (E) to the
stand sides (F) with four button head
socket screws and washers.
Hand-tighten only at this time.
Connect the sides (F) to the rear plate
(G) with 4 button head socket screws
and washers. Hand-tighten only.
Connect the front plate (H) to the
sides (F) in the same manner.
Hand-tighten only.
Drum Head Installation
Place the sander (C, Fig 1) onto the
stand.
WARNING:
Main unit is heavy (120kg)!
Assure the sufficient load capacity
and proper condition of your lifting
devices.
Never step underneath suspended
loads.
Use great care when lifting the unit
up onto the stand.
Secure the sander (C) to the stand
from inside the cabinet using four hex
cap screws (J, Fig 3) washers (M).
(avoid twisting of the sander base as
this will effect conveyor belt tracking).
Attach the handwheel (A) and tighten
the two set screws with the 4mm hex
wrench supplied.
After installing the drum head to the
stand, tighten all bolts of the stand
assembly.
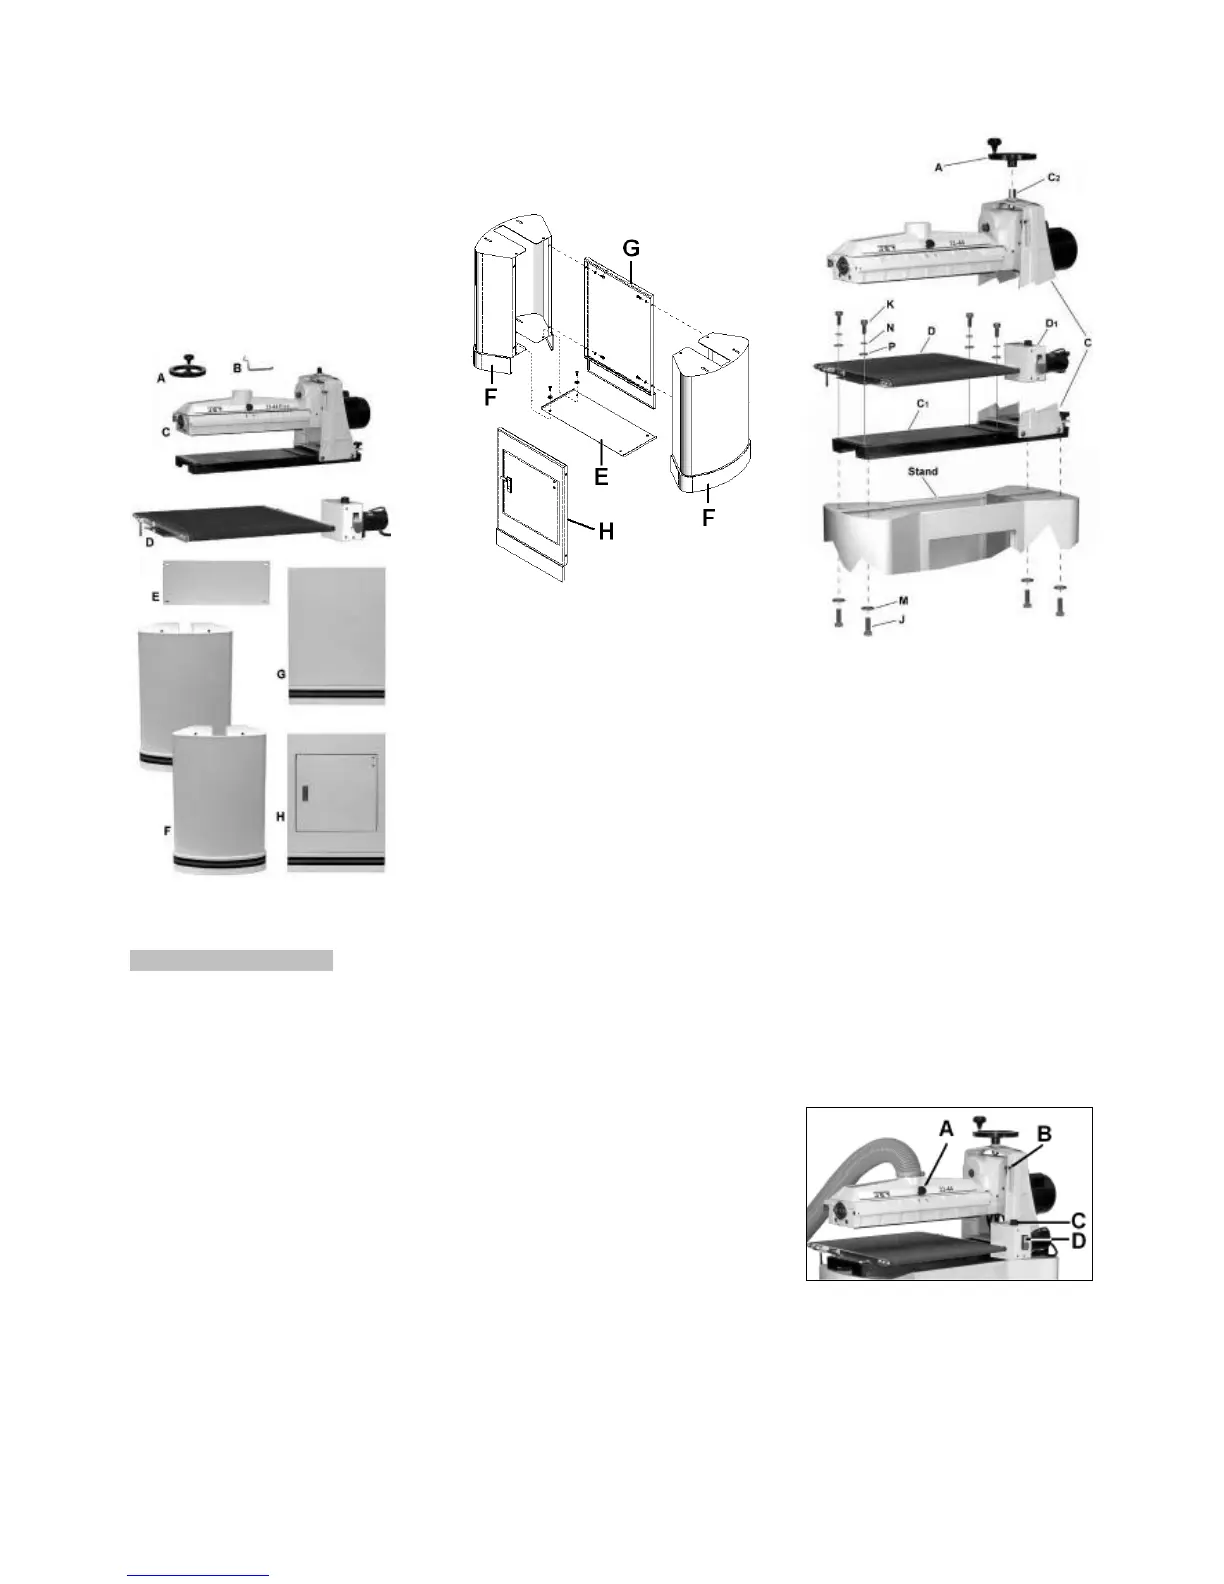
Fig 3
Conveyor Table Installation
Place the conveyor (D) onto the
sander base (C1).
Secure the conveyor in place with four
socket head cap screws (K), lock
washers (N) and flat washers (P).
Plug the sander's motor cord into the
receptacle of the control box (D1).
Important: The conveyor belt has been
over-tensioned for the purpose of
shipping.
Before operation, adjust the belt
tension (see chapter 7.5).
Open cover
To open the dust cover push in the
knob (A, Fig 4) and lift.
Fig 4
Sanding Drum Alignment
Align the sanding drum to be parallel
to the conveyor bed (see chapter 7.4)

 Loading...