8
10.0 Adjustments
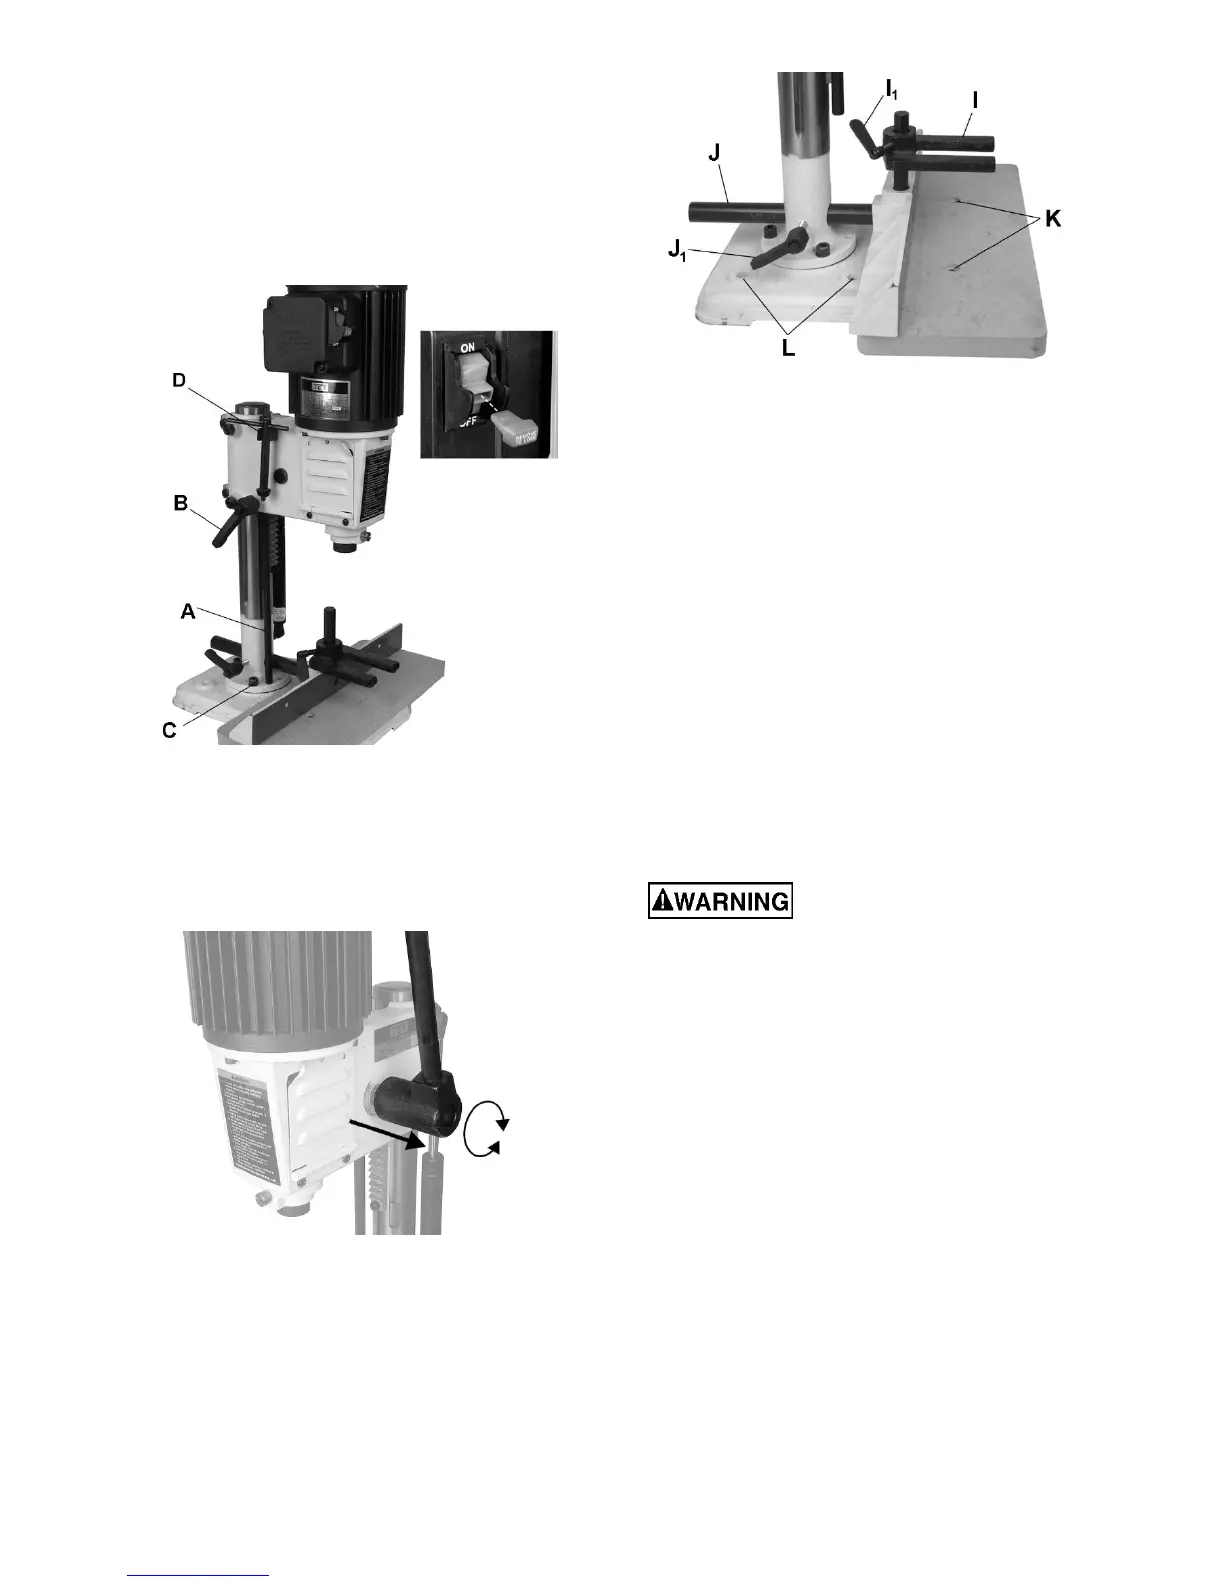
10.1 On-Off switch
The switch (inset photo, Figure 10-1) has a safety
key that, when pulled out, allows the switch to be
locked in OFF position. The key must be reinserted
to start machine.
Figure 10-1
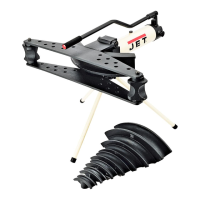
10.2 Handle adjustment
The spring-loaded handle can be adjusted for
leverage and comfort. Pull handle away from head
and reposition it on shaft. See Figure 10-2. Make
sure handle re-engages clutch block.
Figure 10-2
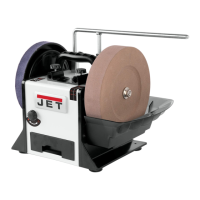
10.3 Fence adjustment
The fence can be moved in and out by loosening
locking handle (J
1
, Figure 10-3) on the column.
Always retighten handle before operating mortiser.
Figure 10-3
10.4 Hold down adjustment
The hold down (I, Figure 10-3) should be adjusted
so it just touches top of workpiece and allows the
workpiece to slide left or right. The hold down can
also be taken off and turned over for a thicker
workpiece. To adjust hold down, loosen wing screw
(I
1
, Figure 10-3).
10.5 Depth stop rod adjustment
The depth stop rod (A, Figure 10-1) is used to limit
the depth of the chisel cut. Loosen handle (B,
Figure 10-1) and lower head until bottom of chisel
is at required depth. Lower depth stop rod until it is
at rest against the base. Re-tighten handle (B).
10.6 180° Head rotation
The column can be rotated 180º to permit mortising
large workpieces off the table.
The base must be secured to
the table or workbench when using head in
rotated position.
1. Using a 4mm hex wrench, remove four screws,
lock washers and flat washers (C, Figure 10-1)
Note: Only one screw is visible in Figure 10-1.
2. Rotate head and column to opposite direction.
3. Reinstall the four screws, lock washers and flat
washers.
10.7 Chuck key holder
Store chuck key by pushing into holder (D, Figure
10-1).
10.8 Bit shank length
Chisel bits come with long or short shanks (Figure
10-4) depending on manufacturer. If using a bit
with short shank, the spindle extension adaptor
must be installed; see sect. 10.9. If using a bit with
long shank, proceed to sect. 10.10.