REMOVING
SAW
BLADE
When
removing saw blades from your saw, make sure the saw is disconnected from. the power
source. Remove the table insert, place a
block
of wood
against
the front of the
saw
blade
and
and using the arbor nut wrench, turn the arbor nut toward you.
OPERATION
Plain
sawing includes ripping
and
cross
cutting,
plus
a few other standard operaHons
of
a
fundamental nature. The
following
methods feature
safety.
As
with
ali
power tools
there
is a
certain amount of hazard invloved
with
the operator and his use of the tool. Using the tool
with
the respect and caution demanded as far as
safety
precautions are concerned wi Il
considerably
!essen the
possibility
of persona!
injury.
However,
if
normal
safety
precautions are overlooked
or completely ignored, persona!
injury
to the operator can develop.
1t
is
good practice
to
make
trial cuts using scrap material
when
setting
up
your saw
for
operation.
CROSS
CUTTING
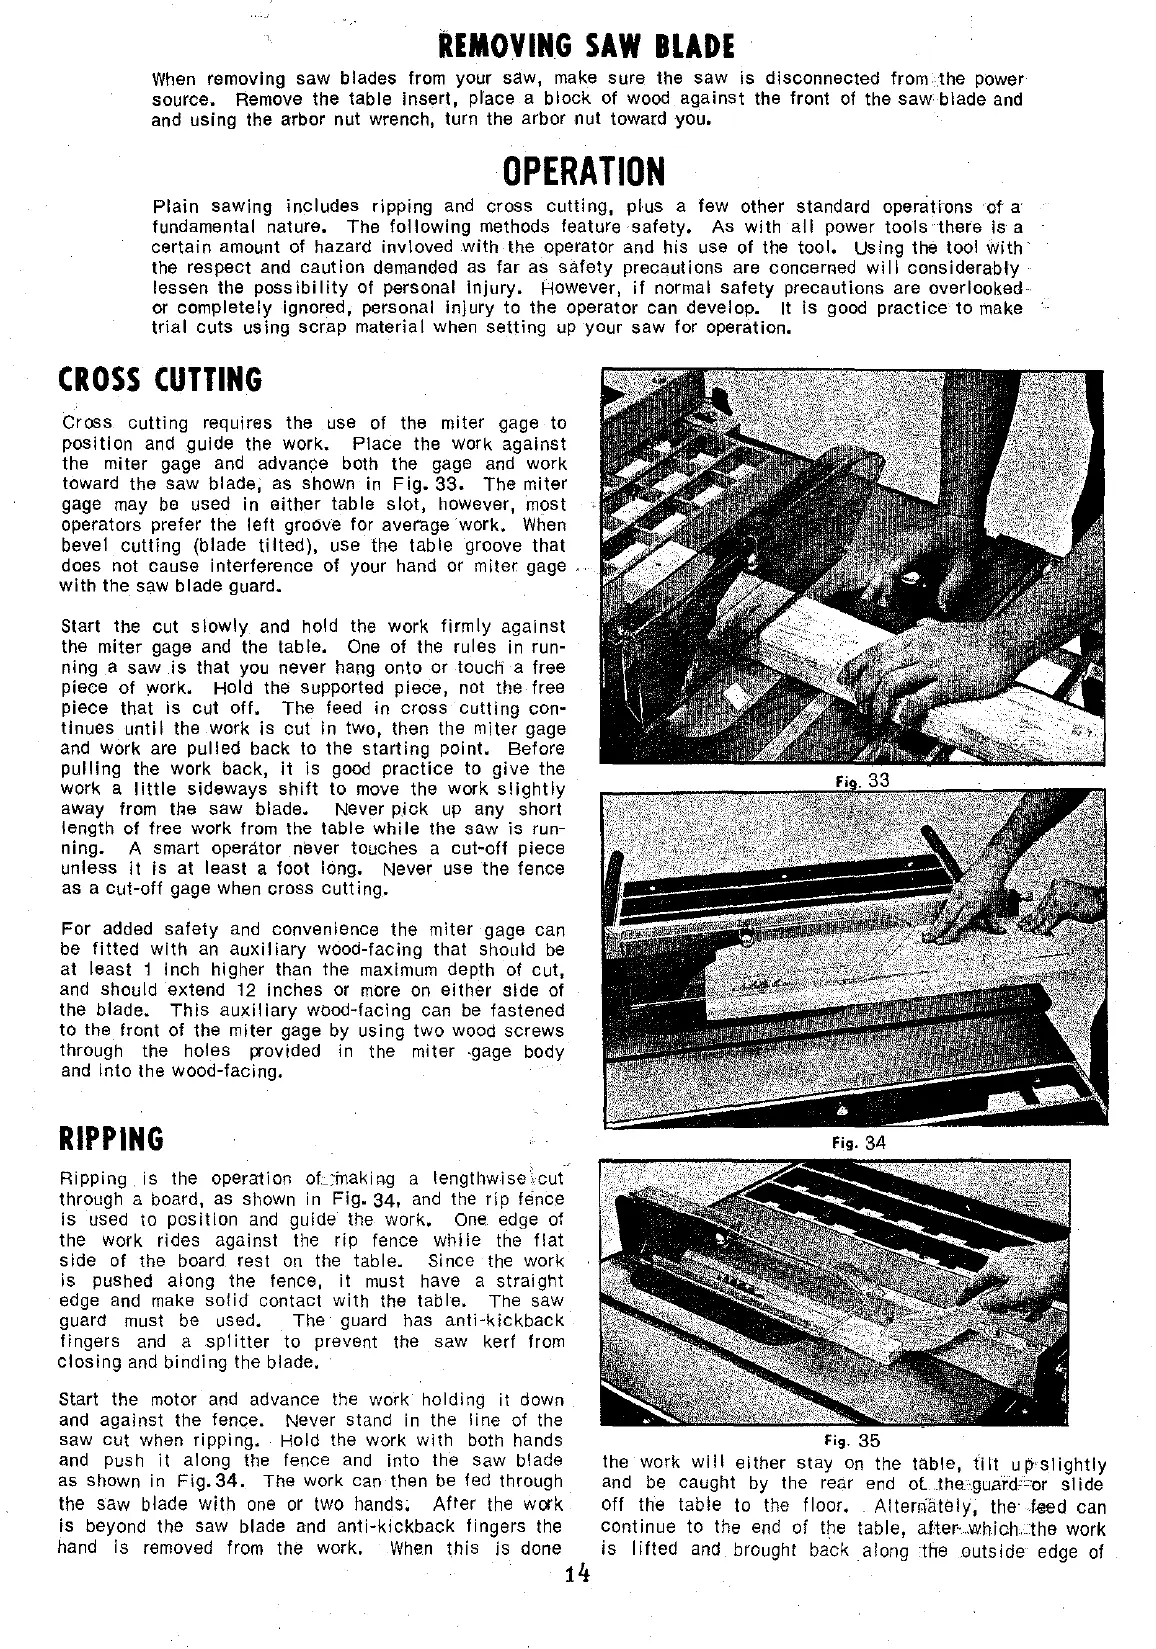
Cross
cutting
requires the use of the miter gage to
position
and guide the work. Place the work against
the miter gage
and
advance bath the gage
and
work
toward the saw blade, as shown in
Fig.
33.
The miter
gage may
be
used in
either
table
slot,
however, most
operators prefer the
left
groove for average work.
When
bevel
cutting
(bi ade ti lted), use the
table
groove that
does not cause interference of your hand or
miter
gage ..
with
the saw bi
ade
guard.
Start the eut
slowly
and
hold the work
firmly
against
the miter gage
and
the table.
One
of the rules in run-
ning a saw
is
that you never hang onto
or
touch a free
piece of work. Hold
thé supported piece, not the free
piece
thal
is eut
off.
The feed in cross
cutting
con-
tinues
unti 1 the work is eut in two, then the miter gage
and
work are pulled back to the
starting
point. Before
pulling
the work back,
it
is
good
practice
to
give
the
work a
little
sideways
shift
to
move the work
slightly
away from the saw blade. Never
pick
up
any short
length of free work from the table
while
the saw is run-
ning. A smart operàtor never touches a eut-off piece
unless
it
is at least a foot long. Never use the tence
as a
cut·off
gage when cross
cutting.
For added
safety
and
convenience the miter gage can
be
fitted
with
an
auxiliary
wood-facing
thal
should
be
at least 1 inch higher than the maximum depth of eut,
and
should extend 12 inches or
more
on
either
side of
the blade.
This
auxiliary
wood·facing can
be
fastened
to
the front of the miter gage by using two wood screws
through the hales provided in the miter .gage body
and
into the wood·facing.
RIPPING
Ripping is the operalion oL:fnakil'lg a
lengthwisekut
through a board,
as
shown in
Fig.
34,
and
the
rip
fénce
is
used to
position
and
guide
the work.
One
edge of
the work rides against the
rip
tence whi le the
flat
side of the board rest
on
the table. Since the work
is pushed along the tence.
it
must have a
straight
edge
and
make
solid
contact with the table. The saw
guard must
be
used. The guard has
anti·kickback
fingers
and
a
splitter
to
prevent the saw kerf from
closing
and
binding the blade.
Start the motor
and
advance the work holding
it
dawn
and against the tence. Never stand in the
line
of the
saw eut when ripping. Hold the work
with
bath hands
and
push
it
along the tence
and
into
the saw blade
as shawn in
Fig.34.
The work can then
be
led through
the saw blade
with
one
or
two hands.
Alter
the work
is beyond the saw blade
and
anti·kickback
fingers the
hand is removed from the work.
When
this
is done
14
Fig.
35
the work
will
either stay
on
the table, t'ilt
up·slightly
and
be
caught by the rear
end
ot
Jhe·guaido=or si ide
off
the
table
to the
floor.
Alter~alely,
the·
f<Jed
can
continue to the
end
of the table,
aHer·which
the
work
is
lifted
and
brought back
along
·the .outside edge of
 Loading...