18
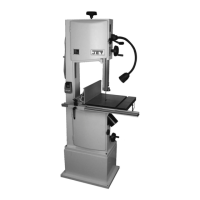
Figure 28
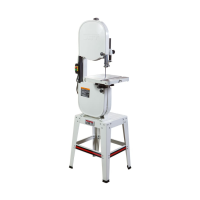
Figure 29
5. Remove old belt from around motor pulley (C,
Figure 29) and then from around lower wheel
pulley (D).
6. Install new belt, making sure it seats properly
in pulley grooves.
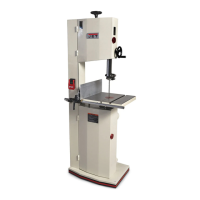
7. Loosen motor lock handle (A) and allow motor
to lower. Check tension by pushing with
moderate pressure on the belt halfway
between the pulleys. An adequately tensioned
belt will deflect about 1/2”. If tension isn’t
strong enough, push down on motor.
8. Tighten motor lock handle (A).
9. Install blade, and verify blade tension and
tracking before operating (sections 8.10 and
8.11).
8.19 Brushes
Refer to Figure 30.
Two adjustable brushes are located in the lower
wheel housing. They should remain in constant
contact with blade and wheel to prevent buildup of
gum and debris.
Figure 30
9.0 Operating controls
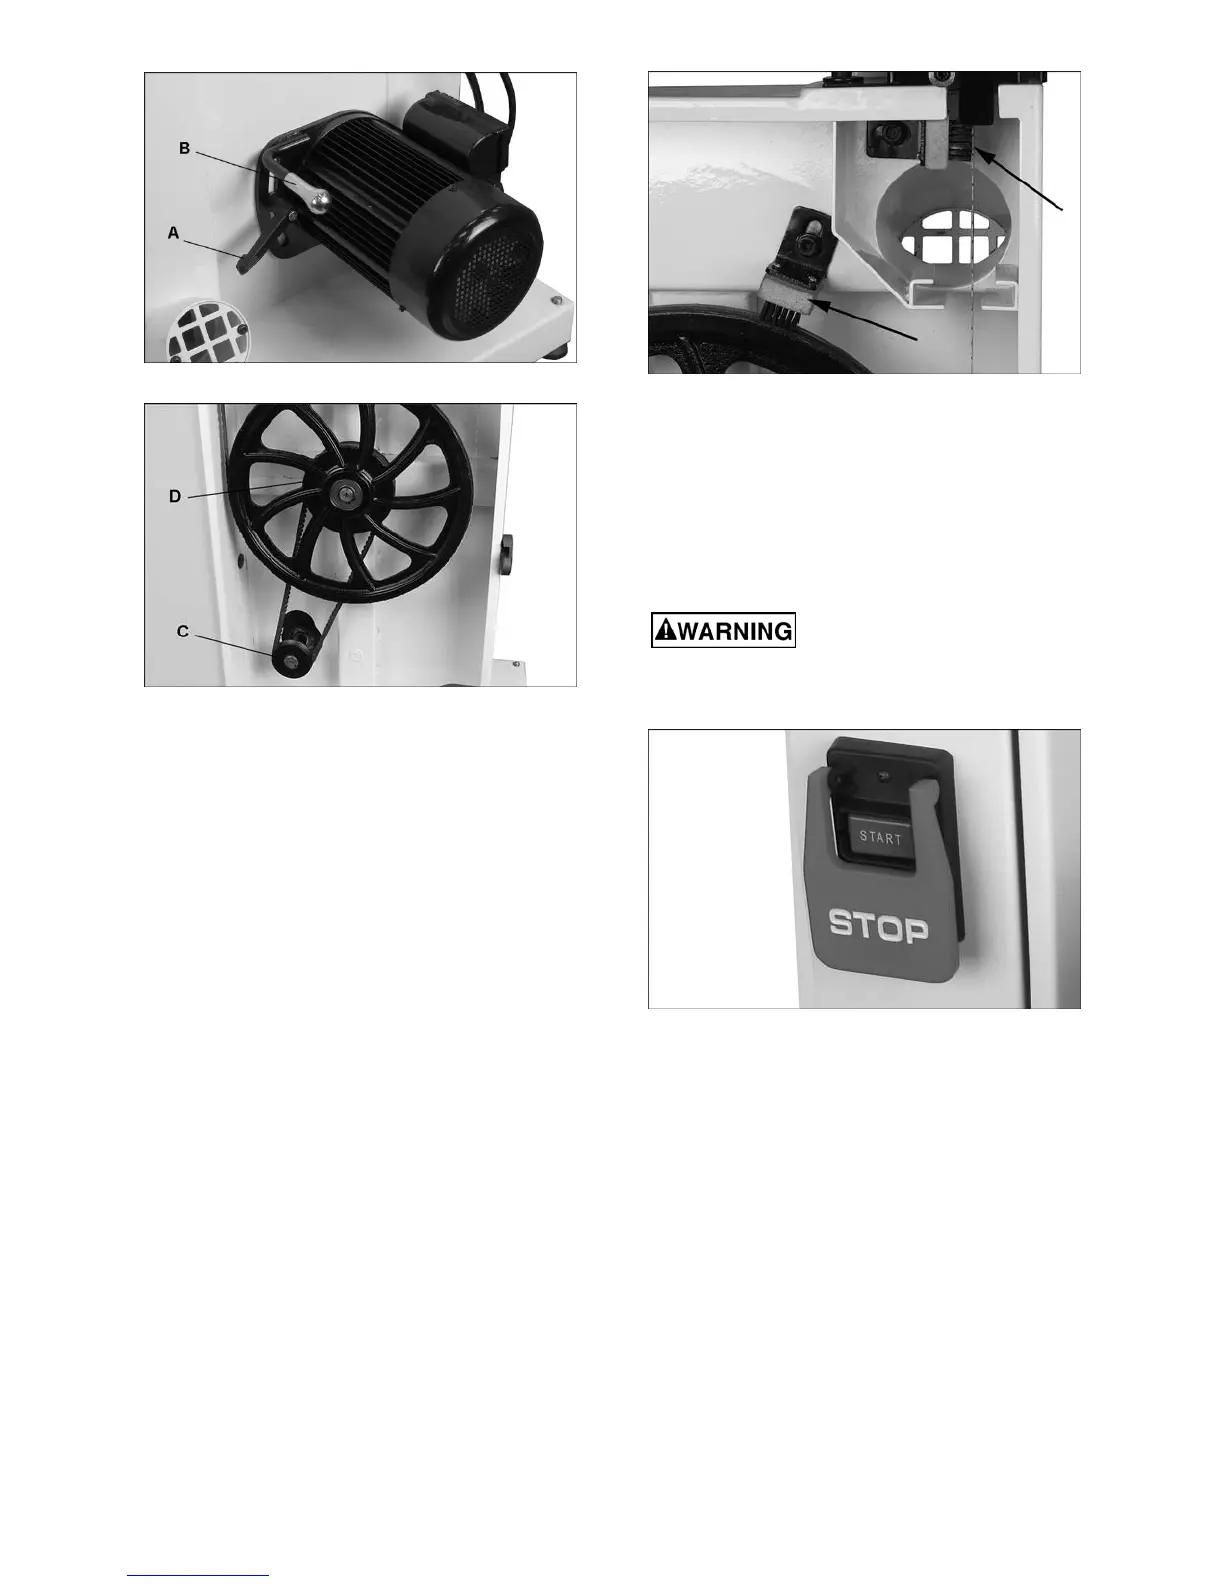
9.1 Start/Stop
Refer to Figure 31.
Press green START button to start saw. Press red
paddle button to stop.
After machine is shut off,
allow wheels and blade to come to a complete
stop before opening guards/doors, making
adjustments, or leaving the area.
Figure 31
10.0 Operation
The following section contains basic information,
and is not intended to cover all possible
applications or techniques using the band saw.
Consult published sources of information, acquire
formal training, and/or talk to experienced band
saw users to gain proficiency and knowledge of
band saw operations.
(The following figures may or may not show your
specific model, but procedures are the same.)
10.1 General procedure
1. Make sure blade is adjusted correctly for
tension and tracking, and that upper and lower
 Loading...