166
7-01
7-02
7-03
1 (WAP)
7-04
1
A
B
Operation
7.0 WEIGHT APPLICATION
The following weight types and application methods
are available:
-
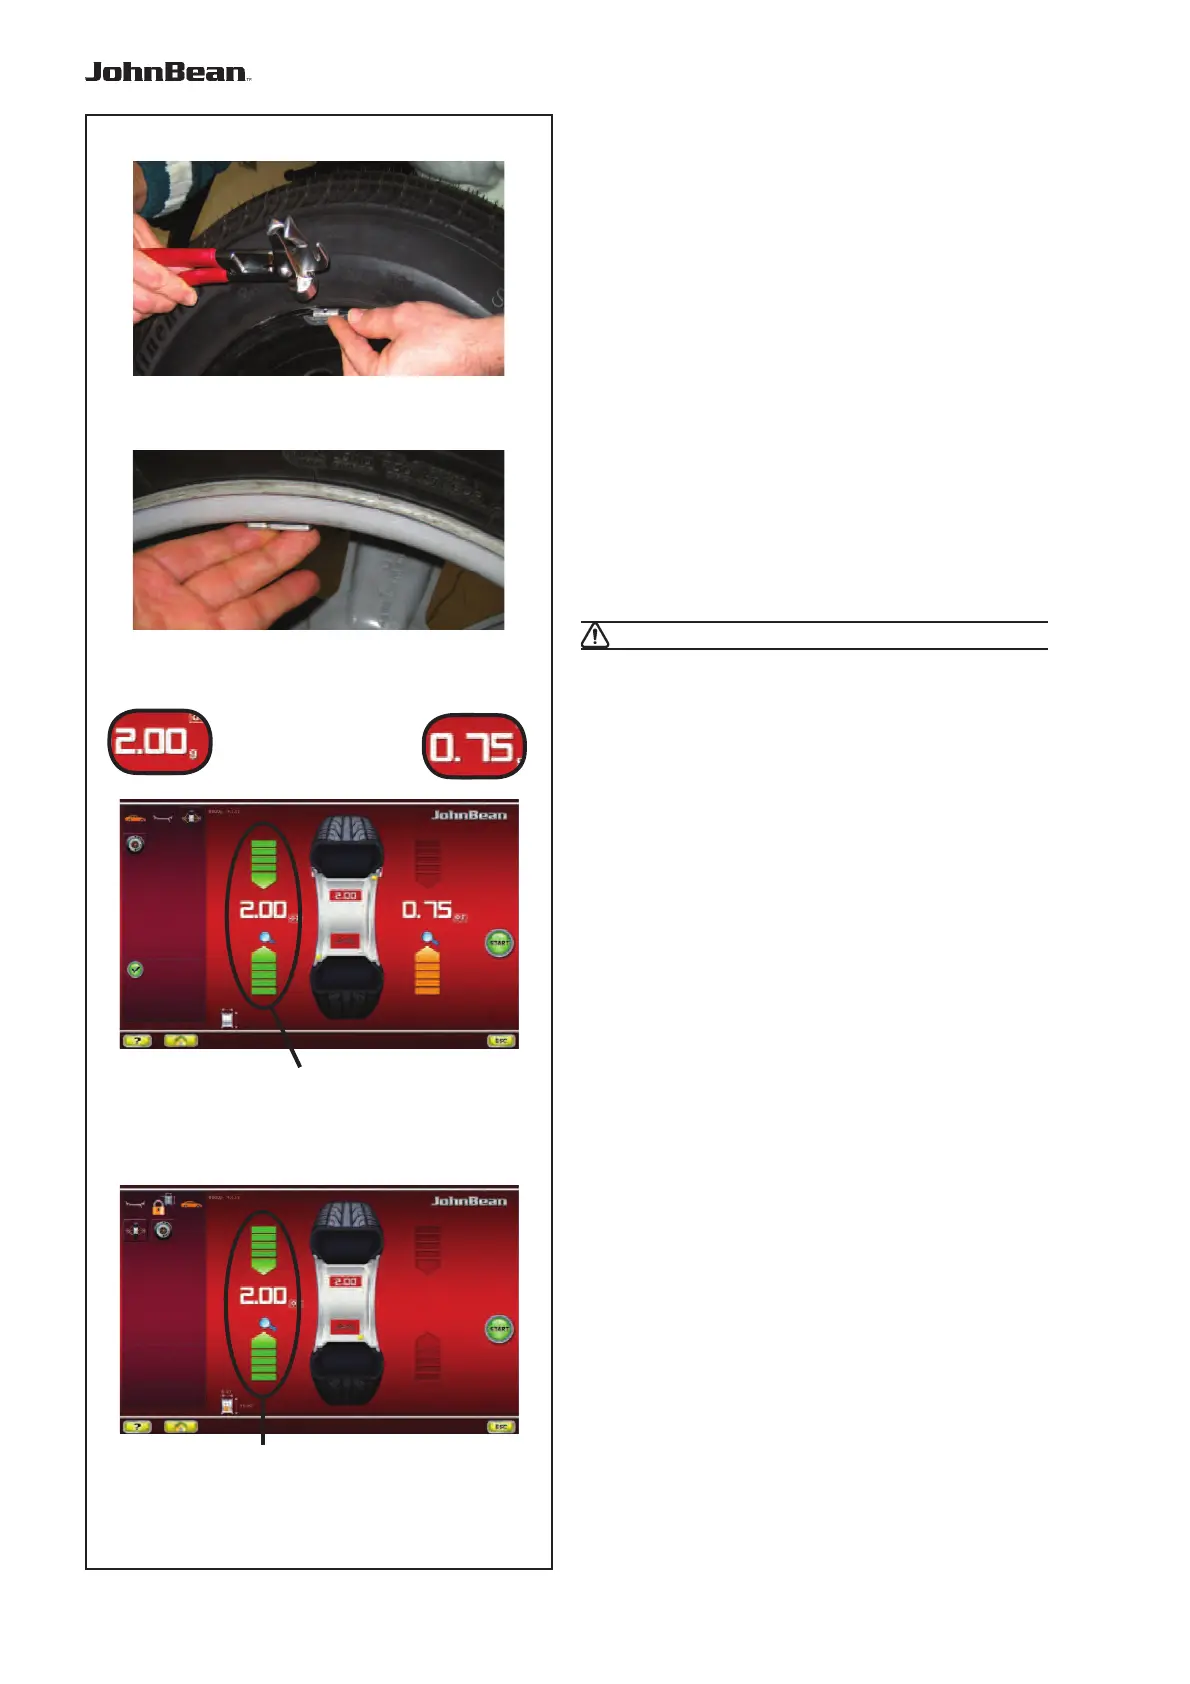
clip-on weights:
Always apply by hand (Fig. 7-01).
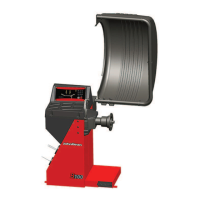
- stick-on weights:
Must be applied by hand (Fig. 7-02), or using the
gauge head, for the Alu 2P, Alu 3P or SWM mode
Note: Hand applied weights must always be
applied exactly perpendicular to the shaft
(12 o’clock position).
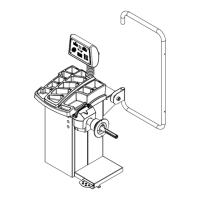
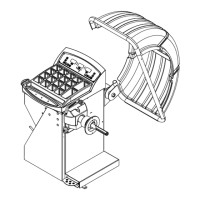
After spinning the wheel look at the rotation indicators
for the left plane of the wheel (1, Fig. 7-03):
The weight to be applied in that plane is shown on the
display; the two arrows light up green.
• Turn the wheel manually until it reaches the
counterweight application point.
Arrows above and below, completely green.
- Alternatively,
CAUTION: MOVE AWAY FROM THE WHEEL
Note: If you touch the imbalance value (A, Fig.
7-03), the wheel moves automatically to
the weights application WAP position in
that plane (1, Fig. 7-03).
7.0.1 Attaching a weight
CLIP-ON WEIGHT
Refer to Figure 7-01.
• Clip-on
weights must always be applied in the 12
o’clock position.
• The lip should rest on the rim edge. Use the weight
pliers to position it.
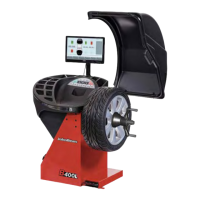
In STATIC mode only the left hand display is used (1,
Fig. 7-04).
STICK-ON WEIGHT
ALU or STATIC weight modes only:
Refer to Figure 7-02.
• Apply the weight on the rim in the 12 o’clock
position, always by hand.
Note: With STATIC weight modes, always
apply the weight at the rim centre line.
If not possible, split the weights evenly
and apply on another surface of the rim
(symmetrical to the rim centre line).
Note: With large static unbalance (e.g.>30g)
divide the unbalance into two fairly equal
parts and correct it at both sides of the
wheel, considering the chosen ALU
balancing mode.
..
_
..........