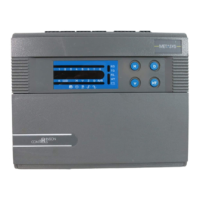
Metasys Ventilation Controller
14
4.
For additional maneuvering space during the wiring operation,
remove the bottom endcap of the UPM by disconnecting the
two assembly screws.
5.
Complete the field wiring to the DX-9100.
6.
Reassemble the lower UPM endcap.
7.
Take care not to pinch any wires.
Note:
Be aware that in low lighting conditions or cramped spaces,
reassembly of the endcap may be difficult.
Installing Air Sampling Devices and Tubing
To install air sampling devices and tubing:
1.
Read the Location Considerations section of this bulletin.
2.
To ensure an acceptable response time, mount the enclosure so the
pneumatic tubing runs conform to the following specifications:
•
supply air - 9.2 m (30 ft) maximum
•
return air - 30.5 m (100 ft) maximum
•
outdoor air - 30.5 m (100 ft) maximum
3.
Select a mounting location on the first duct (supply, return,
or outdoor) for one of the air sampling devices.
4.
Install the air sampling device on the duct with the open end facing
into the air stream. The connection can be made at any place along
the duct, including near heating or cooling coils.
Note:
The outdoor air flow sampling device can be mounted in the
outdoor air intake ductwork; however, mount the device
outdoors if it is likely that exhaust air could affect the sensor in
the outdoor air intake ductwork.
5.
Seal the space between the tube and the duct to prevent air loss
from the duct.
6.
Use a length of 6.4 mm (1/4 in.) Outside Diameter (O.D.) flexible
tubing to connect the air sampling tube to the appropriate port
located inside of the enclosure. Tubing is labeled outdoor, supply,
and return.
7.
Install the remaining air sampling devices in the other
two locations specified by Figure 3.
 Loading...