WT-4000 Series Pneumatic-to-Direct Digital Control (DDC) Room Thermostats Installation Instructions
18
2. Use the Up/Down buttons to select Standalone on
the menu (Figure 22).
3. Press to confirm the selection.
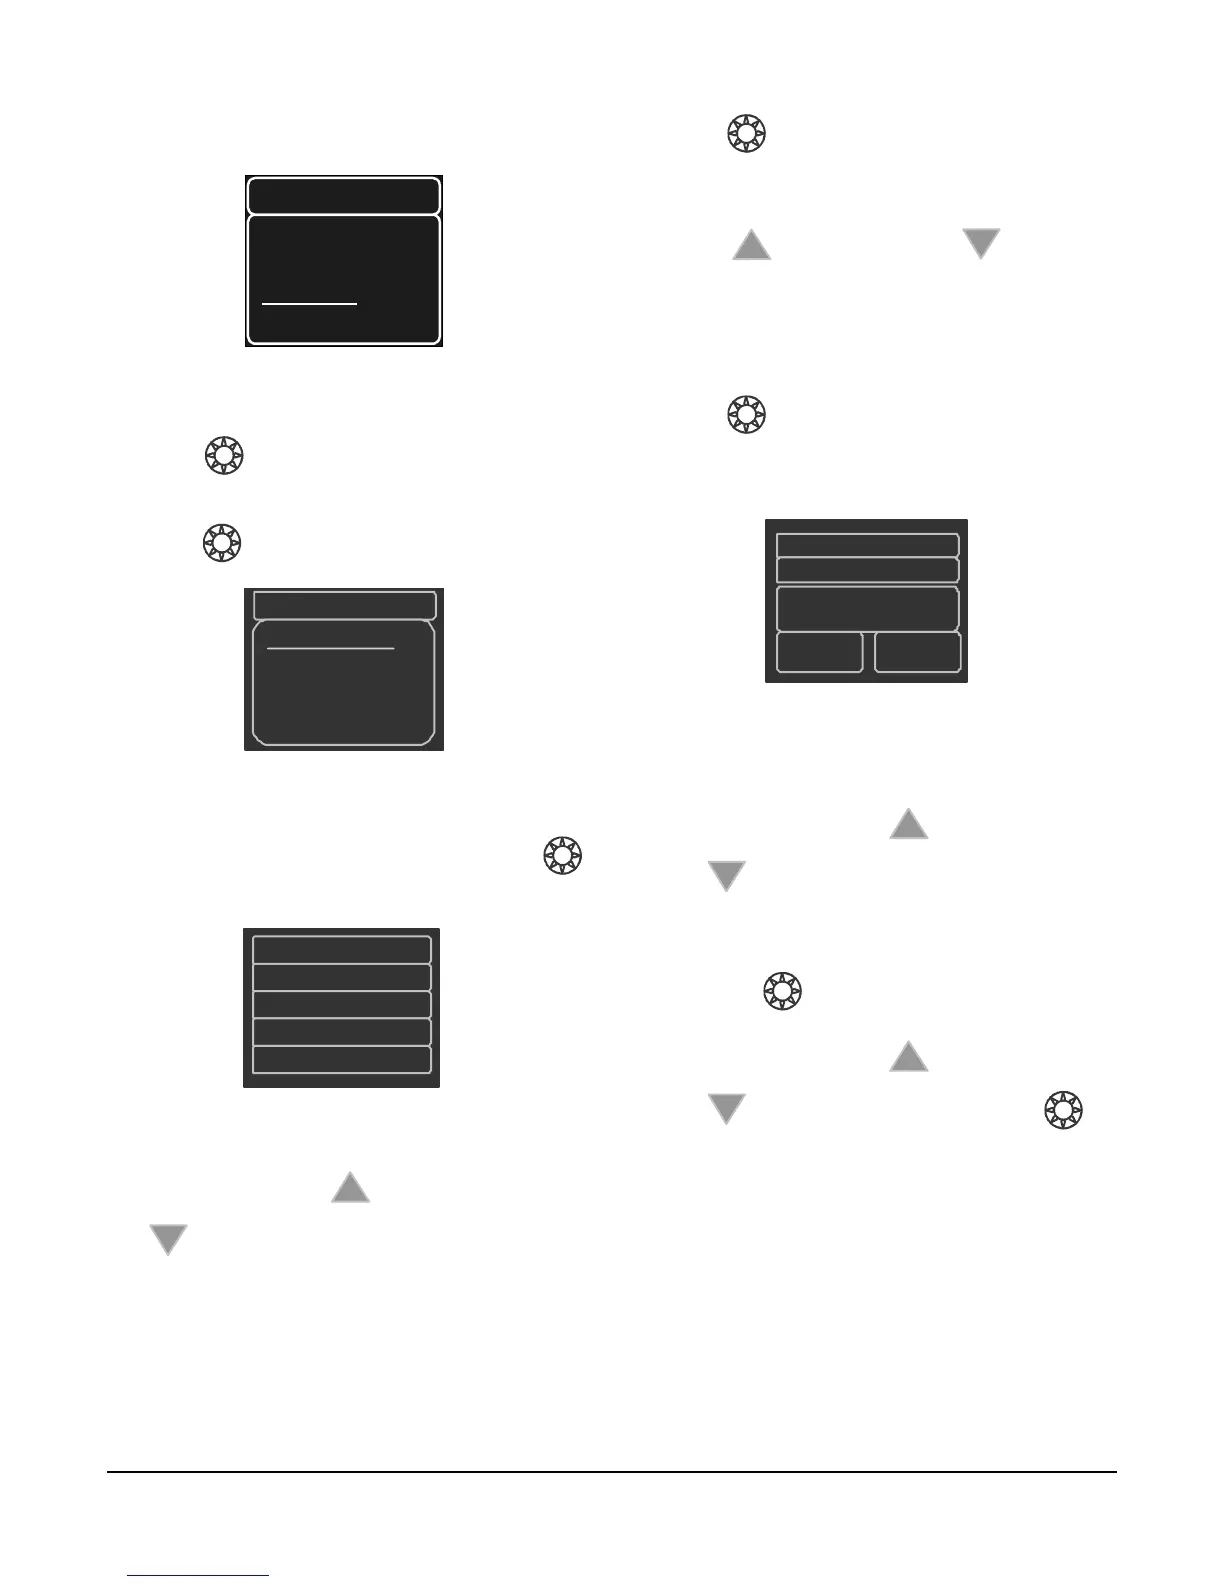
4. Select Date & Time on the menu (Figure 23) and
press to enter the setup screen.
5. In the Date & Time menu (Figure 24), press
to highlight the menu options that require editing.
6. Press the Up button or the Down button
to change the value.
7. Press to confirm the selection.
8. Repeat Step 5 through Step 7 until all of the menu
options are configured correctly. Press the Up
button or the Down button to scroll
through the date and time menu options.
9. While in the configuration menu, use the Up/Down
buttons to navigate to Weekday to program the
weekday schedule.
10. Press to open the weekday schedule.
11. Set the Weekday 1 schedule (Figure 25), which is
usually the start of the Occupied Mode.
a. Leave the top line as Weekday 1.
b. Press the Up button or the Down button
to scroll through the occupancy mode,
start time, and lower temperature limit menu
items.
c. Press to open a specific menu item.
d. Press the Up button or the Down button
to change the value, then press to
save the setting.
Figure 22: Selecting the Stand-Alone Mode
FIG:stndln_mde
et Config
an Mode
tandalone
aintenance
tandalone
FIG:dte_tme_mnu
Standalone
Date&Time
Weekday
Week end
Figure 23: Selecting Date and Time
FIG:dte_tme_sttngs
Month01
Day01
Ho ur01
Minute01
Year2014
Figure 24: Setting the Date and Time
Weekday1
Occupied
07:00
70
FIG:wdy_1
Figure 25: Setting the Weekday 1 Schedule