Reassembly
Use the following procedure to reassemble the chiller. Refer to the Installation guide (Form 160.75-
N1.EN.CE) for other instructions.
Form 7 shipment only
About this task:
The following steps related to shipment form 7. When complete, move to Form 3 and form 7
shipments.
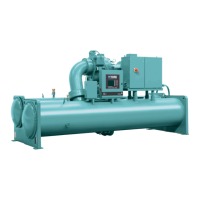
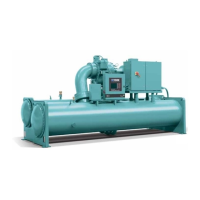
1. Locate the cooler and condenser shells in their final position. Rigging holes exist on the top
corners of each tube sheet, four for each shell.
2. Bolt the tube sheets together as shown in Figure 2. Note that the outside surfaces of the tube
sheets must be flush.
Form 3 and form 7 shipments
About this task:
The following steps related to shipment form 3 and form 7. For form 7, first complete the steps in
Form 7 shipment only.
1. Assemble vibration isolators to unit. Refer to the Installation guide (Form 160.75-N1.EN.CE).
2. Level shells in both directions. The longitudinal alignment of the shell must be checked by
placing a level on the top of the shell, next to the discharge connection. Check the transverse
alignment by placing a level on the tops of both end sheets. Refer to the Installation guide
(Form 160.75-N1.EN.CE) for additional instructions to level the unit. After the shell is leveled,
wedge and shim each corner of the shell to solidly support it while assembling the other
parts.
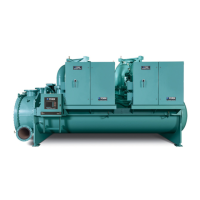
3. Lift the compressor and motor assembly and remove packing materials. See Figure 4.
Carefully lower the compressor and motor assembly on to the supports on the cooler.
4. Fasten the compressor and motor assembly with the correct hardware. Do not tighten the
bolts until all connections are made to the compressor.
5. Bolt the suction line between the compressor and the cooler using the correct gaskets and
hardware.
6. Install the fill piece or isolation valve between the compressor and the condenser using the
correct gaskets and hardware.
7. Connect the oil line between the compressor oil drain flange and the oil sump flange. Install
the correct gaskets and hardware.
8. Complete the refrigerant liquid piping beneath the cooler and condenser. Ensure the fill
piece, orifice plate, gaskets, and hardware are correctly installed.
9. Tighten all hardware installed in Step 3 to Step 7.
10. Assemble the Control Center to the unit.
Note: Large units have panel mounted on brackets for shipping. Small units are shipped
separately.
11. Assemble the oil pump control panel.
12. Install refrigerant piping and oil return system filters.
13. Perform a pressure test.
Note: Relief valves must be plugged or capped. Refer to Operation and maintenance
(Form 160.75-O1.EN.CE).
Model YK (Style G) Chiller Field Reassembly for Form 3 and Form 712

 Loading...