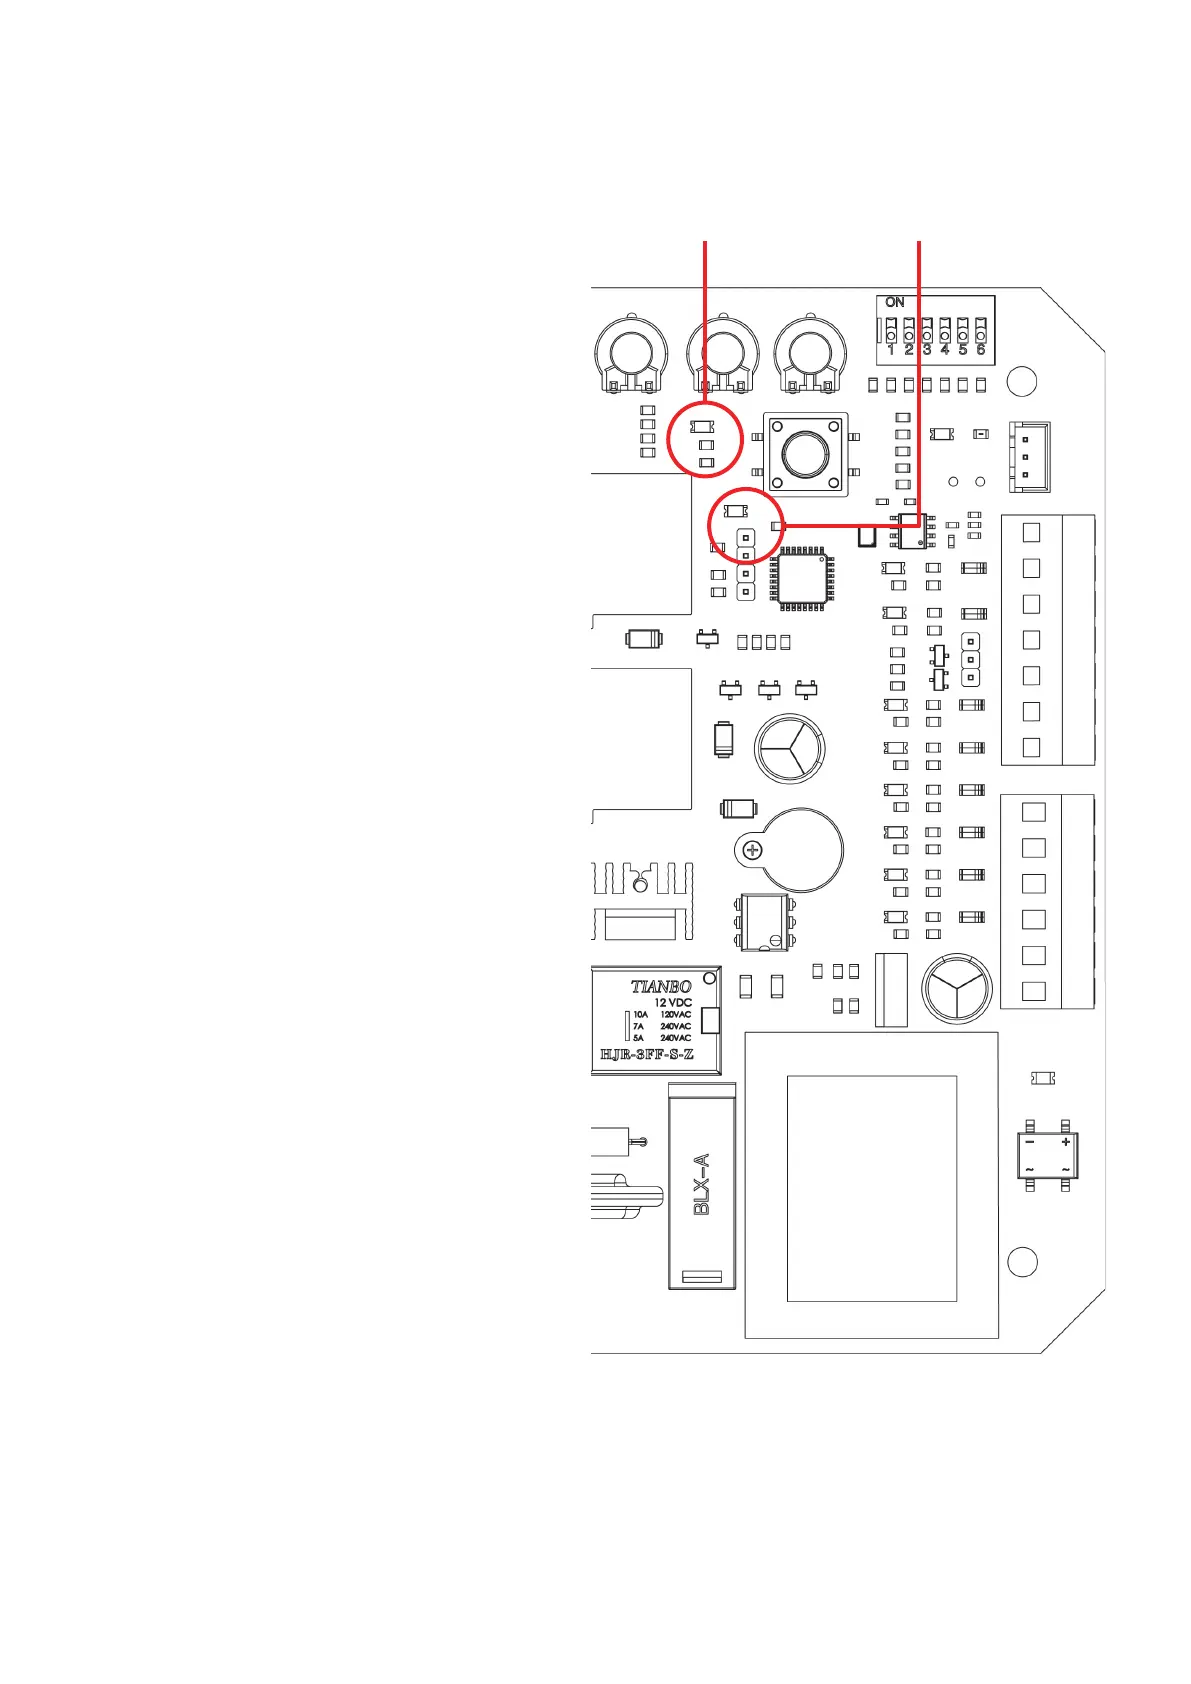
15
INITIAL TESTING
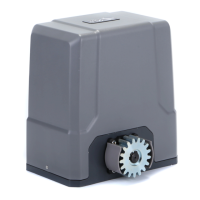
1. If the motor is located on the right side of your
gate, conrm that DIP Switch 2 is toggled up. If
the motor is located on the left side, make sure
that DIP Switch 2 is toggled down.
2. Clear any obstacles from the gate’s path and
keep all bystanders away.
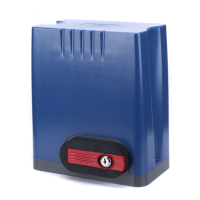
3. Activate the power to your motor. The power and
infrared (8) indicator lights should come on.
4. Test the infrared sensors by blocking the path
between the two sensors with any obstacle.
The infrared indicator light (8) should turn off.
Remove the obstacle. The indicator light should
come back on.
5. The top button on both of your remote controls
should already be paired with your motor.
They use a single control mode at a distance
of up to 30 m (98 feet). Pressing either
button should cycle through the commands
OPEN→STOP→CLOSE→STOP. The remote
pairing indicator light should come on each time
a signal is received.
6. When the gate reaches the open limit switch, the
open limit indicator light (13) should go o and
the gate should come to a stop.
If the limit switch is so close that it contacts
the motor housing or is so distant that it fails to
activate the motor’s sensor, adjust its support
bracket as needed to correct the problem. If the
limit switch stops the gate too early or too late,
adjust the location of the support bracket so that
the gate will gently stop in the correct place.
7. If you have activated the automatic close
function, test that it works correctly. Wait
the set amount of time, and see if the gate
begins closing automatically. Confirm that the
remote can still stop the gate when it is closing
automatically.
8. When the gate reaches the close limit switch,
the close limit indicator light (11) should go off
and the gate should come to a stop. Again,
adjust the support bracket as needed.
9. Test both remotes through the full cycle of
commands.
10. Deactivate the power to your motor using its
circuit breaker. If any abnormalities have been
detected during testing, make the necessary
adjustments—e.g. by repositioning the infrared
sensors, realigning the limit switches, or
adjusting the control panel’s sensitivity settings—
or contact Customer Service. Once everything is
functioning, replace the circuit board and motor
covers and their fasteners, reconnect power, and
enjoy!
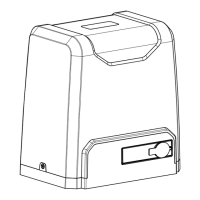
Power Remote Pairing
13
11
8
Indicator Lights