76 Allegro 2 Rugged Handheld Owner’s Manual
Take Photos and Select Photo Options
Press the + C keys to turn the camera on. Frame the
photo as desired and press the action key or the return
key . A square yellow box is shown indicating that the
camera is focusing. Press enter when you are ready to take
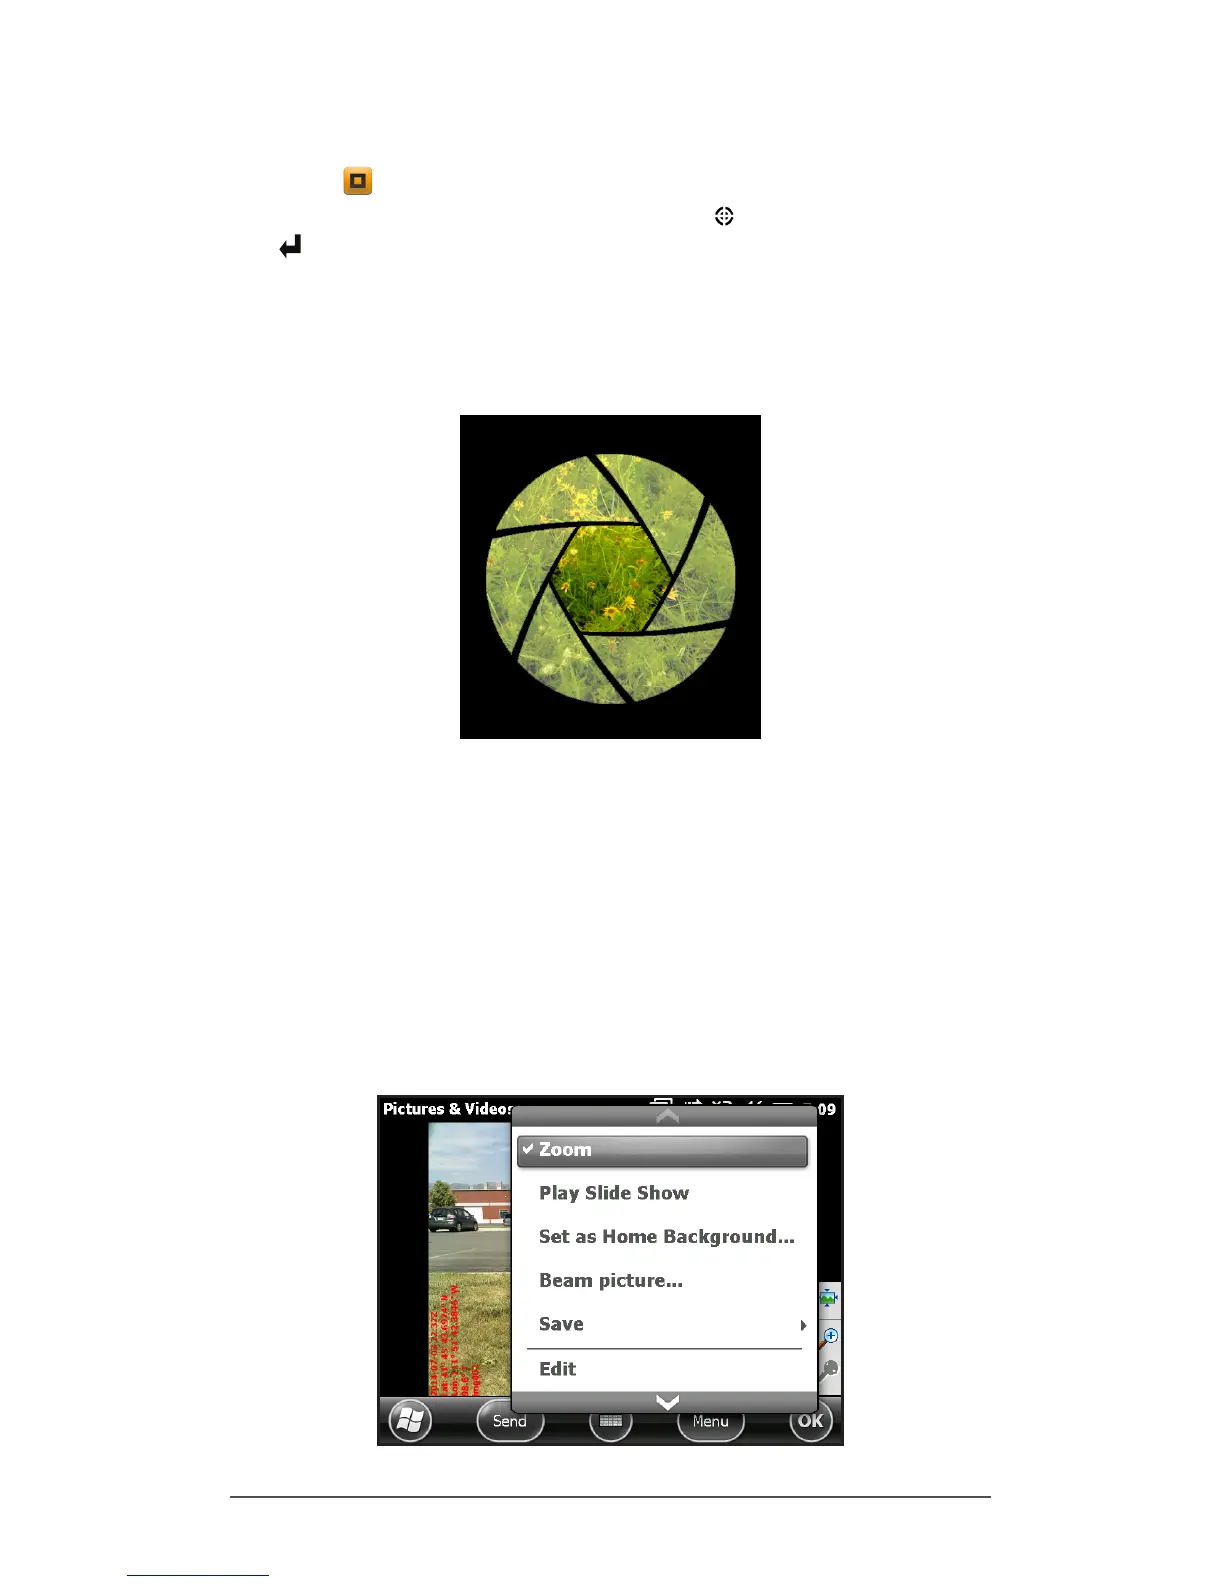
the picture. A screen like the following is shown for a few
seconds. Hold the handheld steady until you hear a click,
indicating that the photo has been taken.
Note: The built-in accelerometer is used to detect the
handheld orientation when the picture is snapped and save
the image in the right orientation.
While the photo is being saved, a disk symbol is shown
briey. The full photo is then shown on the screen.
Photo Options
Select the Menu soft key to see a list of options for a
particular photo. (The photo must appear on the screen.)