NOTE: This examples assumes you are using DHCP to configure the WAN interface. If the WAN provider does
not support DHCP, you’ll need to manually configure the WAN interface and related static routing. See Junos
Initial Configuration.
Have this information handy before you begin the initial configuration:
•
Root password
•
Hostname
Connect to the Serial Console Port
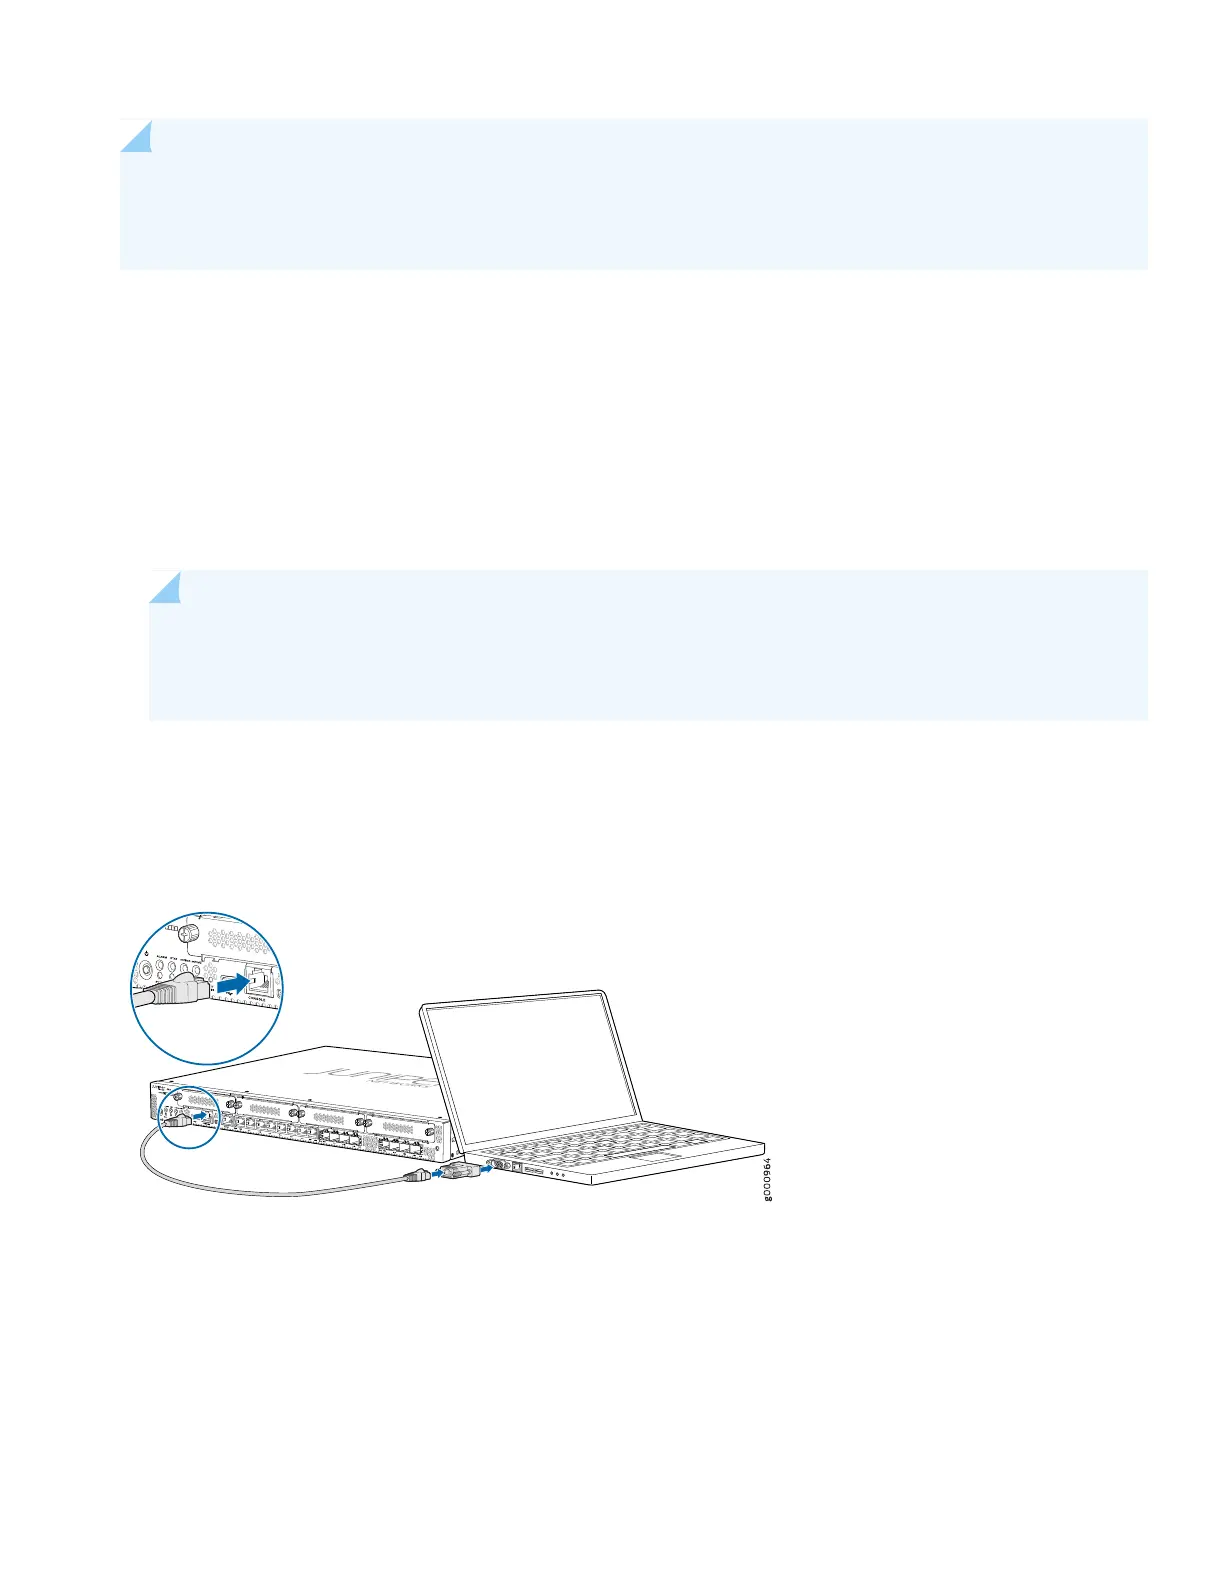
1. Plug one end of the Ethernet cable into the RJ-45 to DB-9 serial port adapter for your SRX340.
NOTE: We no longer include a DB-9 to RJ-45 cable or a DB-9 to RJ-45 adapter with a CAT5E copper cable
as part of the device package. If you require a console cable, you can order it separately with the part number
JNP-CBL-RJ45-DB9 (DB-9 to RJ-45 adapter with a CAT5E copper cable).
2. Plug the RJ-45 to DB-9 serial port adapter into the serial port on the management device.
3. Connect the other end of the Ethernet cable to the serial console port on the SRX340.
4. Start your asynchronous terminal emulation application (such as Microsoft Windows HyperTerminal) and select the
appropriate COM port to use (for example, COM1).
5. Verify that the serial port settings are set to the default:
•
Baud rate—9600
•
Parity—N
•
Data bits—8
7