3. Plug the power cord into the SRX340 rear panel.
4. If the AC power source outlet has a power switch, turn it off.
5. Plug the other end of the power cord into the AC power source outlet.
6. If the AC power source outlet has a power switch, turn it on.
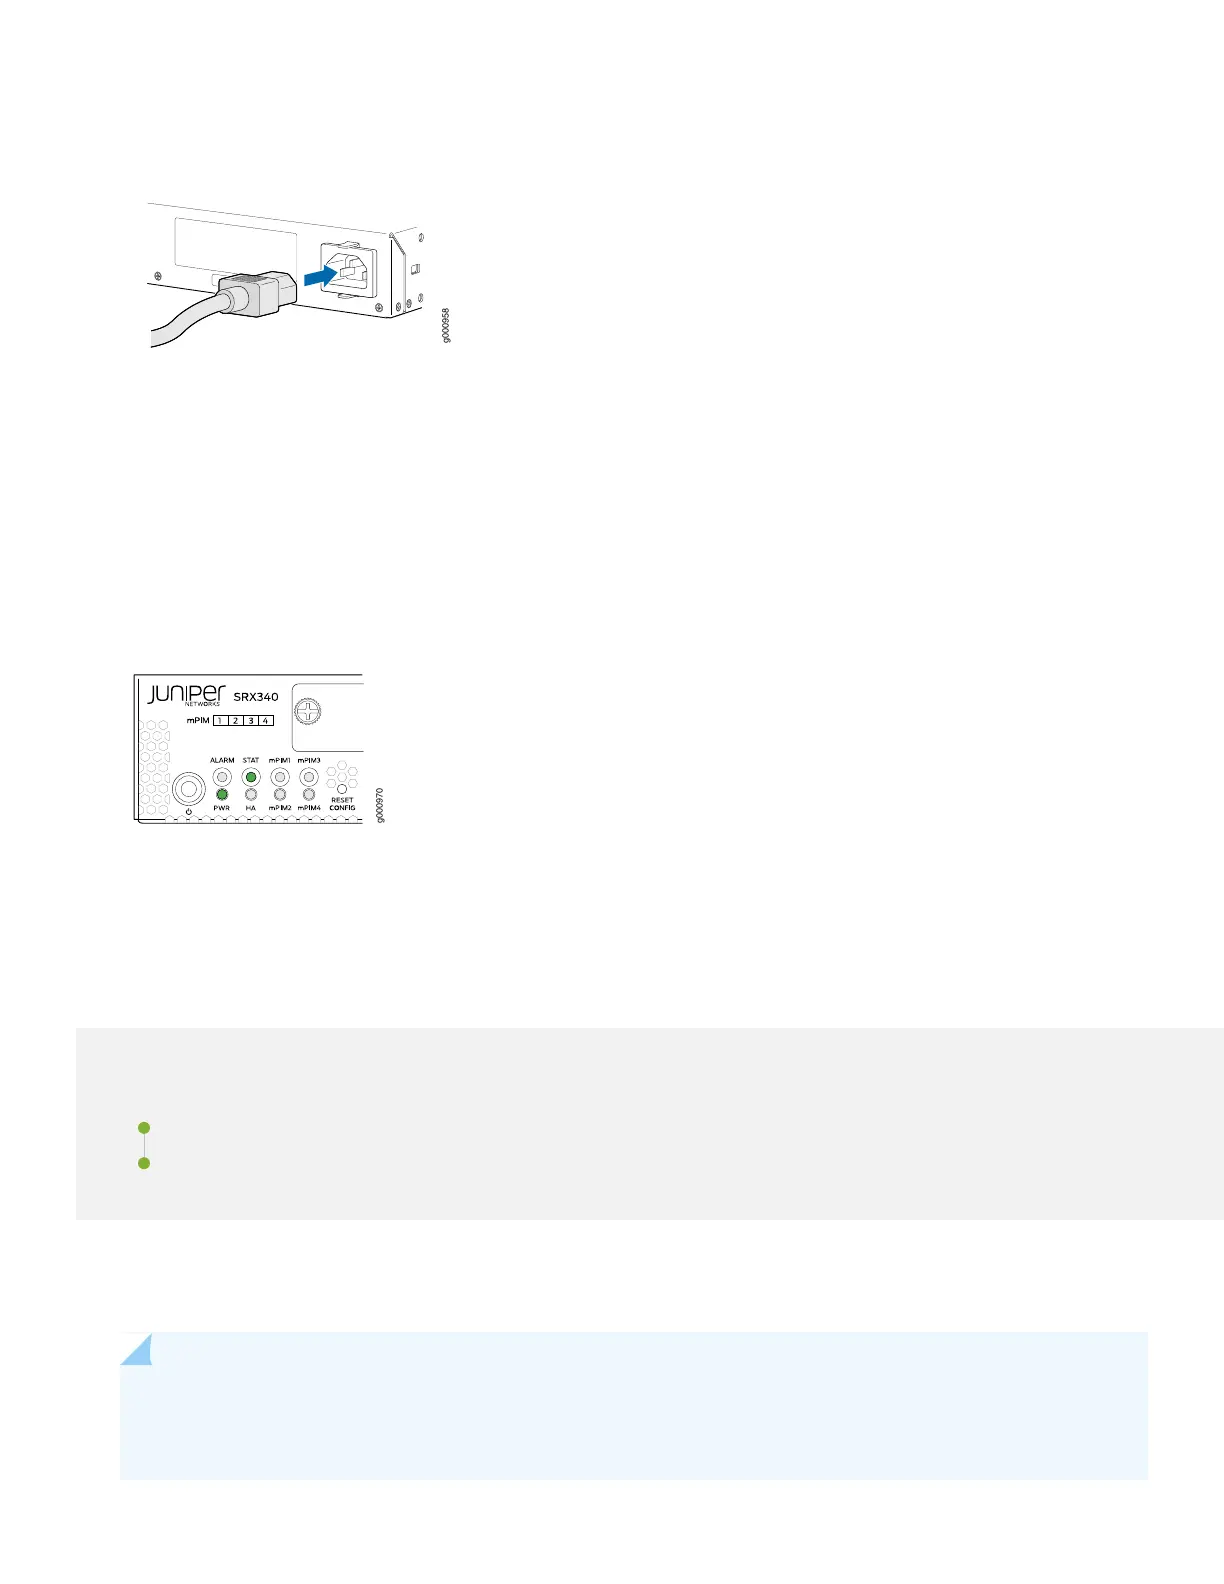
The SRX340 powers up as soon as you connect it to power. When the PWR and STAT LEDs on the front panel are lit
solid green, the SRX340 is ready to use.
Step 2: Up and Running
IN THIS SECTION
SRX340 Provisioning Options | 6
Initial Configuration Using the CLI | 6
Now that the SRX340 is powered on, let’s do some initial configuration to get it up and running on the network.
NOTE: Be sure to check out our Guided Setup: SRX300 Line Firewalls. Our Guided Setup picks up where this
Day One+ leaves off, providing step-by-step instructions on how to easily secure and validate your branch
location.
5