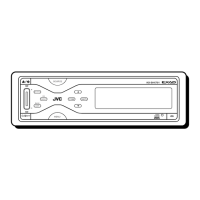
CH-X400/CH-X450
1-14
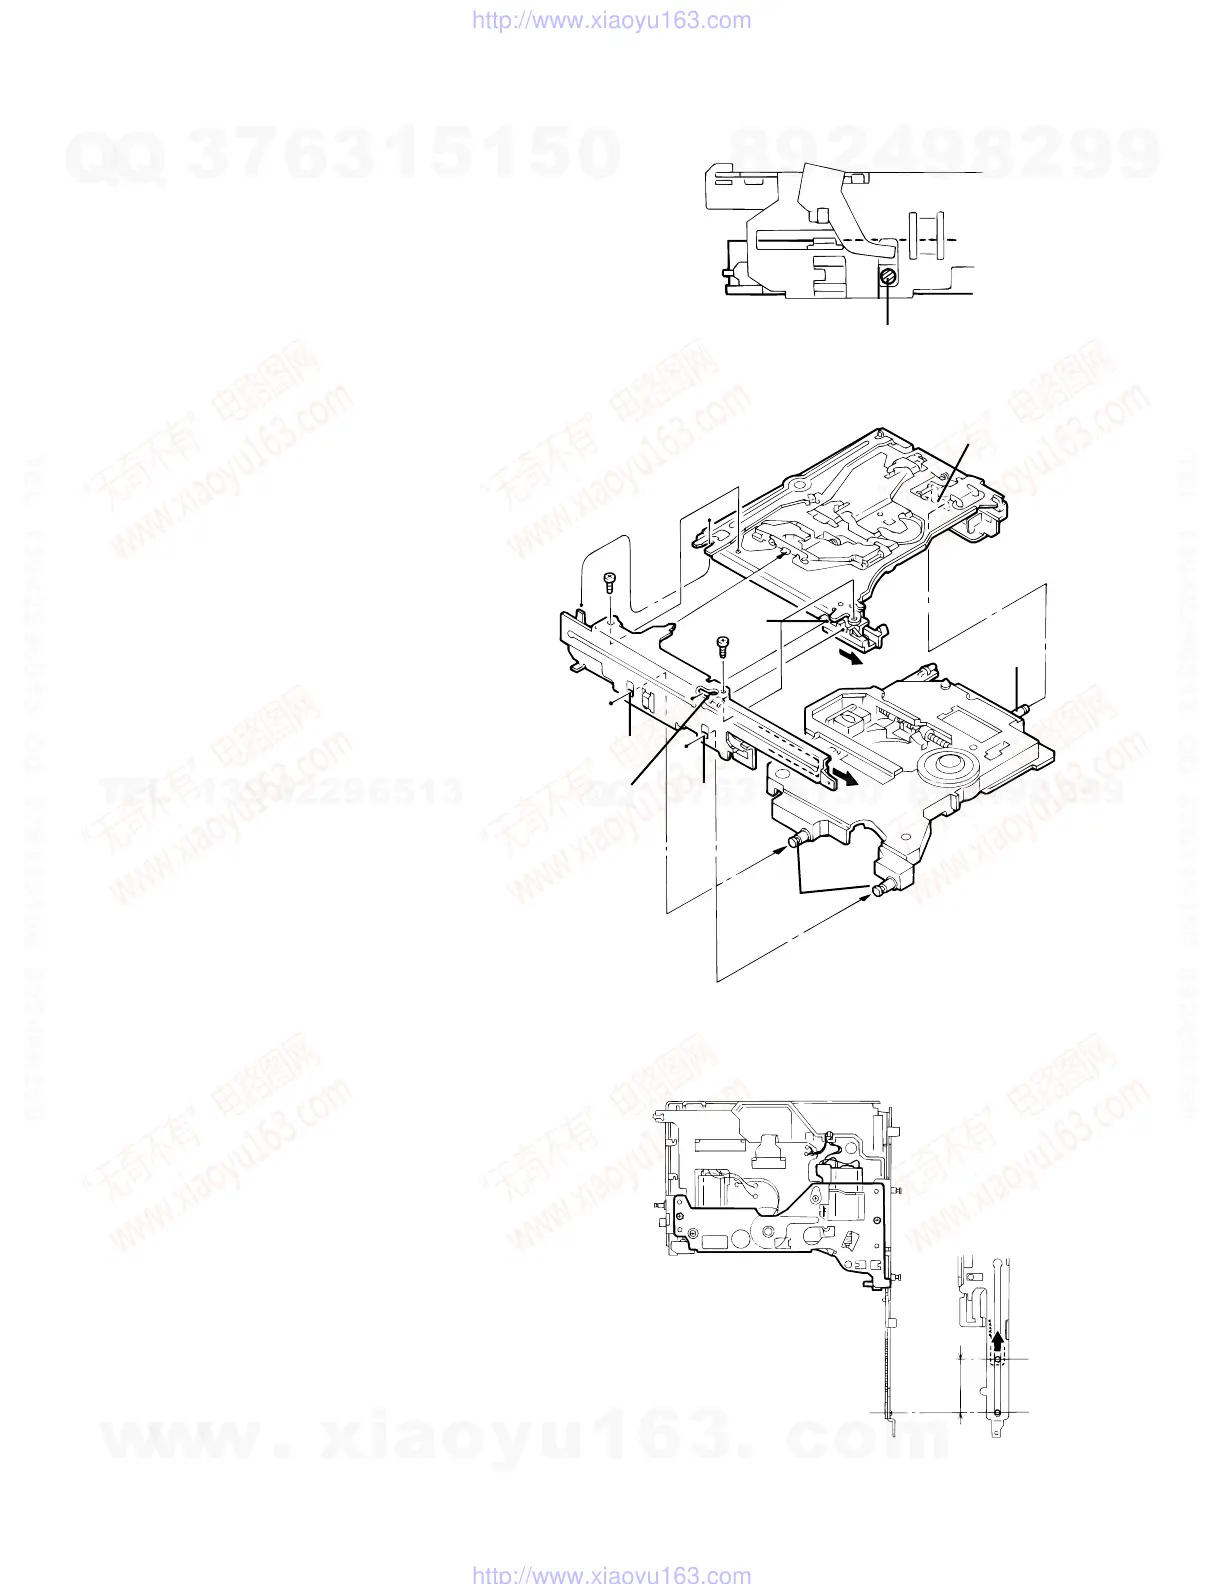
Mounting the lifter unit
1. Insert the shafts (B) of the traverse mechanism assembly into
the slide grooves (F) on the lifter unit.
2. Shift the hook of the lifter unit to the edge, and shift the
sliding lever inside the side bracket unit to the edge as well.
3. With each hole and lever shifted to the edge, mount the lifter
unit and side bracket unit from the side.
(Check each attached section, and check that the two shafts
(C) of the lifter unit are correctly inserted into the holes (g) of
the side bracket unit. After mounting, check that the levers
move together. )
4. Turn the lifter unit upside down.
As shown in Fig. 35, slide the lever 30 mm away from the
edge, then mount the lifter bracket L assembly.
Fig. 33
Fig. 34
Fig. 35
(B)
(B)
(B)
(C)
Attach
Shift inside by approx. 30 mm
Expanded view
(g)
(F)
(F)
(F)
w
w
w
.
x
i
a
o
y
u
1
6
3
.
c
o
m
Q
Q
3
7
6
3
1
5
1
5
0
9
9
2
8
9
4
2
9
8
T
E
L
1
3
9
4
2
2
9
6
5
1
3
9
9
2
8
9
4
2
9
8
0
5
1
5
1
3
6
7
3
Q
Q
TEL 13942296513 QQ 376315150 892498299
TEL 13942296513 QQ 376315150 892498299
http://www.xiaoyu163.com
http://www.xiaoyu163.com
 Loading...