31
3. BASIC SYSTEM CONNECTIONS AND ADJUSTMENTS
4.
3
2.
1.
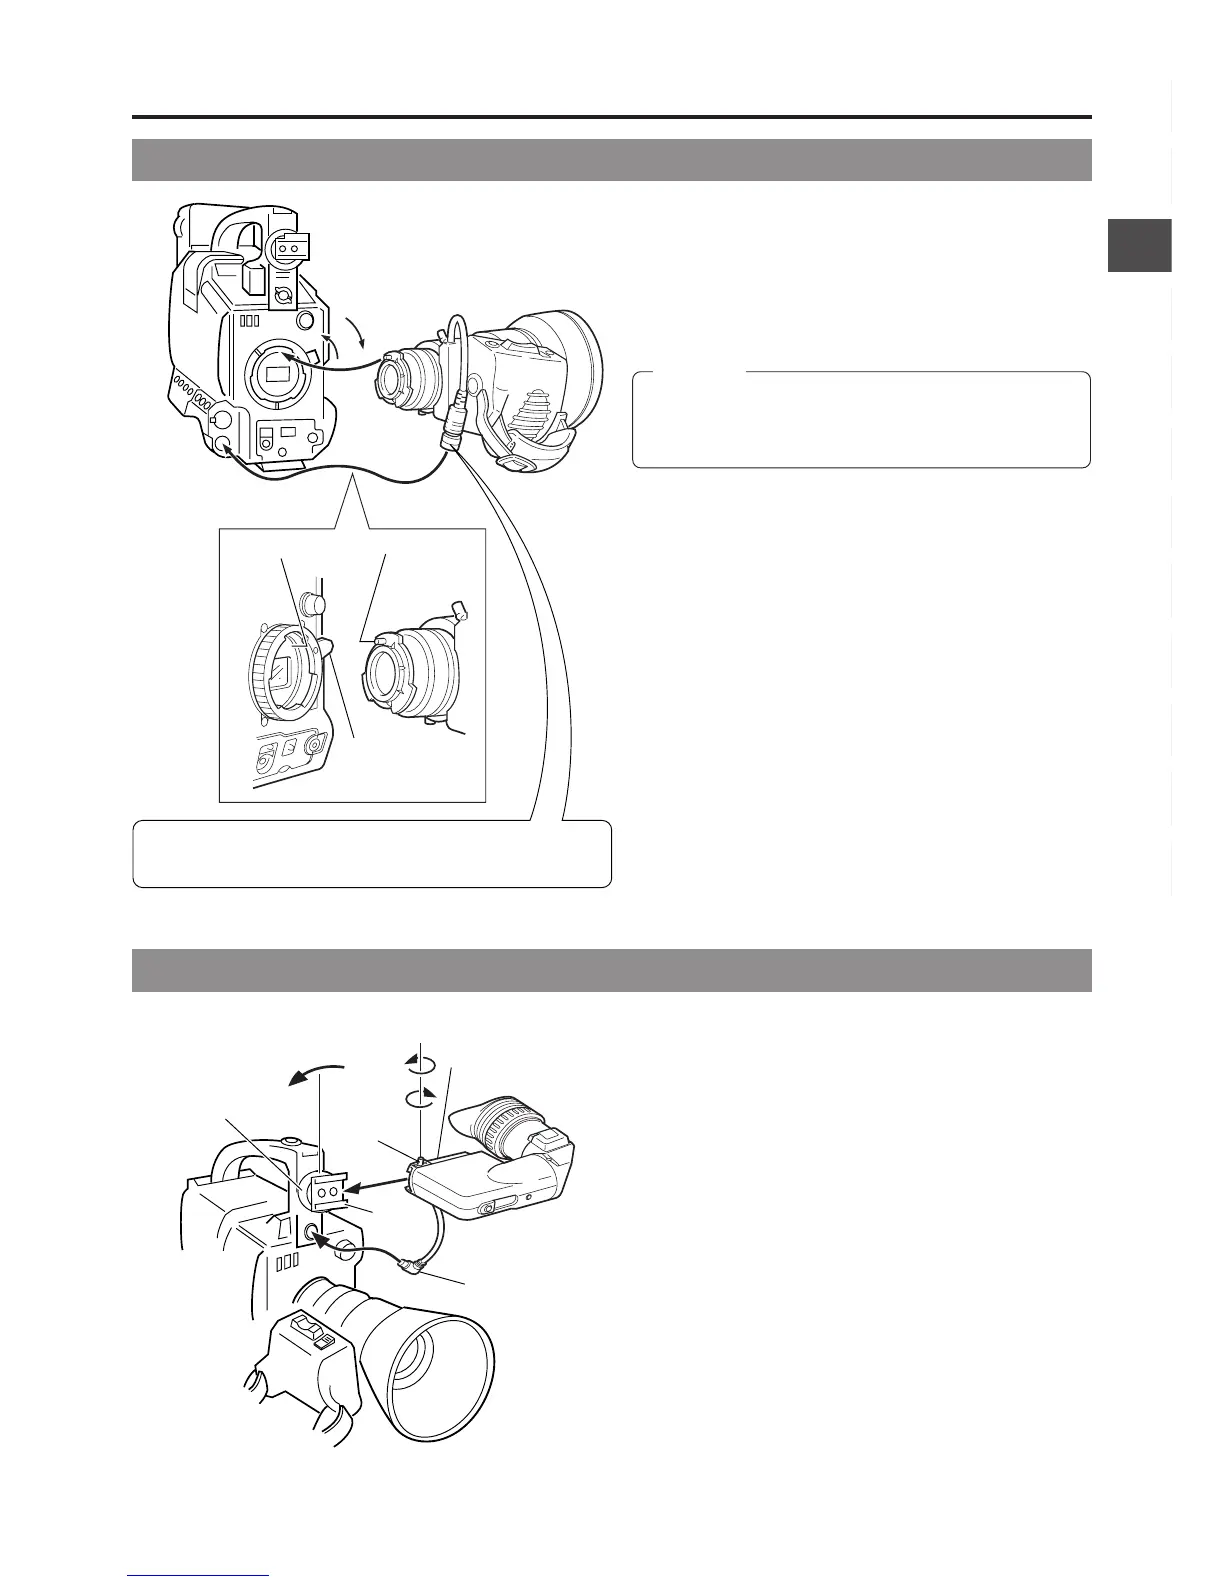
When unplugging the cable connector, first remove the lens
itself. Then grasp this portion and pull straight out.
Hole
Pin
Mount ring
Sliding
securing ring
Stopper
screw
Mounting guide
Viewfinder
mount
base
Connector
1.
4.
3.
2.
5.
1.
Loosen the stopper screw on the viewfinder.
2.
Connect the connector.
3.
Align the mounting guide with the camera’s viewfinder mount
base and attach the viewfinder.
4.
Tighten the stopper screw.
5.
Tighten the sliding securing ring.
* To detach the viewfinder, reverse the mounting procedure.
1.
Loosen the mount ring.
2.
Connect the cable connector.
3.
Attach the lens with its pin aligned with the hole in the mount.
4.
Tighten the mount ring.
Be sure to tighten the mount ring completely. Incomplete
tightening may result in the lens dropping off or disturbed
back focus.
3-2 Attaching the Zoom Lens (optional)
3-3 Attaching the Viewfinder
CAUTION:

 Loading...


