Set up and connections
Hole for belt
1 Microphone 2 Microphones
or
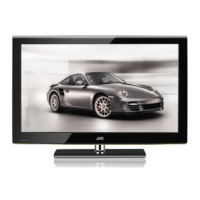
200 mm
150 mm150 mm 50 mm 50 mm
Screw (not provided)
Belt
(not provided)
Power requirements ■
Connect the power cord only to a •
110-240V, 50/60Hz AC outlet.
When attaching the TV to the ■
wall, use the optional JVC wall
mounting unit
Consult a qualied technician.•
JVC assumes no responsibility for •
damage due to improper mounting.
200 mm x 200 mm mount which •
conforms to VESA standards.
Installation requirements ■
To avoid overheating, ensure the •
unit has ample room.
After all the connections have •
been made, insert the plug into
an AC outlet.
AERIAL
OR
VCR (DVD Player)
(x2 Silver screw)
(x2 Black screw)
To prevent the TV from falling, •
thread the belt through the hole
on the back of the stand and
secure it to the TV rack.
Touch on the function name to operate the function.•
You will see the power lamp light up if you have touched the button •
correctly. Except “Power Lamp” set to “Off”. (P. 9)
"Eco Sensor" available for model LT-32G20 only.•
If the microphone is installed, •
should be lock it’s cable follow
picture.
Power lamp
ON : Lit (Blue)
OFF : Unlit
Power lamp lights while
the TV is on.
"Power Lamp" (P. 9)
Remote control sensor
Eco Sensor
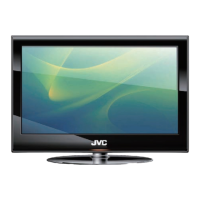
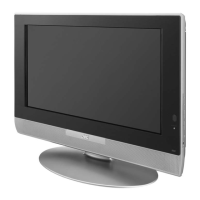
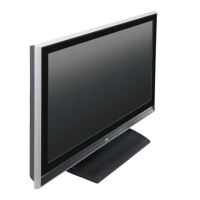
Stand Assembly
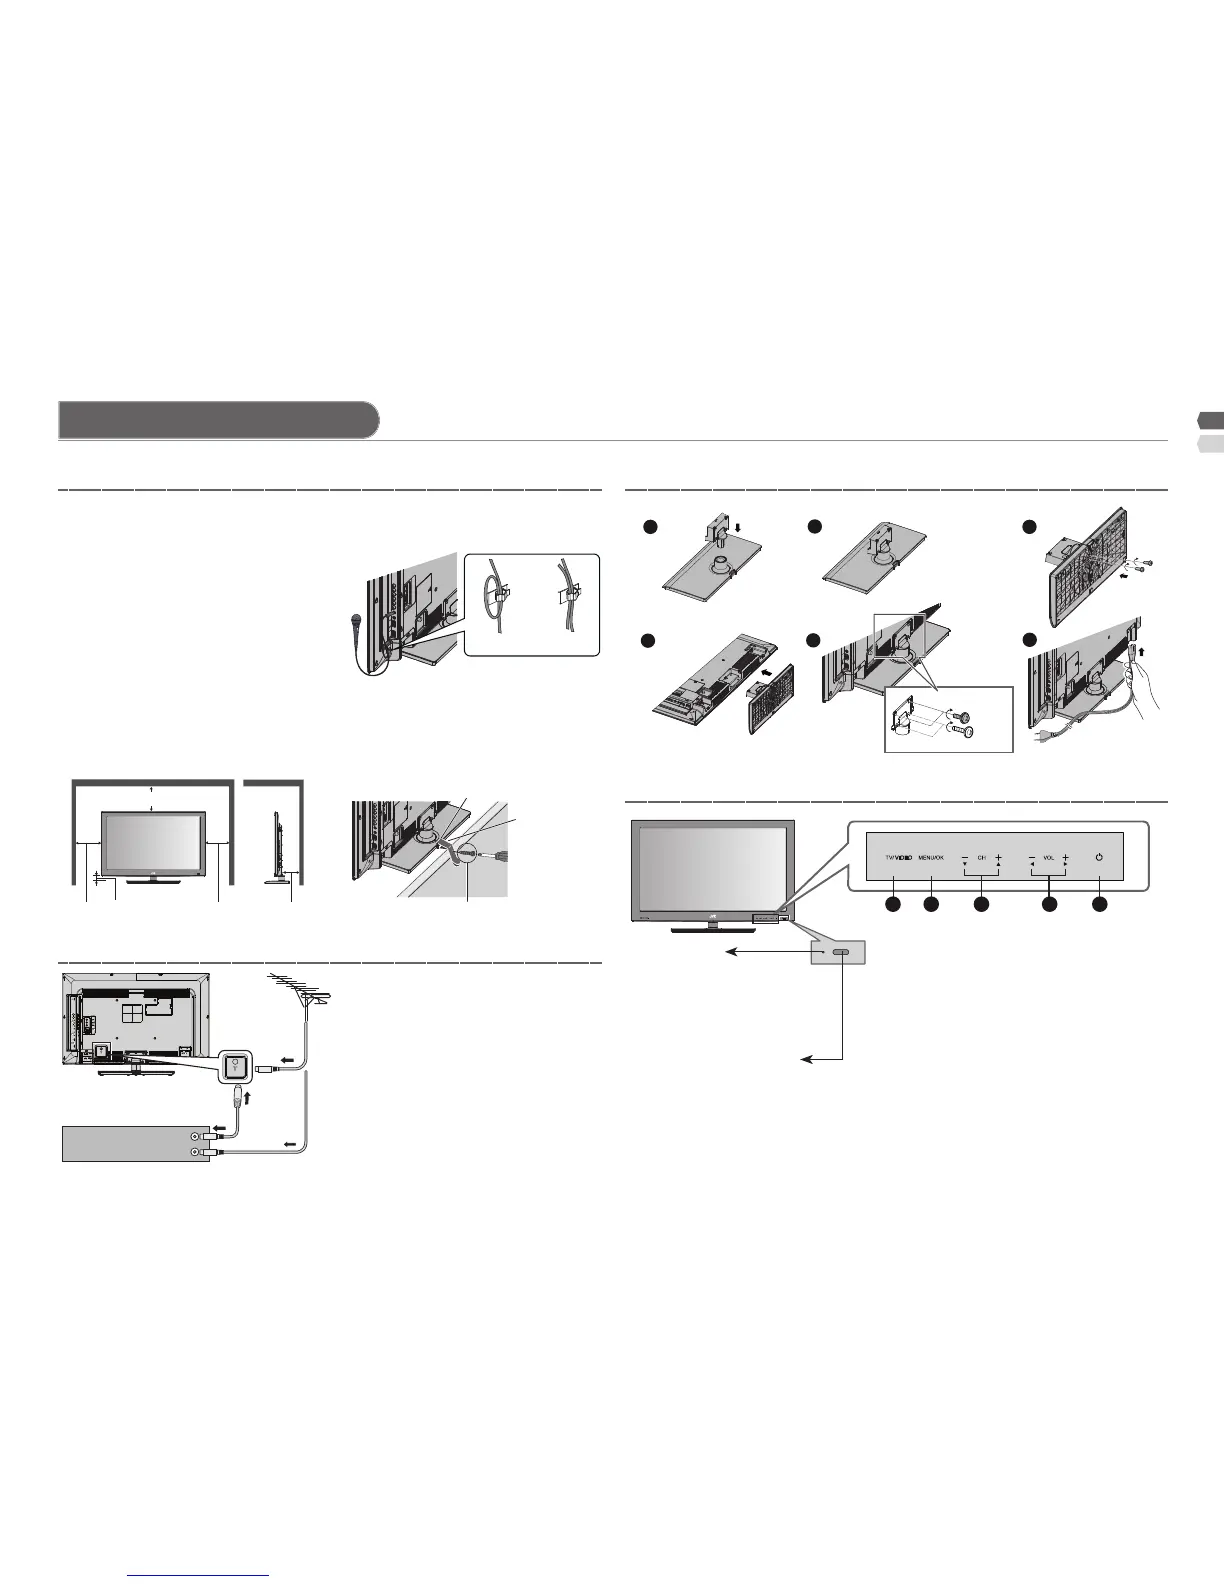
Front panel control
Care when setting
Connect an aerial and VCR / DVD Player
1
Select the input source (P. 13)
2
Display on-screen menu / Set
3
Change channel / Page / Hyper
scan function (P. 4)
4
Volume / Adjust
5
Turn on / Off (standby) the TV.