19
Operation
Selecting an input source
The projector can be connected to multiple equipment at the same time. However, it only
displays one full screen at a time. When starting up, the projector automatically searches for the
available signals.
If you want the projector to always automatically search for the signals:
• Go to the SYSTEM SETUP: Basic menu, and then enable Auto Input Search. (see "Auto
Input Search" on page 27)
To select the video source:
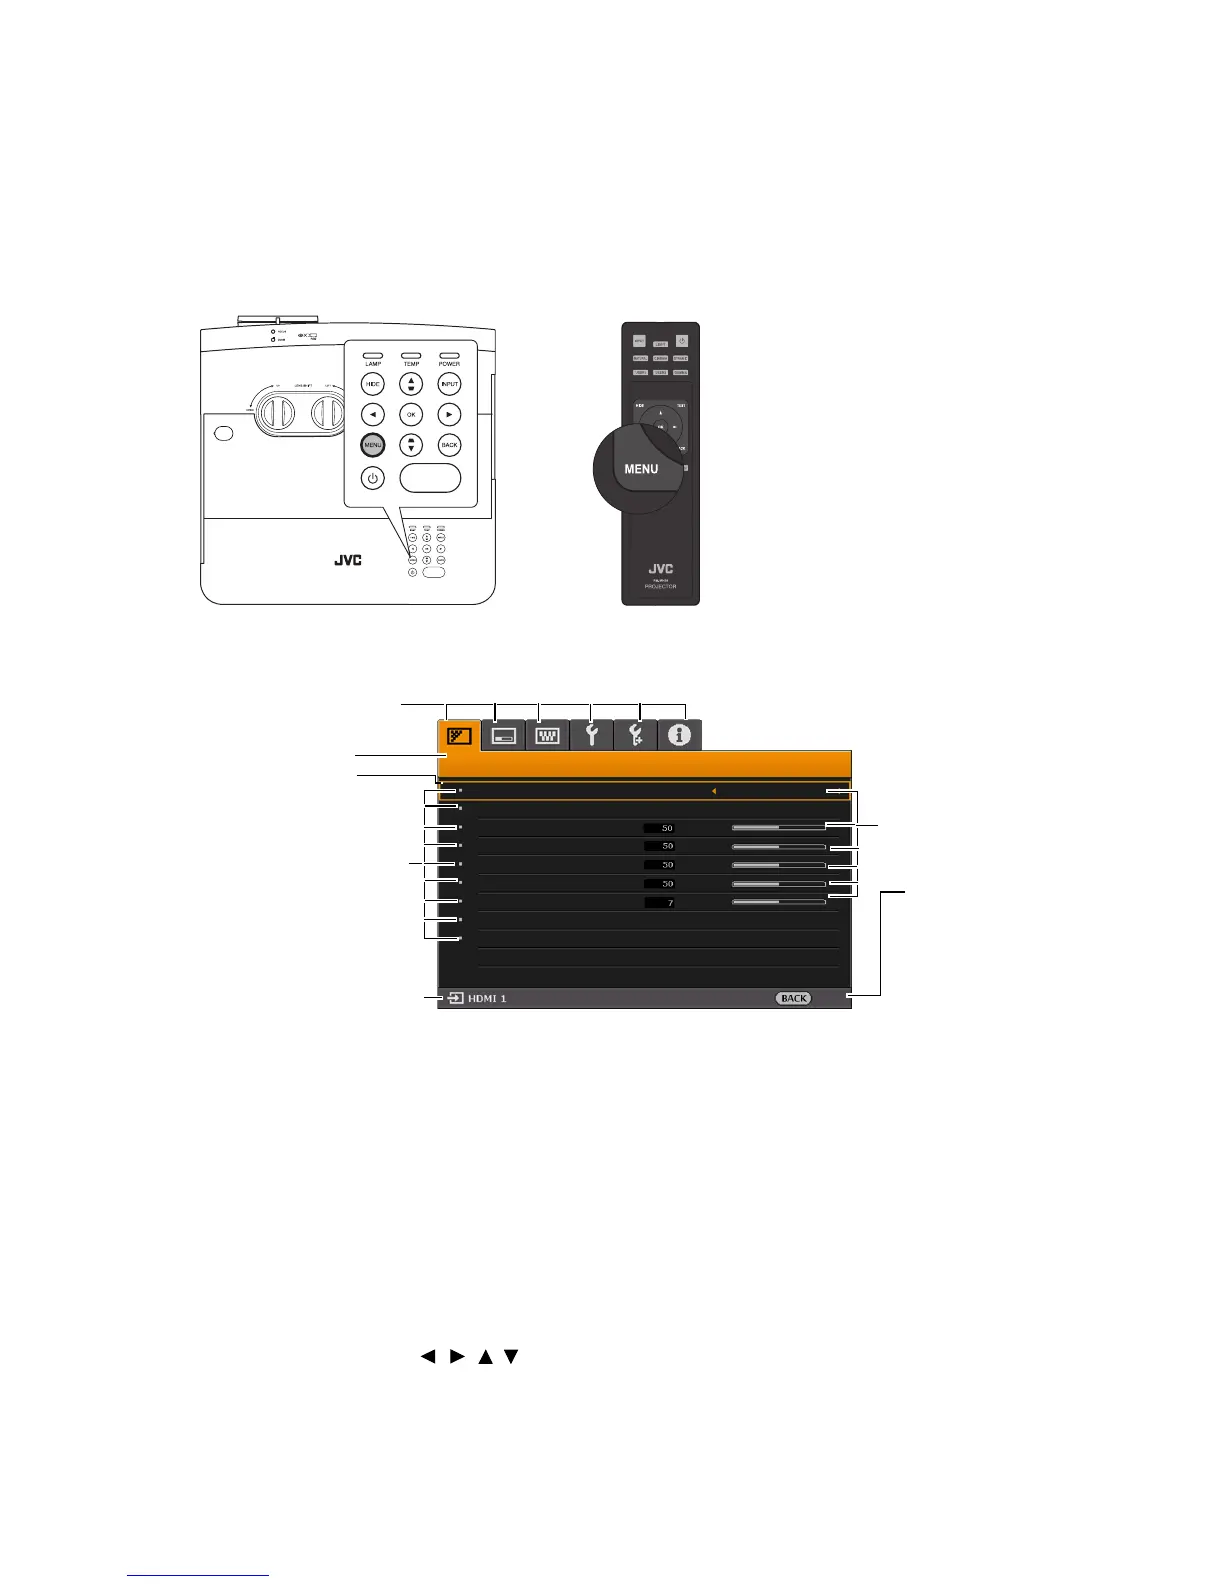
1. Press INPUT to display the source selection bar.
2. Press / until your desired signal is selected and press OK.
Once detected, the selected source information displays on the screen for seconds. If there
are multiple pieces of equipment connected to the projector, repeat steps 1-2 to search for
another signal.
Refer to "Projector specifications" for the native display resolution of this projector. For best display
picture results, you should select and use an input signal which outputs at this resolution. Any other
resolutions will be scaled by the projector depending upon the Aspect Ratio setting, which may cause
some image distortion or loss of picture clarity. See "Aspect Ratio" for details.

 Loading...