DDNS setup steps:
Step 1: Log in DNNS server (e.g. http), register user account and password. (For details, please refer to
Appendix 3)
Step 2: Click to open DDNS;
Step 3: Select DDNS service provider, e.g. mvddns.net;
Step 4: Fill in the registration name to log into DDNS server;
Step 5: Fill in the registration password to log into DDNS server;
Step 6: fill in the domain name applied on DDNS server, e.g. test.mvddns.net;
Step 7: Fill in DDNS server address, e.g.www.mvddns.net;
Step 8: fill in the port of DDNS server, default value is 30000 (users are recommended not to change it);
Step 9: fill in the port number of public network data after mapping, the default port is 5000.If several IP
cameras are connected to one router, different web ports need to be specified for each device, and port
mapping needs to be done for every specified port.
Step 10: fill in the port number of public network web after mapping, the default port is 80.If several IP
cameras are connected to one router, different web ports need to be specified for each device, and port
mapping needs to be done for every specified port.
Port forwarding setup steps:
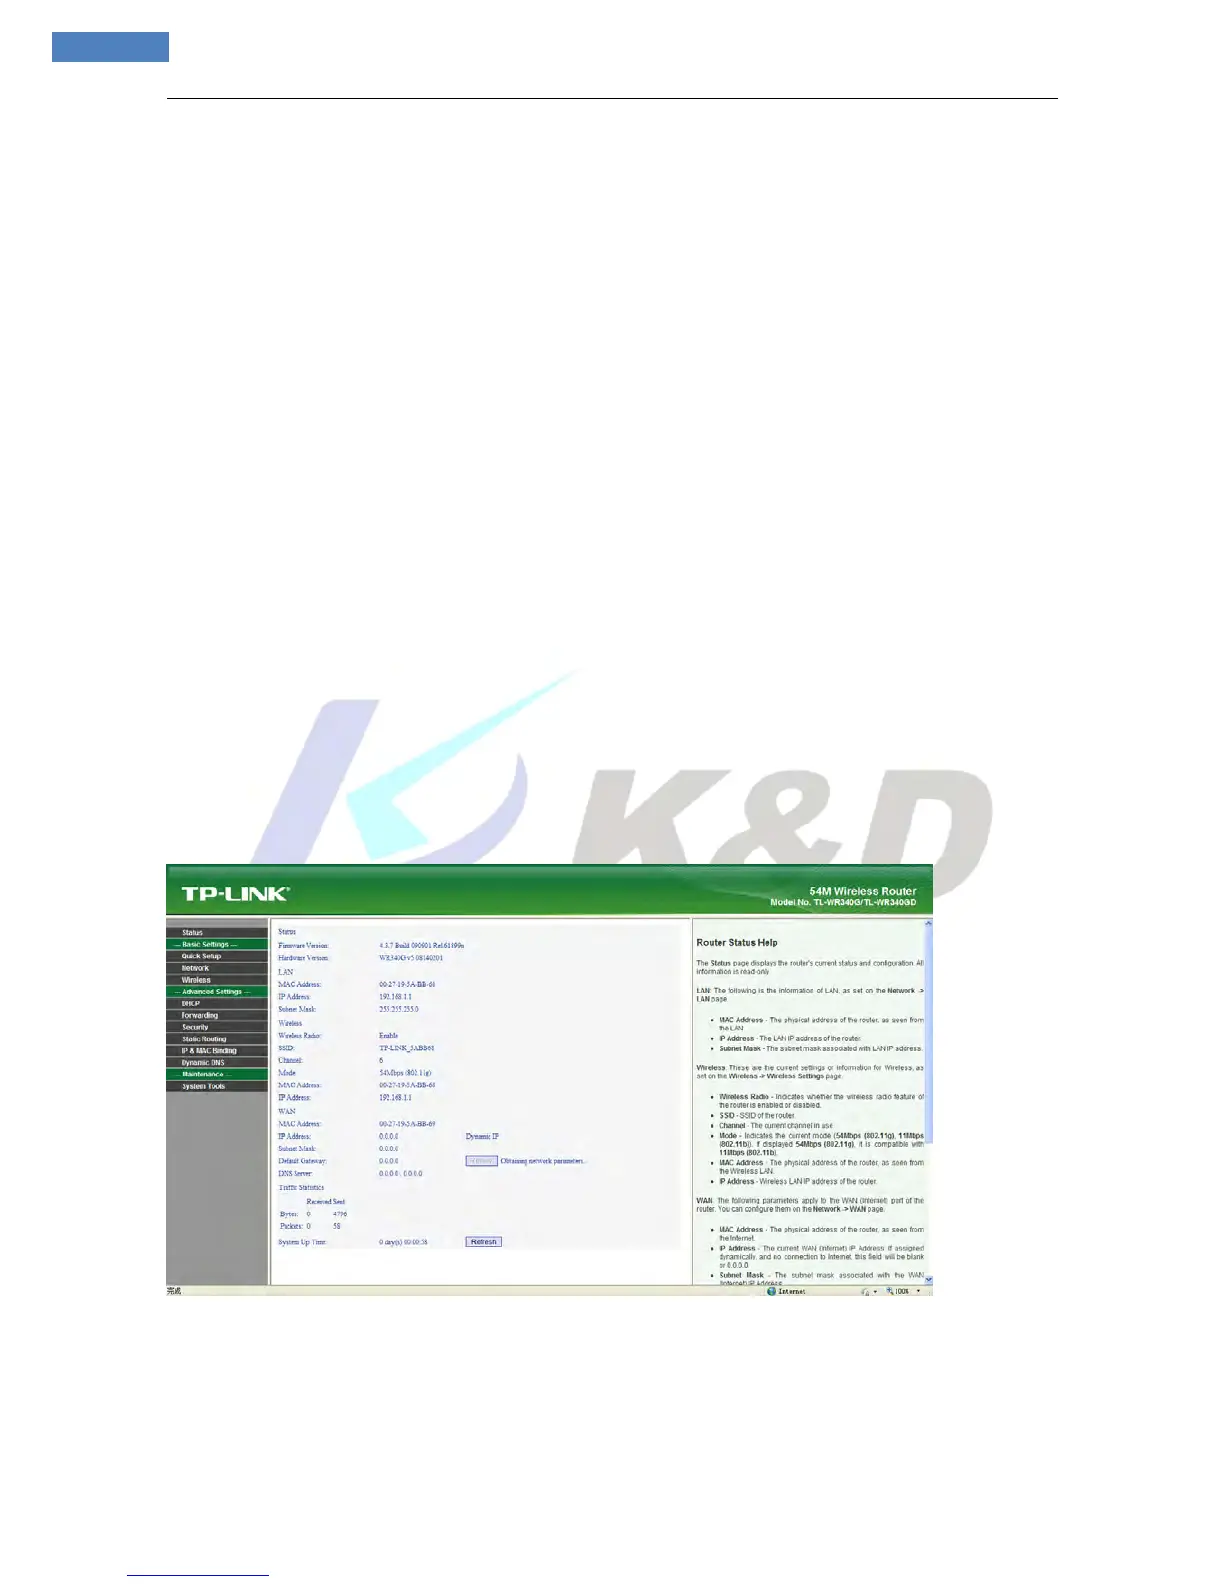
Take the TL-WR340G router of TP-LINK as an example for illustration:
Step 1: Ask network administrator for the IP address of the router (i.e. LAN gateway address), login user
name and password, then log in the router. The main interface is as follow:
Step 2: Open “Forwarding”, select “Virtual Servers” as below picture shows: